It’s the first week of autumn in the northern hemisphere. Time to break out the Pumpkin Spice, grab your camera, and head out to capture the colors of fall!
Fall colors are warm colors
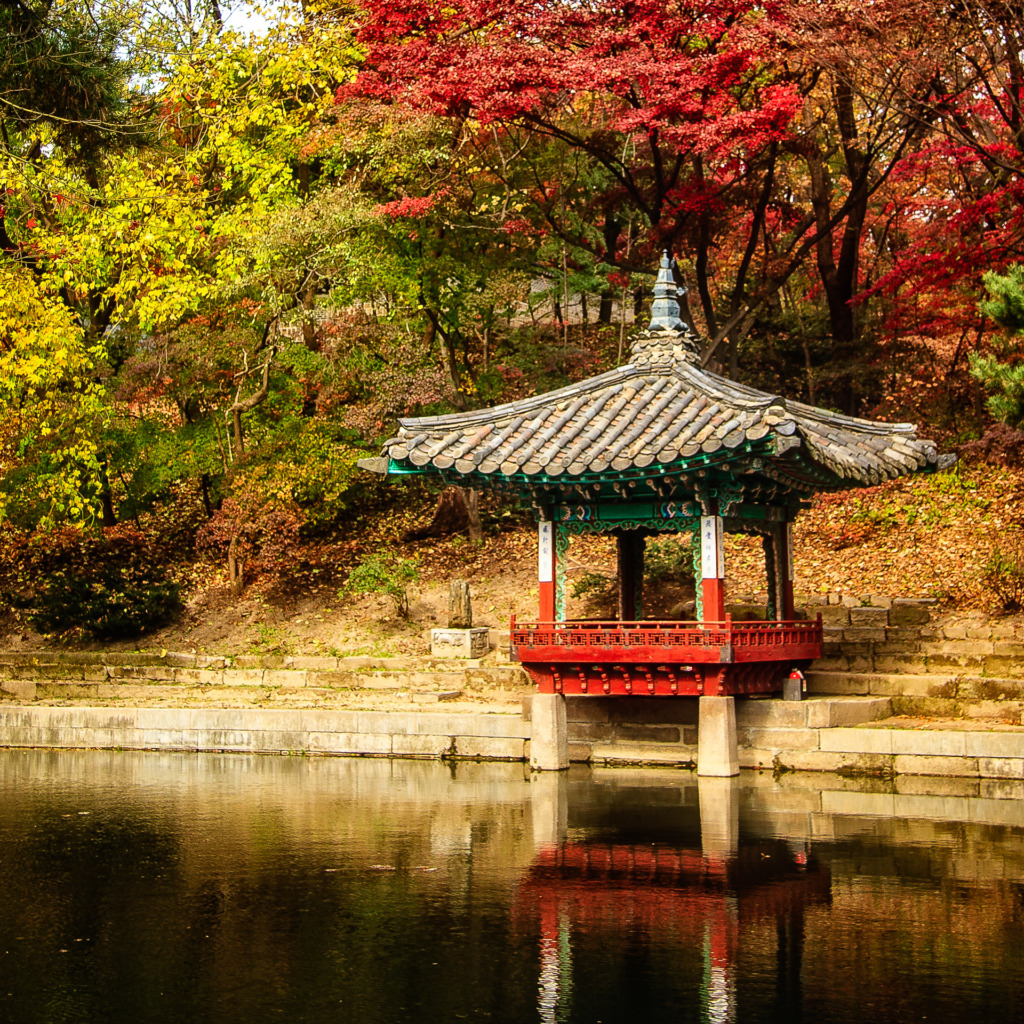
Part of the beauty of fall colors is their warmth. In this post, I’m going to help you capture these warm colors with three different approaches.
When we talk about warm colors, we’re referring to the color temperature. Warm colors are in the yellow range. Cool colors are in the blue range.
One place you might be familiar with this already is lightbulbs. Next time you go to replace a bulb, take a look at the package. It probably lists the color temperature right on the box.
We have a neighbor who has replaced some of his outdoor lights with cool LED bulbs, while he’s left warm incandescent bulbs in his two front door light fixtures. It drives me crazy!
What you need to know is that different camera brands and models handle warmth differently. Some Nikon models shoot cooler looking photos. Canon models tend to shoot warmer photos.
So, one of the things we are going to do in order to capture the colors of fall is to learn how your camera handles warm colors.
Approach number one: in camera
You can set your camera’s white balance before you even take the shot. If you shoot JPGs and like to share your photos without processing them, this is an approach you may want to take. Later in this post, I’ll teach you a trick to learn how the various white balance settings on your camera will affect your shots.
Approach number two: the hybrid
This is for people who process in Lightroom, either Classic or CC. You can take a preliminary shot with a gray card in it. You’ll need to do this in the location where you’ll be shooting. It helps to fill the frame with the card. I’ll talk a bit more about gray cards below.
The card doesn’t have to be in focus. It’s all about capturing the reflection of the light source.
After you have downloaded the photos into Lightroom, you’ll choose that particular photo. Using the White Balance Eyedropper, click on the gray card in the photo. Presto! Your white balance will be set for that photo.
Then, with that photo chosen first, hold down your Command (Control on a PC) key while selecting all the other shots taken in the same location. Click on the Sync button at the bottom right of the screen, and in the window that opens, check White Balance to sync the white balance correction to the rest of the photos. (These steps may be slightly different in Lightroom CC.)
Advantage of the hybrid approach
This can really come in handy if you are taking photos of people as you’re capturing the colors of fall. Sometimes, it can be hard to keep the people from looking orange! Why? The sunlight reflects off the red, orange and yellow leaves and onto their faces. A gray card can really help in this case.
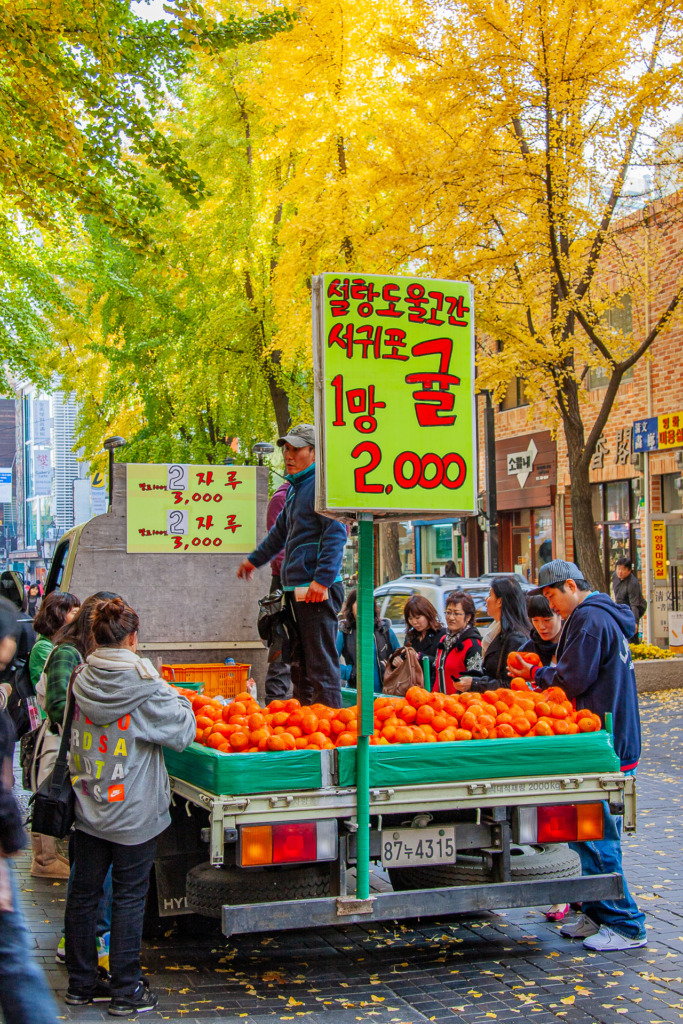
I didn’t have a gray card with me when I shot this photo. Take a look at the two people on the right. The orange of the tangerines they are holding is reflecting onto their faces. Since this is a street photo, I’m not too worried, but if I wanted to, I could correct their faces using the Adjustment Brush in Lightroom Classic.
Always remember, you are the artist. You may not like the white balance you get with the gray card. You can always change it.
Approach number three: do it in post-processing
This is usually my approach. When I’m out capturing the colors of fall, I shoot in RAW and leave the White Balance set to Auto in my camera.
Then, in post-processing in Lightroom Classic, I start by choosing the Profile for the photo. For capturing great fall colors, I usually choose Adobe Vivid or Adobe Landscape.
When I have that set, I move onto the white balance presets and try them out.
If you shoot in RAW, you’ll notice that the white balance preset names are the same as the settings on your camera. Lightroom has an algorithm to imitate your camera’s settings. If you own cameras from different manufacturers, you’ll also notice that those names may change. This is because Lightroom knows what camera took the photos from the metadata. It’s almost magic! 😉
If I’m not happy with the presets, I can adjust the white balance using the Temp slider.
If you shoot in JPG, you won’t have these choices. Instead, you’ll choose from As Shot, Auto, and Custom. Give Auto a try first, to see what Lightroom comes up with. Then try Custom, where you can adjust the warmth using the white balance slider.
Finally, I may tweak the settings a little more. When I have the color just the way I want it, I use the syncing method I described in approach number two to correct the white balance in the remaining shots.
What if you don’t use Lightroom?
If you have a Mac, iPad or iPhone, you can set the white balance on either RAW or JPG shots in Edit in the Photos app. You’ll use the Warmth slider.
There are a lot of other apps for your computer and mobile device which also include a White Balance slider. (I’m a bit of an “appaholic”. I own a lot of them… 😎)
Now it’s your turn to capture the colors of fall
Step 1: Try out your in-camera white balance settings
Important note: You’ll need to be shooting in Program, Aperture, Shutter or Manual mode for this to work. In Auto mode, your white balance is set to Auto. 😉
Grab a deck of index cards, a Sharpie marker and your camera and head out to experiment. Why bring index cards and a marker? These will make your experiment so much easier. I’ll explain below.
Practice shooting
On your DSLR or mirrorless camera, find the white balance button, so you can change to the various white balance presets that come with your camera. You’re going to try out a couple of the presets in each location where you shoot. Before you take the photo, write the preset name on the index card. Then, place it in the scene you are going to shoot, so you’ll be able to see it in the finished photo.
What you will discover
When you get home and download your photos, you’ll be able to easily see how each preset modified your white balance and the overall warmth of the photos. If you zoom in, you’ll see which preset you chose, written on the index card.
You will probably notice the following progression:
Sunlight or Daylight: cooler colors
Cloudy: warmer colors
Shade: even warmer colors
These are Canon names. Other manufacturers will have their own names for their settings.
Expand your practice
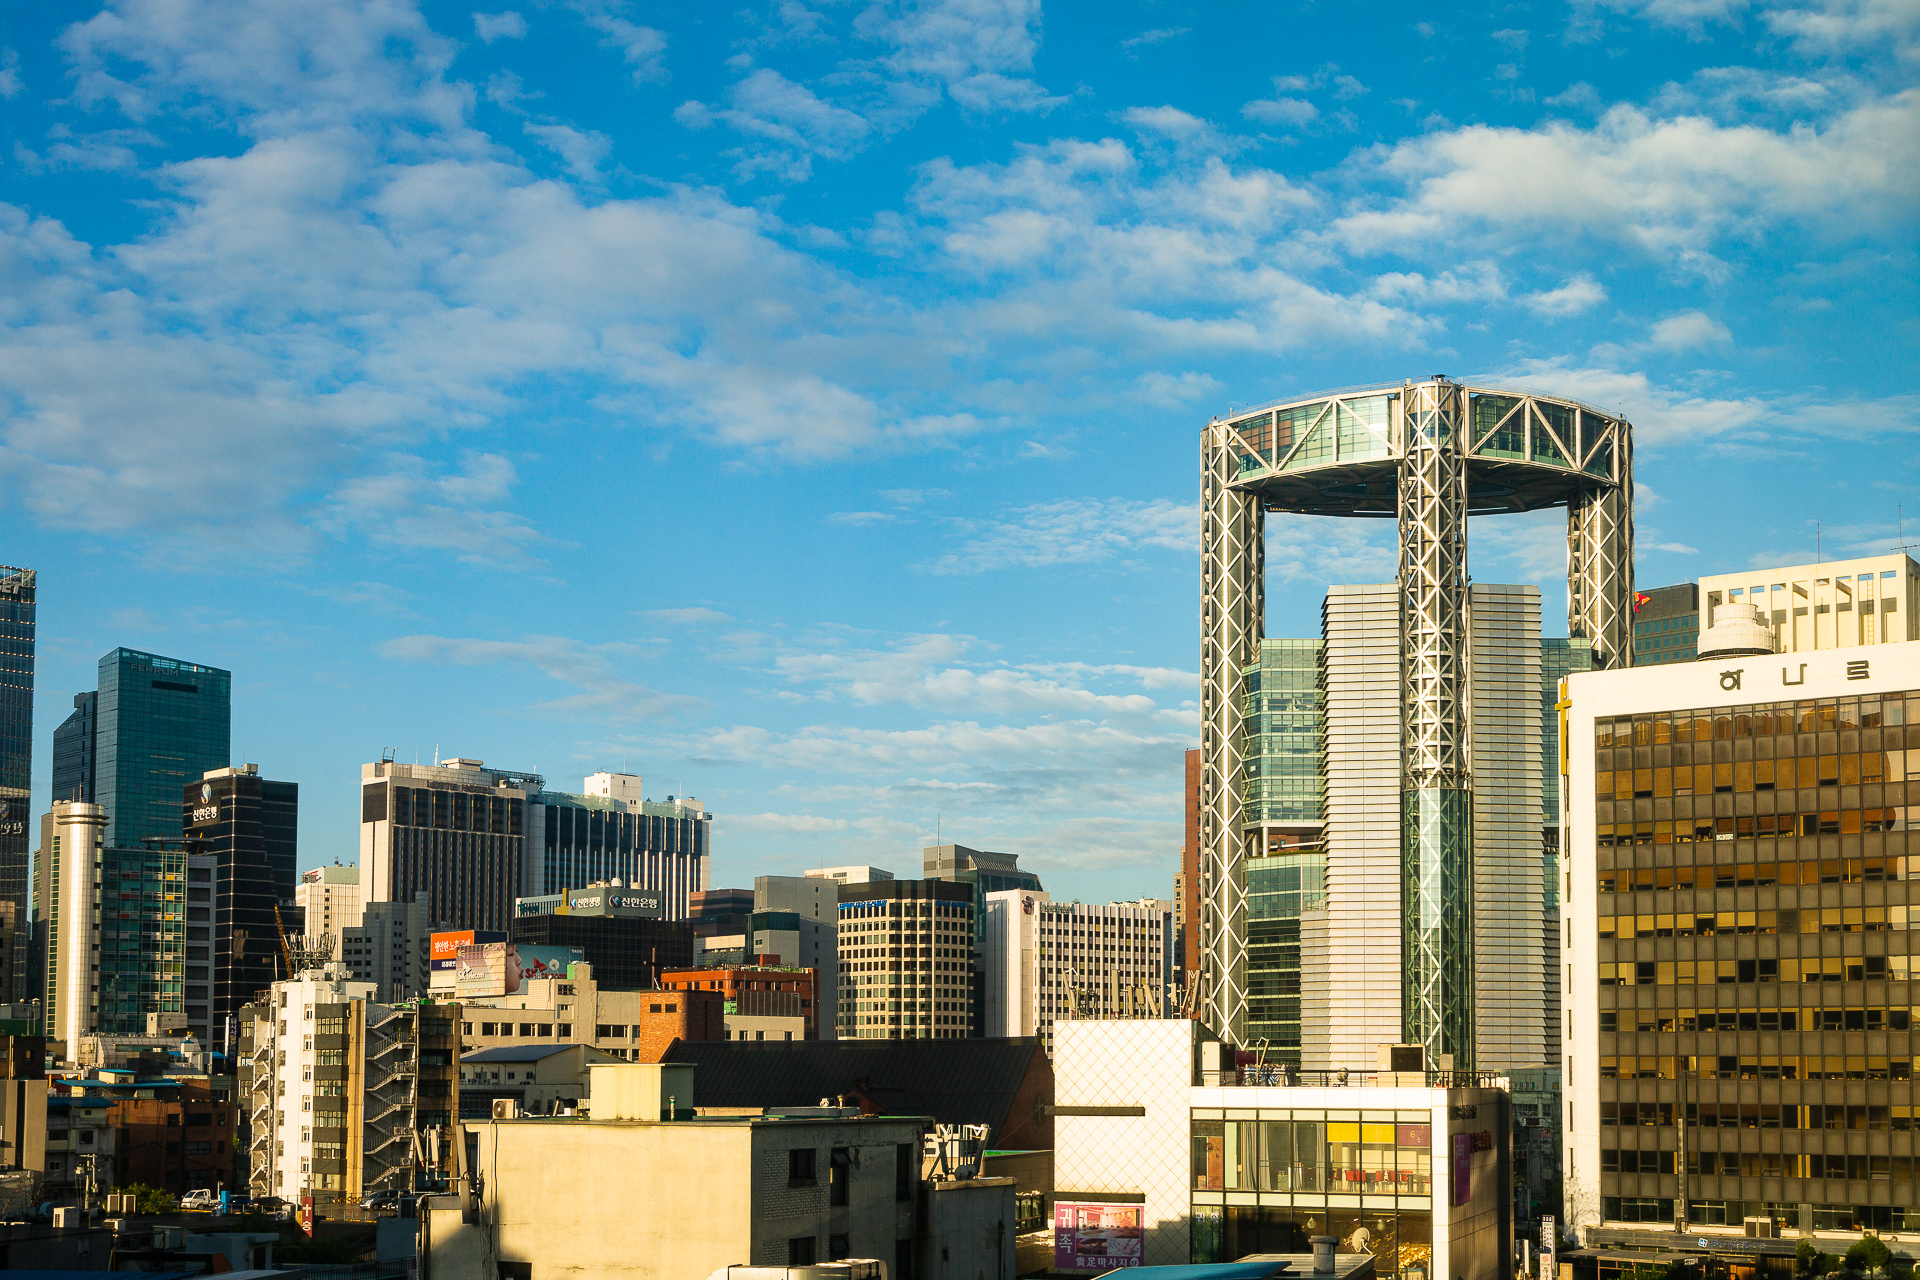
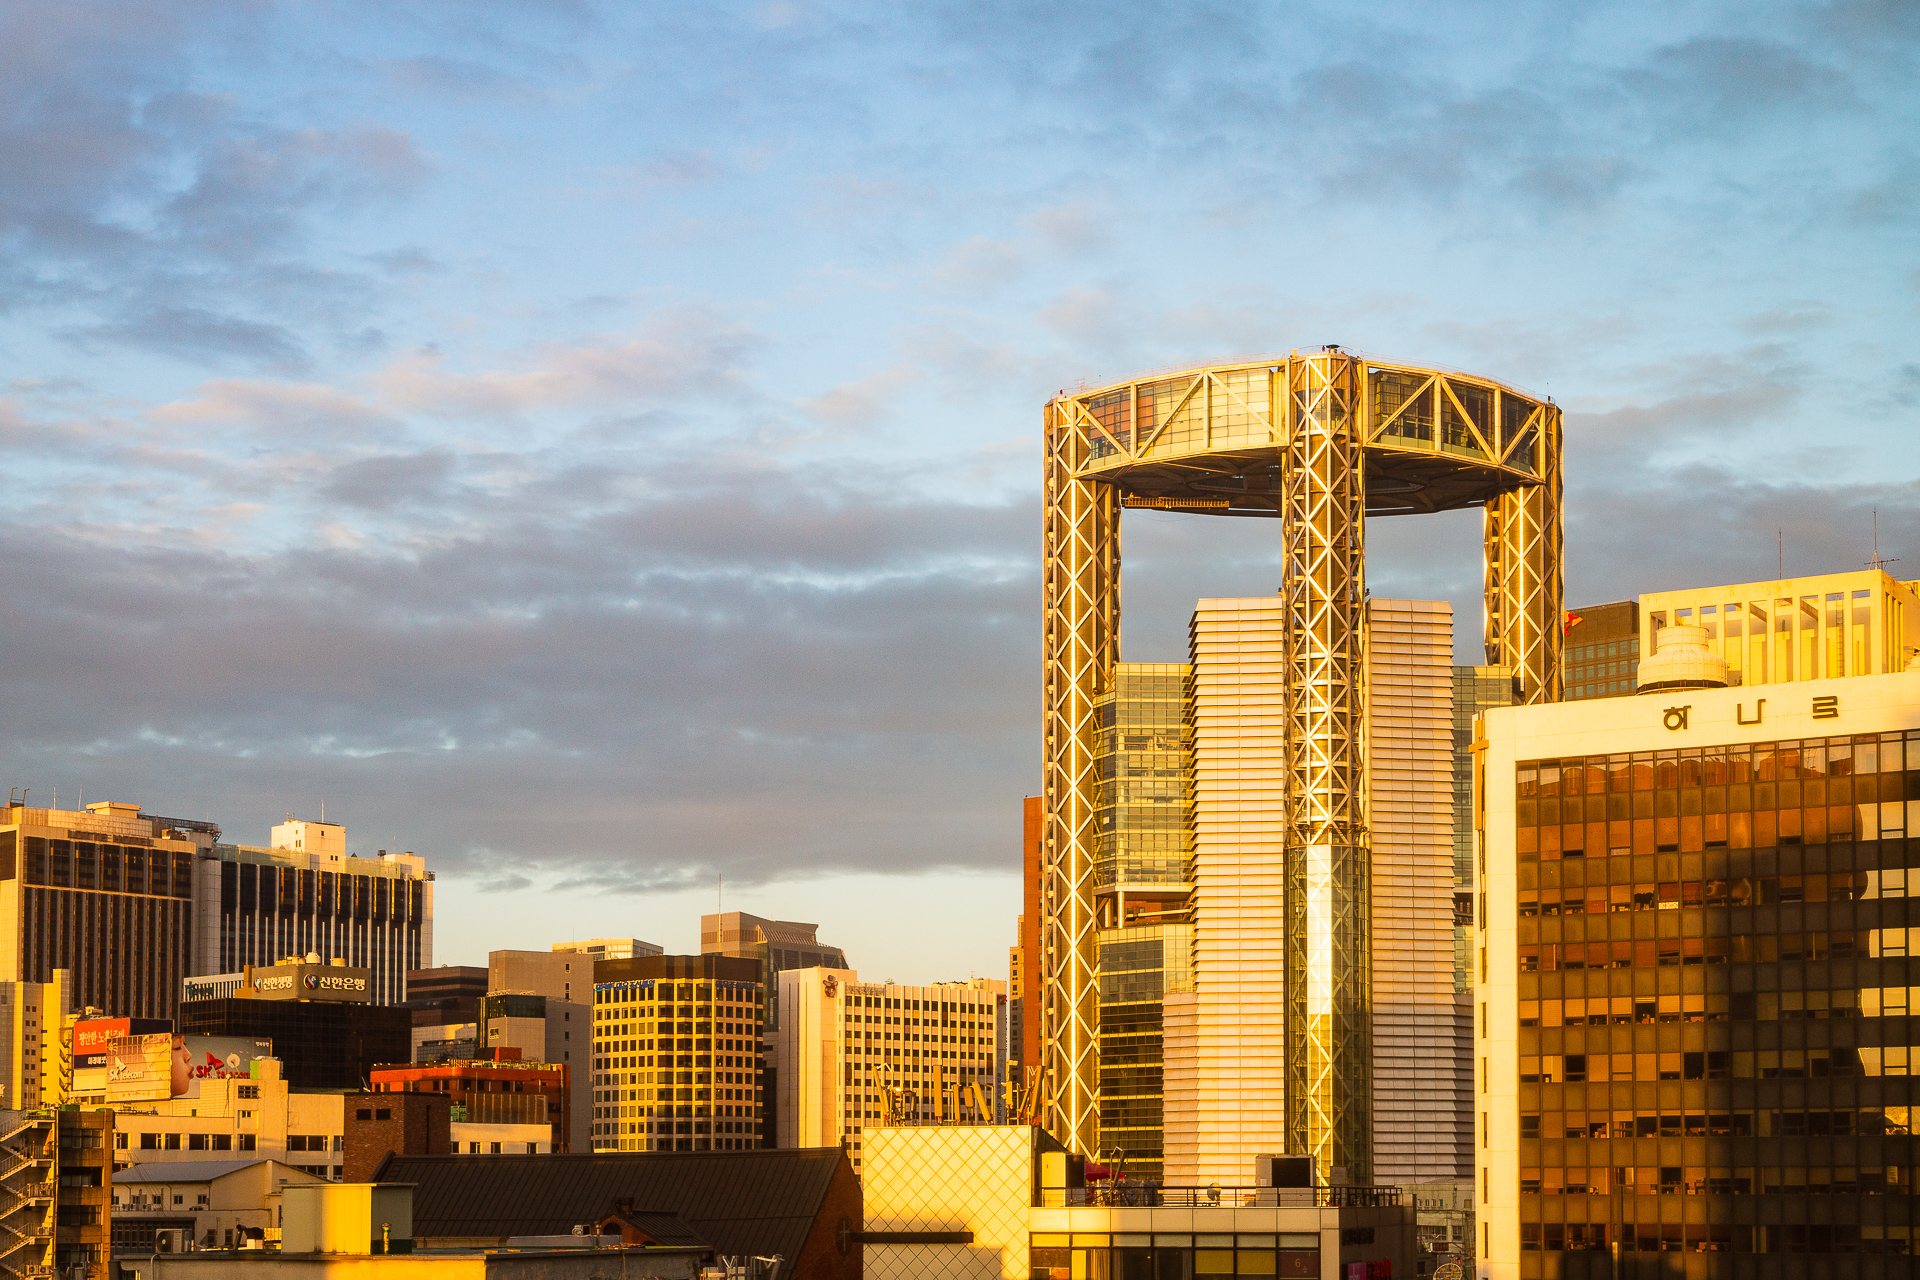
You earn extra points if you try this at different times of the day! Be sure to include early morning, mid-day, late afternoon, the golden hour (just before sunset) and the blue hour (just after sunset). You’ll be amazed at the difference the sun’s height in the sky will make!
Check out the photos below. This was my view from the gym in our apartment building in Seoul. I worked out at 6 am and watched this progression every day, so, of course, I took my camera to record it one day. 😉
Try out a gray card
You get even more bonus points if you try using a gray card. I use a Color Checker Passport, but you may already have a free paper gray card tucked inside of a photography book. Scott Kelby includes one of these in the back of many of his books. You just tear it out and use it. it’s the color of mid-gray.
Step 2: Use Post-processing to adjust your white balance and enhance the fall colors you’ve captured
If you use Lightroom or another app for processing your shots, try out Approach Number Three from above: Approach number three: do it in post-processing
Try out a combination and see what you like
You can always use a combination of the techniques. Give it a try and see what you discover, as you head out to capture the colors of fall!
Here’s a full-sized version of the mini pumpkins at the very top. They make a great prop for fall shots, both outdoors and inside!
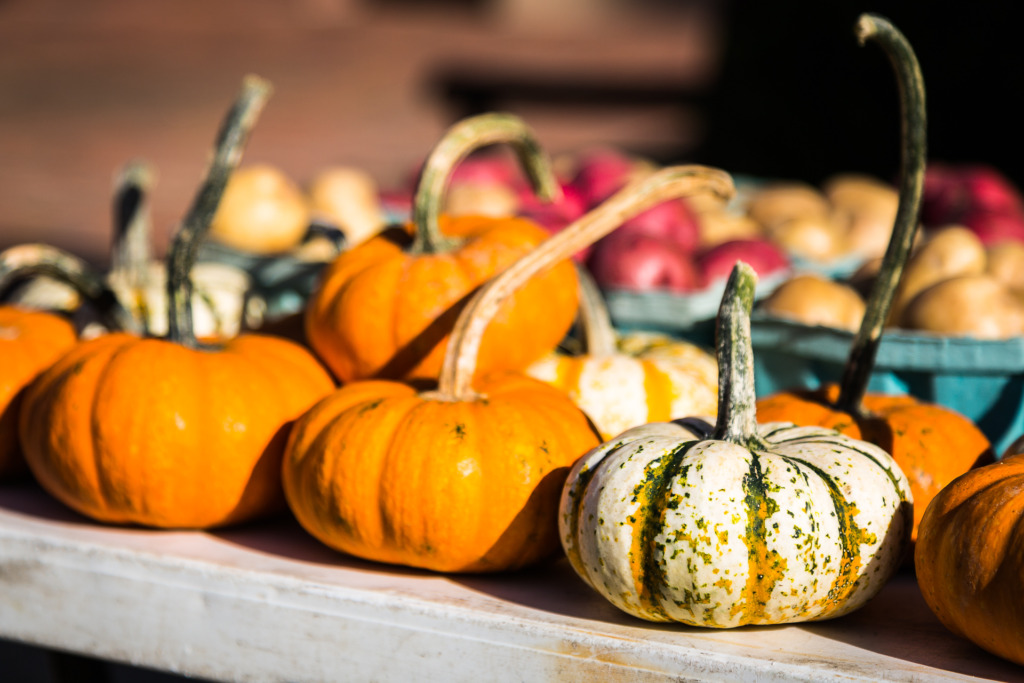
If you’re stuck inside, due to weather or the Corona Virus, you can always practice your white balance settings inside! That’s when I find that the gray card really can come in handy. Try taking shots in a room with warm lightbulbs. If you have fluorescent bulbs, try shooting in that room. See what you can learn about your camera.
Still curious?
Here’s another post I wrote about making fall colors pop: https://www.carolinemaryan.com/make-fall-colors-pop/
And here’s one about shooting fall colors when you’re in Santa Fe, New Mexico: https://www.carolinemaryan.com/shooting-fall-colors/
Curious about the fall equinox? Here’s an article about it from Country Living Magazine
Here’s an article that explains what you see in Lightroom when you go to change your white balance, depending on whether you shot in JPG or RAW.
Here’s more information about the Samsung Jong-No Tower
For more information about processing your photos, here are two posts you might like:


Leave a reply