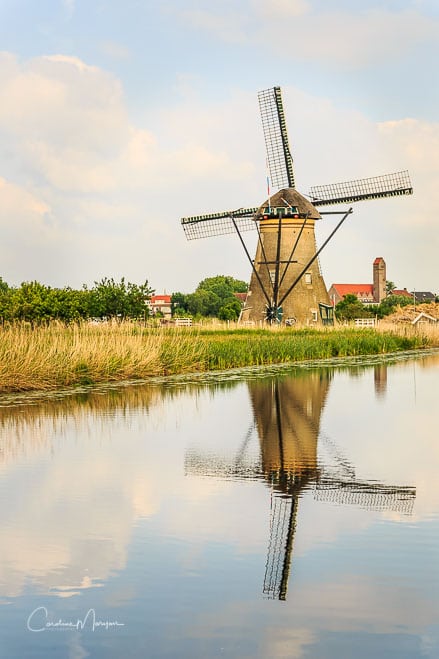
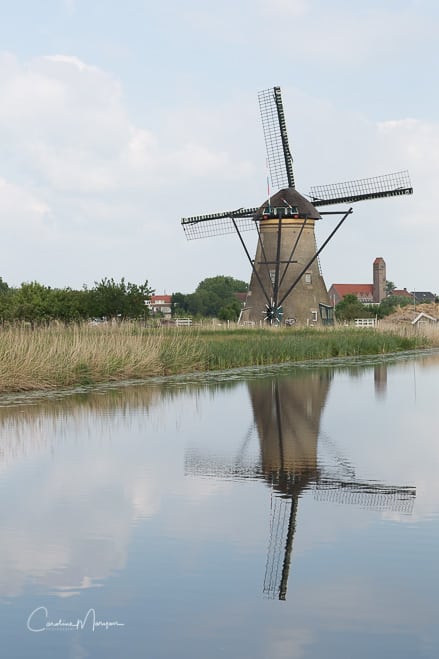
This photo of an old windmill in Kinderdijk, Netherlands was shot in RAW, with my Canon 5D Mark III. The settings were: 1/200 sec, f/8.0, ISO 125, shot in Manual mode. I then imported it into Lightroom Classic CC to process it before exporting it as a JPEG. The RAW file is flat and dull looking. The processing allows you to turn that flat photo into art. To see a larger version of the processed photo, click here.
Welcome to the fourth post in this series.
In the first post, I explained what Photoshopping is and that, usually, an intention to deceive is involved. In the second, I talked about compositing, a method of combining photos to create something new. The third post exposed the myth of straight-out-of-camera photos being unprocessed.
With this post I address the art of processing. Ansel Adams, the famous photographer and environmentalist, said, “You don’t take a photograph, you make it.” He was referring to all the steps involved in photography, from visualizing to shooting to work in the darkroom. He also said, “Photography is more than a medium for factual communication of ideas. It is a creative art.”
With those words to inspire us, it’s time to look at what you can achieve in the digital darkroom.
(Updated August 2019) First, what do you use to process photos? My favorite processing software is Lightroom Classic, by Adobe. There are several versions of Lightroom available. You can read about them here. For simplicity’s sake, I’ll shorten Lightroom Classic to LR for the rest of this post. (Adobe also includes Camera Raw in Photoshop. Its processing engine is the same as LR’s. The difference is that you can’t process JPEGs in Camera Raw. Also, Camera Raw only includes one module of the seven included in LR. Finally, it’s layout is not as appealing.) Most professional photographers use LR. There are also other processing apps for your computer, iPad and iPhone. Many people have been introduced to processing while using Instagram.
Secondly, if you are going to process your photos, should you shoot JPEG or RAW? What really is the difference? One large difference (pun intended…) is the size of the file. My Canon 5D Mark IV shoots a RAW file of 31.12 MB. The largest JPEG it shoots is 6.27 MB. That is roughly 80% smaller! And, the camera decided what data to eliminate when it compressed the file into a JPEG. I’d rather be in charge of that, so I shoot in RAW. I have all the information that the camera captured to work with. In the end, when I export the file as a JPEG out of LR, I get a richer looking photograph, as you can see from the photo at the top of this post.
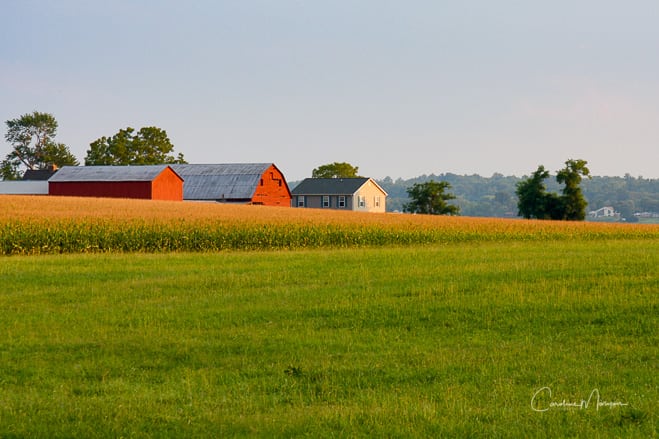
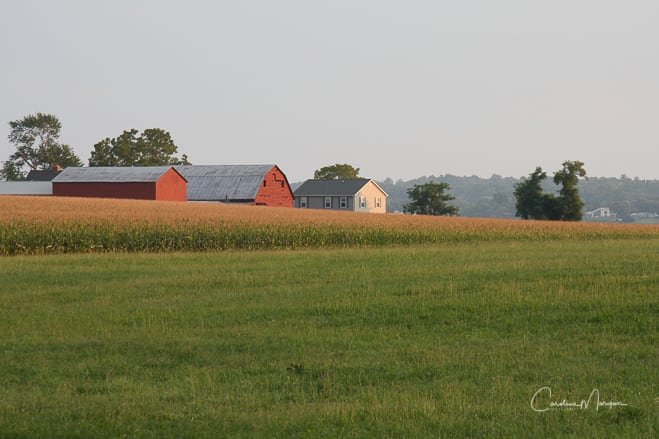
Third, is LR processing only for RAW files? No! You can process photos shot as JPEGs, too, including those shot with your iPhone. Below, you’ll see a photo that I shot as a JPEG, with my first DSLR, the Canon 40D. The settings are 1/50 sec, F/8.0, ISO 100, shot in Aperture mode. The JPEG was fine but dull, in my opinion. So, I imported it into LR and added some processing. I think the resulting photo is much more exciting. Notice the detail you can see in the sky and in the darker portions of the photo. Hint: If I had shot this in RAW, I would probably have been able to bring back even more detail in the clouds. To see a larger version of the processed photo, click here.
Fourth, what about all those old slides and pictures you have stored in a shoe box? They aren’t digital. Is there anything you can do to process them in the digital darkroom? Yes! You’ll have to make a digital copy of the picture or slide, first. There are scanners that are designed for this. You can also take a photo of the slide or picture with your DSLR or even your iPhone. Then, import it into LR, just like any JPEG or RAW file. (Some scanners will give you the option to save your photo in another digital format called TIFF. This is a better choice than JPEG.)
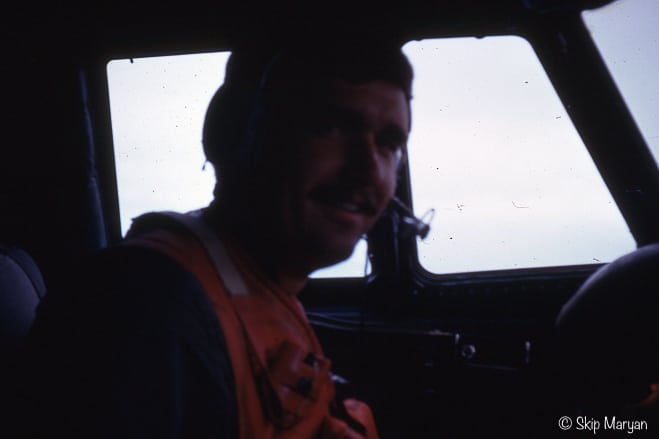
Below, you’ll find a slide that was taken of my husband when he was a Navy pilot. He was asked for photos of himself for a project being done by Nauticus, a museum in Norfolk, Virginia. He dug around and found a shoe box with old slides in it. The museum wanted JPEGs… and, better yet, ones that were properly exposed. I scanned the slides and brought them into LR. The original photo was badly underexposed, due to the backlight from the cockpit window. I was able to raise the shadows and reduce the highlights. Noise reduction helped smooth out the grain (digital noise) in the shadows. While LR could also remove the dirt and scratches, I felt it would be faster in Photoshop, so I opened the file in Photoshop. Remember, if you subscribe to Lightroom Classic CC, you also get Photoshop with it!
Just think of all the old family photos and slides you have lying around, needing repair. Now, you can apply your processing knowledge to help restore them.
I hope this four-part series has helped clear up some confusion about Photoshopping, compositing, and processing. Now, it’s your turn to give processing a try!



Leave a reply