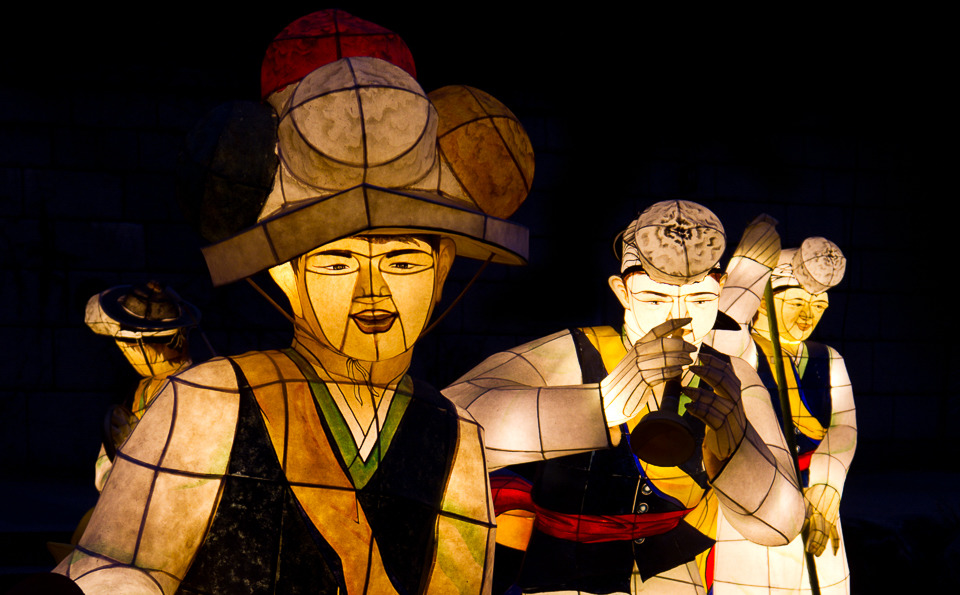
This week is Buddha’s Birthday in Seoul, South Korea, so it’s time for the annual Lotus Lantern Festival. Seoul also holds another lantern festival in the fall, so there are plenty of opportunities to practice your photography skills. Here are some ideas to make your photos really shine.
You may encounter lanterns that are moving and ones that are still. Let’s deal with the still ones first.
Tips for photographing still lanterns:
In Seoul, the still lanterns are built on platforms in the Cheonggye Stream. If the crowds are not too great, you may be able to use a tripod. Otherwise, you’ll have to be sure to choose settings with a fast enough shutter speed. I shoot in Aperture mode because I like to play around with my depth of field. Here’s what I do when I’m shooting without a tripod:
First I decide my aperture setting, depending on the composition. Do I want the entire lantern to be in focus or not? For this photo, I chose f/4 to separate the front lantern from the others.
Next I focus. I always shoot with just one focus point selected. And that focus point is on the eye that is closest to me. (Just like shooting a portrait!) Read more →
Do you know how to store your camera manual on your iPhone or iPad? And what about those wonderful photography and social media ebooks that you find online? You don’t want to haul around your laptop for a good read… So here’s how: First, download iBooks for your iPhone or iPad, from iTunes or the App Store. You’ll use this for reading. Next, download the manuals or PDFs that you want to read. I usually do this on my laptop. Store them in your Documents folder. (Hint: You’ll find your camera manual on the camera company website. Some companies won’t let you download it until you have registered the camera, which you can also do at the website.) Read more →

My MacBook Pro laptop sitting on it’s box in our family room.The photo on the laptop is of the back stairs at the new Apple Store in Covent Garden, London.
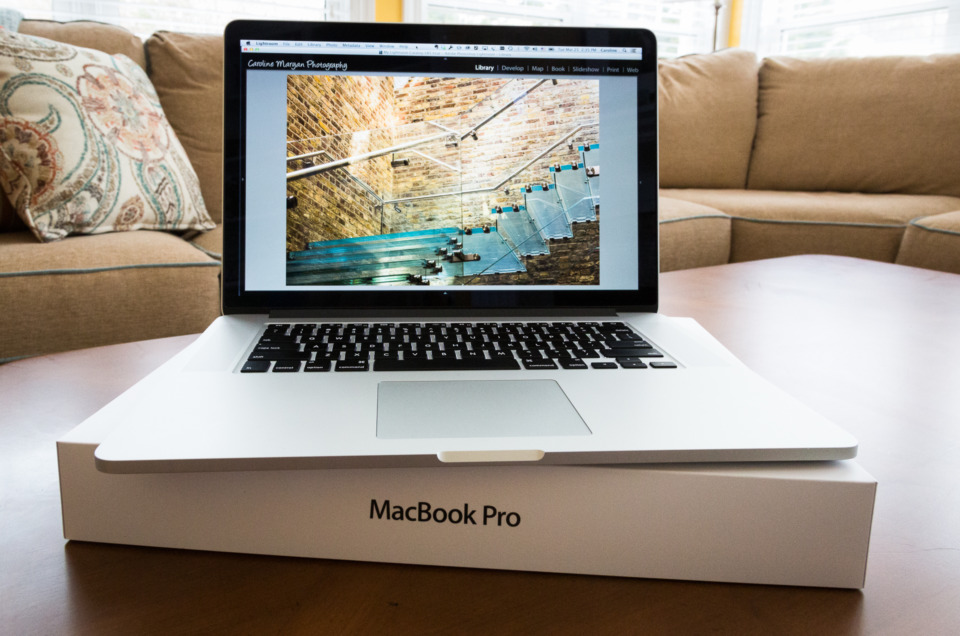
I love my new MacBook Pro, running the new operating system, Mavericks! But when I started to migrate my files and applications from my old Mac laptop, which was running Mountain Lion, I made some really big mistakes. So, in the fine tradition of “Do as I say, not as I do”, here is the wrong way to do it and the right. I hope this helps make your migration seamless!
First of all, wrong way… Full of enthusiasm, I turned on my old laptop and my new one. Migration Assistant was easy to find on the new one, and I rashly decided that I didn’t need to connect the two with anything as old fashioned as a cable. I chose our home network and let ‘er rip… A timer with the amount of time required appeared on the screen… over 15 hours. Hmmm… Then, I noticed that my old laptop seemed inclined to go to sleep. Three hours later, we were still at about 15 hours on that countdown!
Now… right way. This requires a little work, but it’s easy and fast! If you have found this post because you’re stuck in the middle of a slow migration, don’t despair. You can stop it and start all over. That’s the good news!!! To stop it, press Command + Q on both computers. Now, you can jump right into the following instructions. Read more →
Search Here
Newsletters
Recent Posts
- Photoshopping, Processing, Compositing– Is There a Difference? Part Four: Photo Processing… Get Ready for Some Serious Fun!
- Photoshopping, Processing, Compositing– Is There a Difference? Part Three: Photo Processing… Where the Art Begins!
- Photoshopping, Processing, Compositing– Is There a Difference? Part Two: Compositing
- Photoshopping, Processing, Compositing– Is There a Difference? Part One: Photoshopping
- Why You Need Both an iPhone Camera and a DSLR!
Recent Comments