Are you familiar with using your iPhone geotags? Have you ever used the information? Or looked at the map? Here are some tips on using the geotags that appear on your photos and where to find them.
How are iPhone photos geotagged?
One of the most useful features of iPhone photos is the geotags that are added when you take a photo. But what are they?
Taking a photo with your iPhone will record the GPS coordinates for where you are. These are called geotags and appear in the metadata of the photo.
Finding your iPhone geotags:
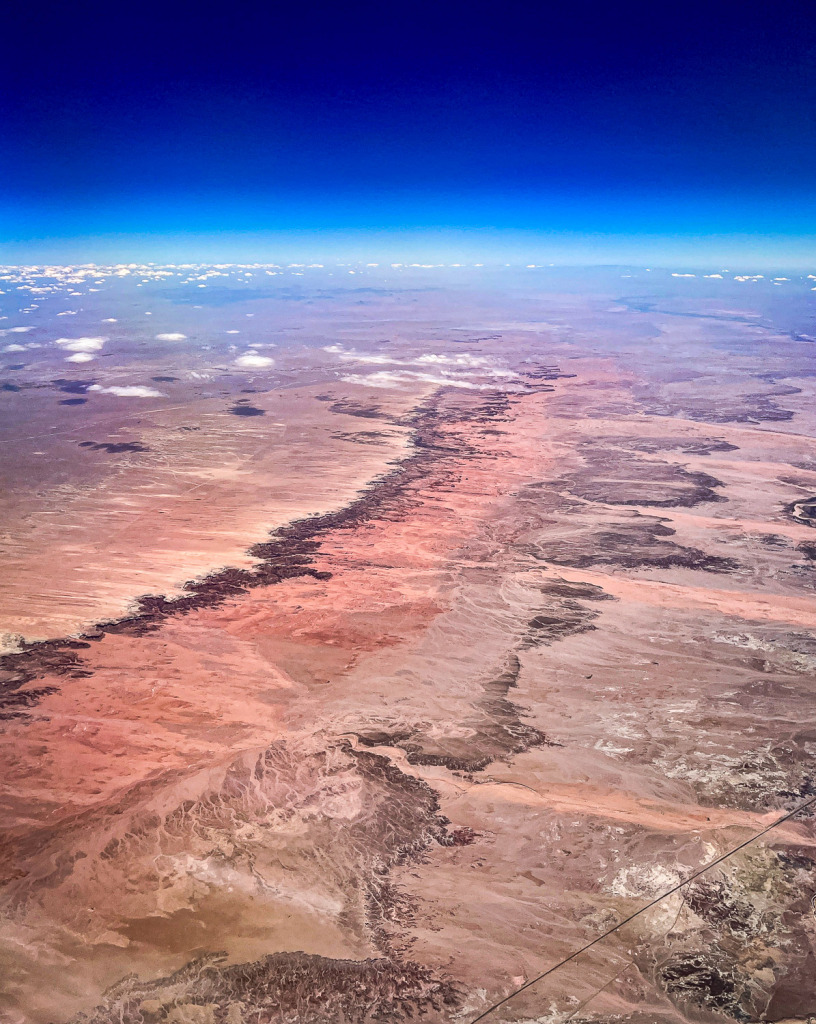
When you look at your photo in the Photos app on your iPhone, iPad, or Mac, there are two ways to access the information. You can tap on the “i” icon above or below your photo, or you can sweep up on the photo with your finger.
It’s almost magic! A map will appear with your location identified. I shot the photo above on a United Airlines flight from San Diego to Chicago late in the spring. (All of the photos in this post were shot out of airplane windows but geotags are also useful for photos you take on the ground!)
I love the photos I can capture out of airplane windows! However, there is one big problem. Often, I have absolutely no idea where I am! I was fascinated with the colors and patterns I saw below me on the flight, so I shot the photo you see above.
Since I was in Airplane mode when I took the photo, the iPhone didn’t immediately tell me the location. I had to wait until I was on the ground and out of Airplane Mode. Then, when I opened the photo, the location was named and pinpointed on a map for me! It turned out to be Borego Springs, California.
Can you see the actual GPS Coordinates?
The short answer is no. Yes, your iPhone photos are geotagged, and the Photos app will name the location and show it on a map, but you will need another app to see the actual coordinates. I use the Investigator app. It’s easy to use! I wrote about using it in a blog post, and I’ll link to it below.
On the other hand, if you import your photo into Lightroom Classic, the GPS coordinates will appear in the EXIF metadata. If you click on the arrow to the right of the coordinates, the Map module will open, and you’ll see the location marked on a map.
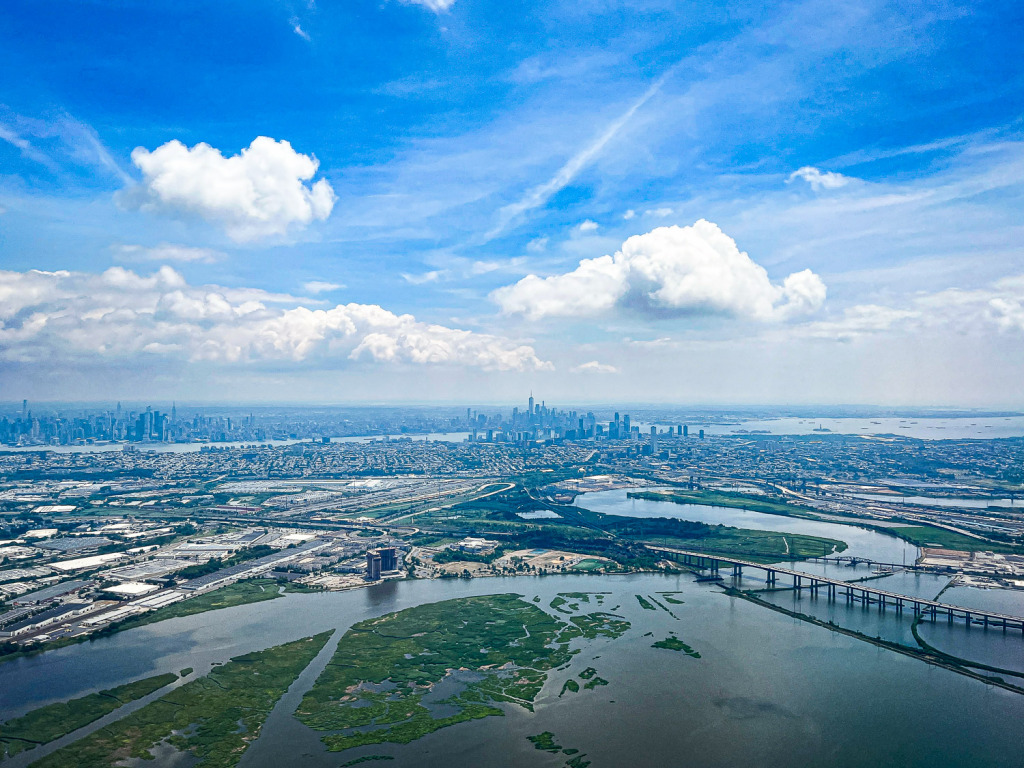
I knew I was shooting the New York skyline in the distance for the photo above, but I had no idea what was appearing below the plane. Thanks to the geotag and the map, I could identify the Hackensack River meandering through the scene and the Saw Mill Creek Wildlife Management Area.
Some helpful tips on using iPhone geotags:
You may still be confused when you first see the map in the Photos app. It helps to double-click on the map to make it larger. Then click on the minus or plus icons (or zoom in and out with your fingers) to allow for a view of a larger area or a more detailed closeup.
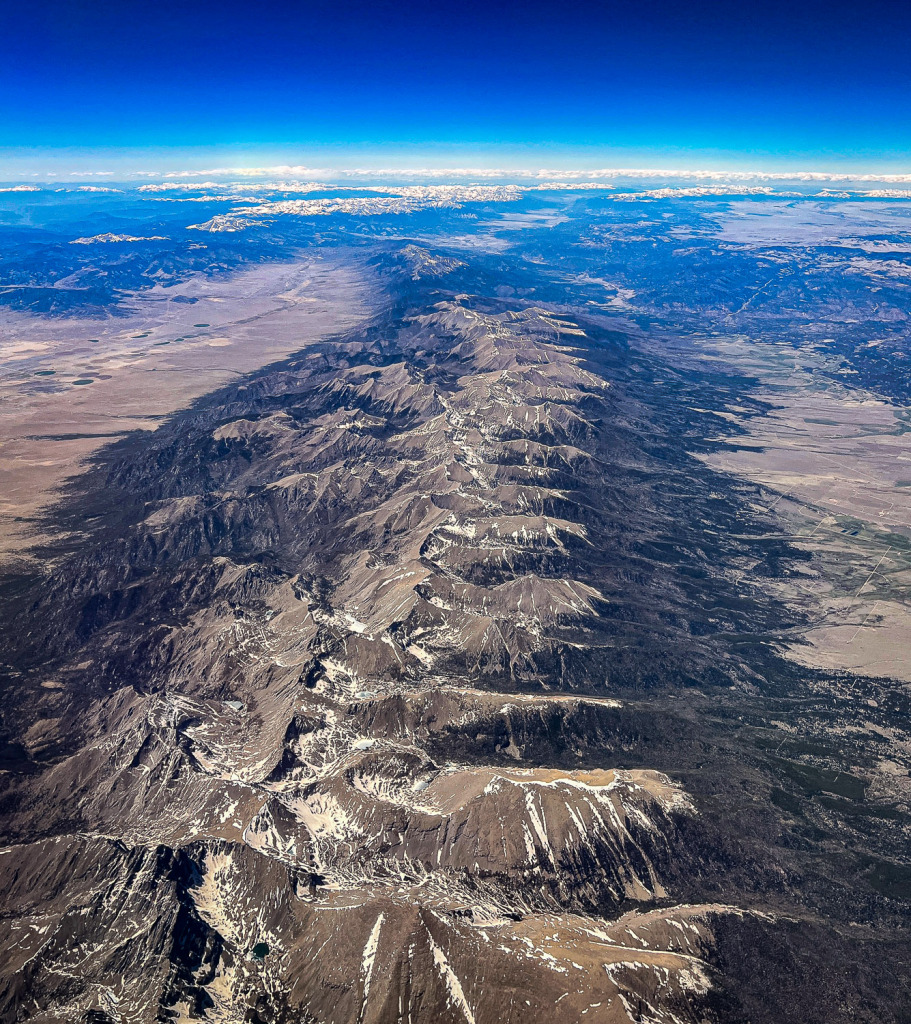
If you’re shooting out of an airplane for these photos, you’ll probably have to crop the photo afterward to correct for a crooked horizon. For some reason, I find it hard to shoot a straight horizon from a plane. 😉
As you shoot, check the photos to be sure your iPhone isn’t focusing on the scratches on the window rather than the scene below. It took me a few tries to capture the photo above. The window scratches kept being in focus! My iPhone geotags identified this as Great Sand Dunes National Preserve in the Eastern Rockies Corridor, Moffat, Colorado.
A possible problem to watch for:
Since I’m concentrating on photos taken out of an airplane in this post, I need to mention one of the problems with having your iPhone in Airplane Mode. I already said that you would need to wait until you are on the ground and off Airplane Mode to see the geotag.
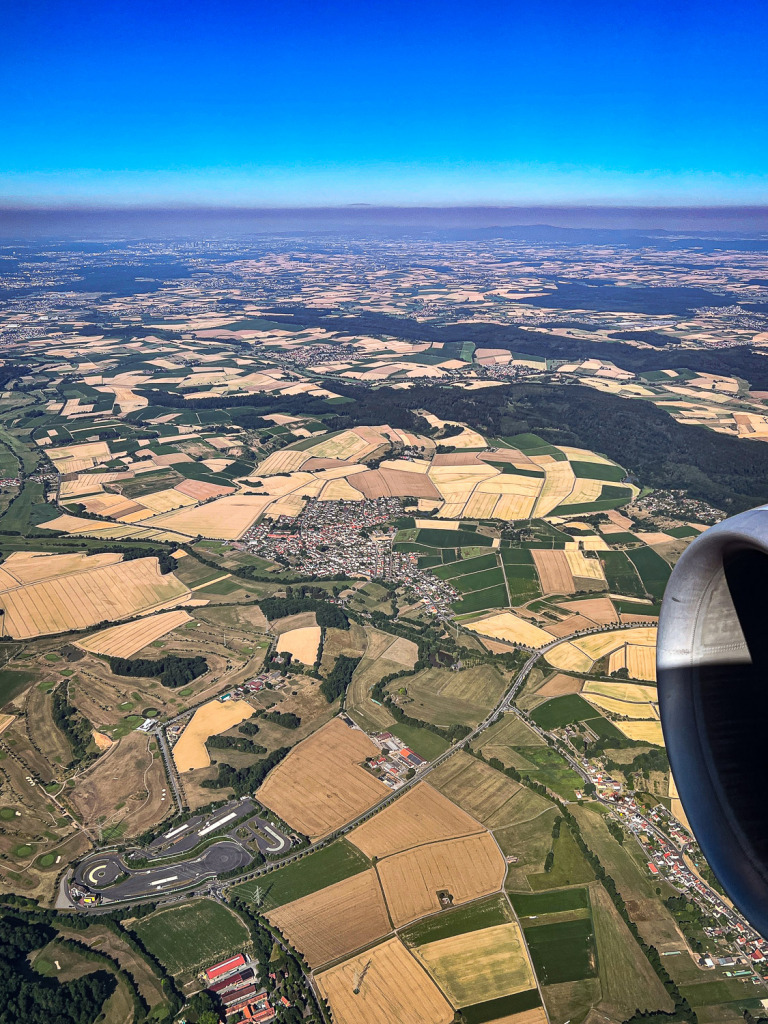
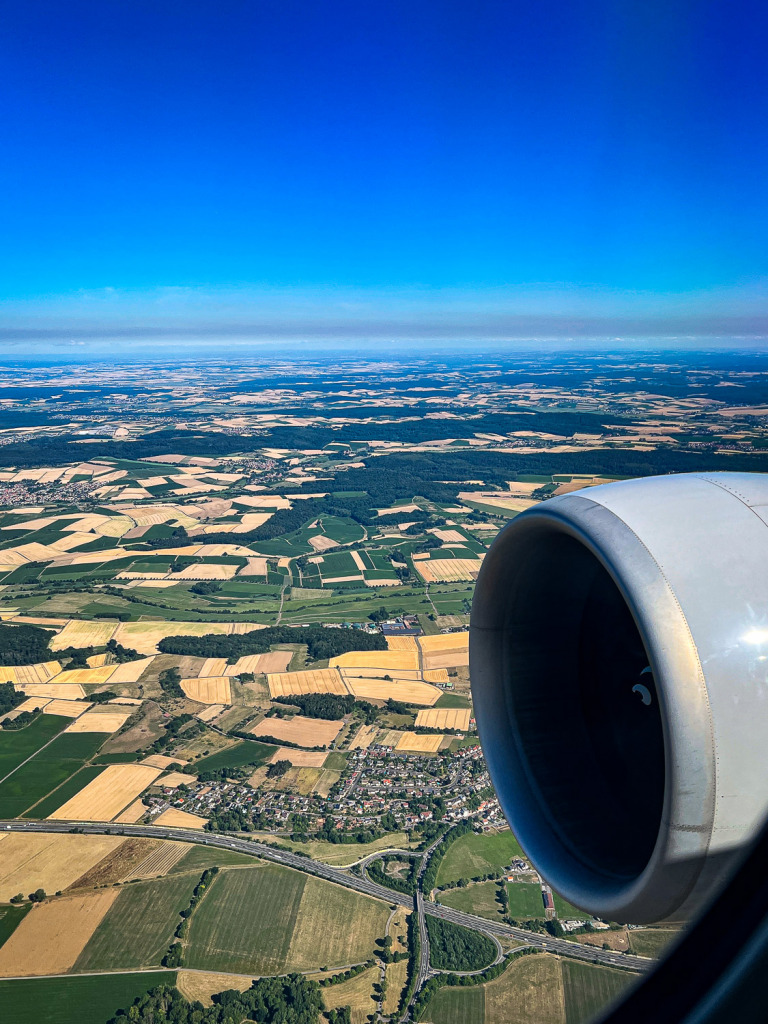
Here’s another problem that is likely to happen. It will take your iPhone a little time to update the geotagging system when it is in Airplane Mode. I shot the photo above as we were flying above Hasselroth, Germany, on our way to Frankfurt. It was the first photo I’d taken since we had left Newark, New Jersey. When we landed, the geotag labeled it as Newark Liberty International Airport in Newark, New Jersey. The time of the shot was 3:26 AM. Not very helpful! 🤣
Fortunately, I had also taken a second shot a minute later. It was correctly labeled as Hasselroth, Germany and the time was now 9:27 AM. So I advise shooting several photos to help the iPhone update itself.
Editing your airplane photos:
I edit my photos shot out of an airplane window in either Lightroom on my iPad or iPhone or Lightroom Classic on my Mac. Using the Dehaze slider is invaluable, and Dehaze is available in the free Lightroom app for iPhones and iPads.
I also add Texture and Clarity to help bring out details that may get lost in the haze.
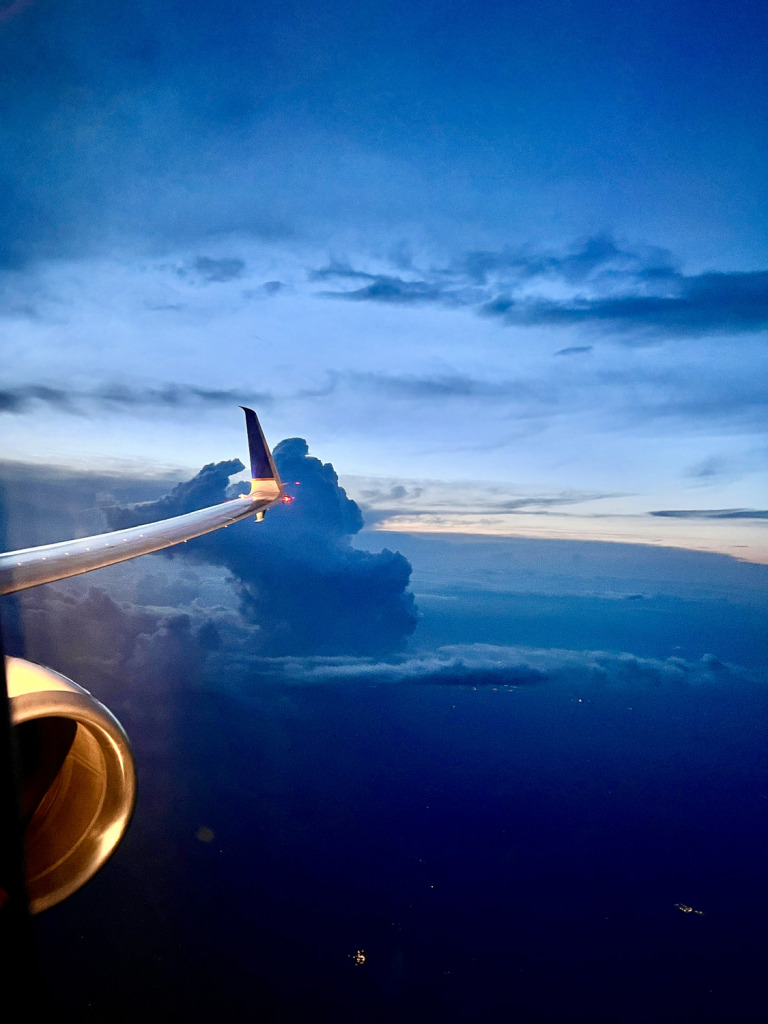
If you’d prefer to stick to the Photos app, you can. That’s what I did with the photo below. I took it as we were approaching Richmond, Virginia, on a stormy late afternoon on United. I loved the way the engine and wing were lit up for landing! The wing tip really popped against the dark blue of the storm cloud. My iPhone geotags told me that it was above Palmyra, Virginia.
Final tips on iPhone geotags:
Everything I’ve mentioned also works when you are shooting on the ground. Really, how many of us have taken photos on a tour and then wondered what the buildings were in the photos? Or maybe even what city we were in? Now you’ll have a way to know!
Also, some DSLR and mirrorless cameras also geotag your photos. It depends on the make and model of the camera. My Canon 5D Mark IV includes this feature. But what if your camera doesn’t? Check to see if your camera manufacturer makes a GPS device to attach to your camera. Canon makes a GPS device that attaches to the hot shoe of Canon cameras.
Extra tip: my Canon needs time for the GPS to connect to the GPS satellites, so I turn it on at least a minute before I want to shoot. I also leave it on most of the time I’m out shooting!
Now it’s your turn:
Don’t wait until you’re on a trip! Grab your iPhone and try this out. Get used to sweeping up or tapping on the “i” icon, then double tapping to select the map, and finally zooming in or out on the map, using your fingers or the plus or minus icons.
One of the best parts of photography is the feeling of accomplishment when you capture a great photo! If using your camera leaves you confused, it’s time to figure it out once and for all! Check out my online workshop! https://www.carolinemaryan.com/camera-mechanics-workshops-info/
You can learn more about the Investigator app here: https://www.carolinemaryan.com/three-hints-on-how-to-use-your-iphone-to-enjoy-slow-travel/
B&H has a long article about shooting photos out of airplane windows. It was written by a former pilot, Todd Vorenkamp. While the article assumes you are shooting with your DSLR, some of the planning advice will work for any camera! You can read it here: https://www.bhphotovideo.com/explora/photography/tips-and-solutions/the-window-seat-36-tips-for-taking-amazing-photos-from-airplane


Leave a reply