When you think of shooting action, what camera mode comes to mind? Do you switch to Shutter Mode? Or Aperture Mode? What about Manual Mode?
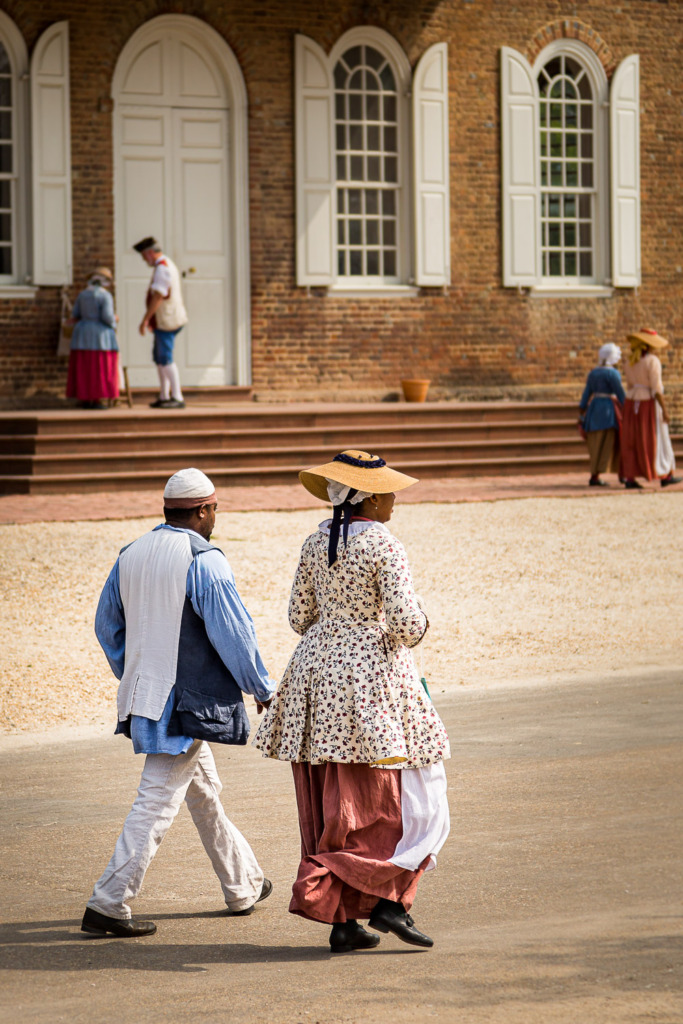
In my online workshop, Camera Mechanics, I share my secret for shooting motion with Aperture Mode. You’ll be surprised how many sports and wildlife photographers use Aperture Mode when they are trying to freeze motion!
Trying something new when shooting action
But, recently, I tried something new and was surprised at how well it worked. I was in California, visiting my son and his family. Since my oldest grandson plays soccer, I naturally had my camera in hand for the first game. (I can’t tell you how many photos and hours of video I’ve shot of each of my kids playing sports. Have they ever looked at the photos or watched the video? Are you kidding? 🤣 I just love the challenge of shooting action!)
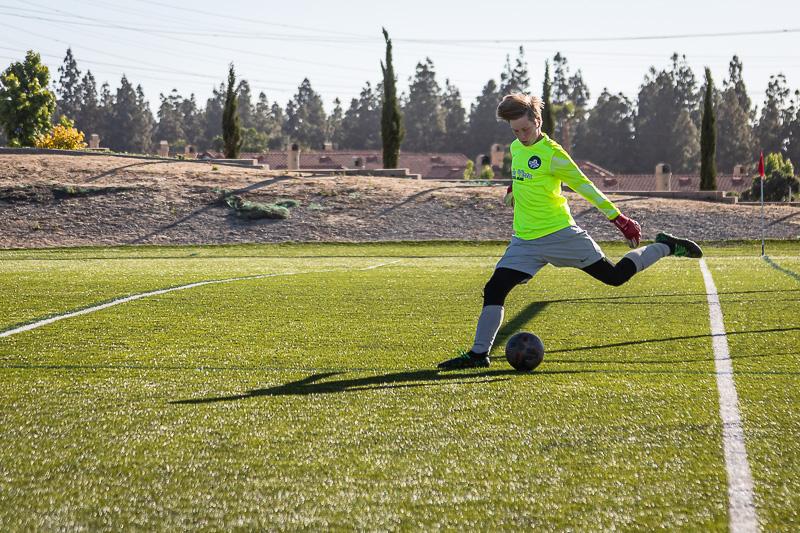
On the first day, I shot photos of my grandson, Cole, in the net as a goalie, using Shutter Mode. When I showed the photos to my son, he asked me to take more photos during the next day’s game. Big win for a mom! But then he asked that I have all the players in focus, so he could share the photos with the team. He wanted all the players to be able to see themselves clearly.
Hmmm. I usually try to focus on one athlete and have the other players blurred out. If you check the photos in magazines or sports sections, you’ll see the same technique. It leads the viewer’s eye to the subject. Now, he wanted everyone to be the subject.
The problem
If I used Aperture Mode and set a narrow aperture (higher f/stop number), the camera would set a slower shutter speed to compensate for the reduced light hitting the sensor.
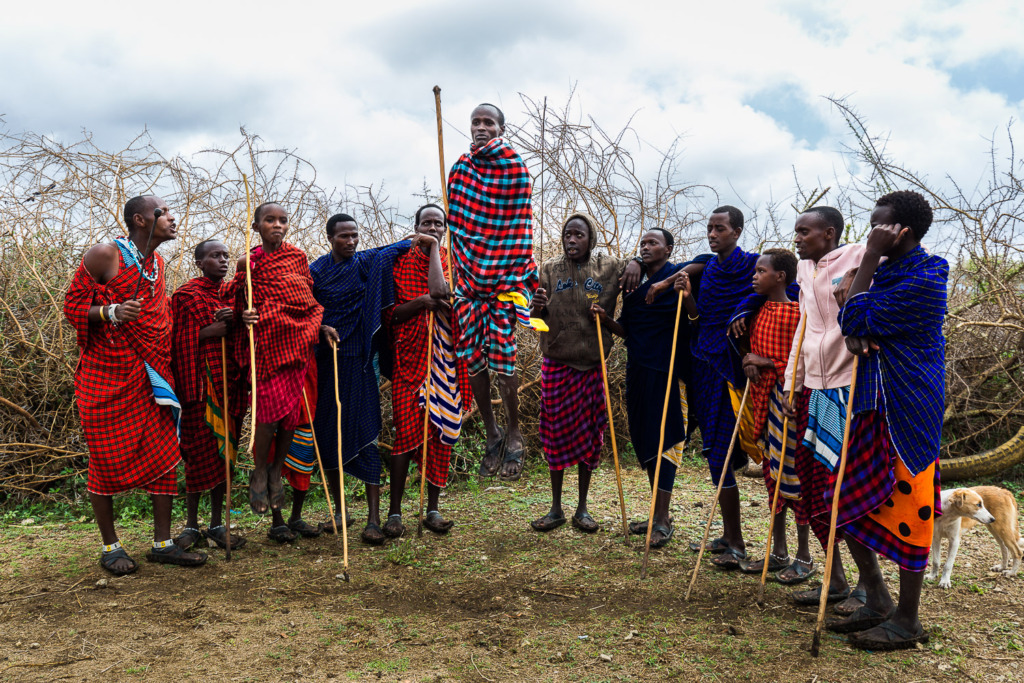
If I used Shutter Mode and set a fast shutter speed to shoot the action, the camera would choose a wider aperture (lower f/stop number), to allow more light to reach the sensor. This would result in a shallow depth of field. I needed a deep depth of field to have all the soccer players in acceptable focus.
The solution for shooting action
So, I chose Manual Mode.
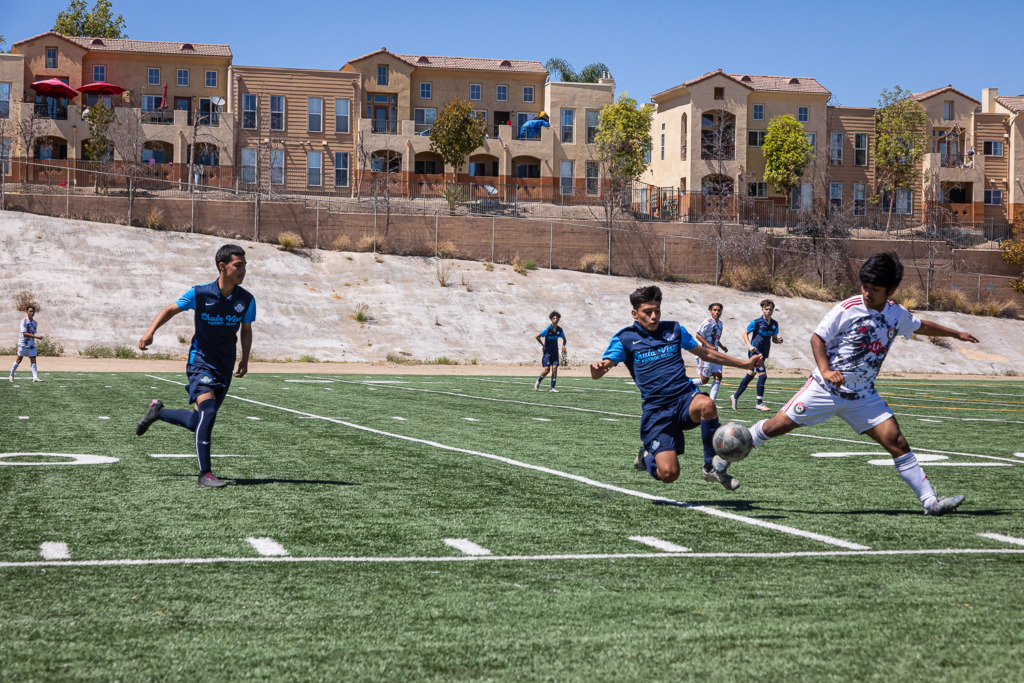
First, I set the f/stop to f/8 to allow a deeper depth of field. This helped keep more of the players in focus. Then, I decided on a shutter speed to freeze the action. If you’ve ever shot in Manual Mode, you know it’s not traditionally thought of as the go-to mode for shooting action. You need to balance the exposure for each shot.
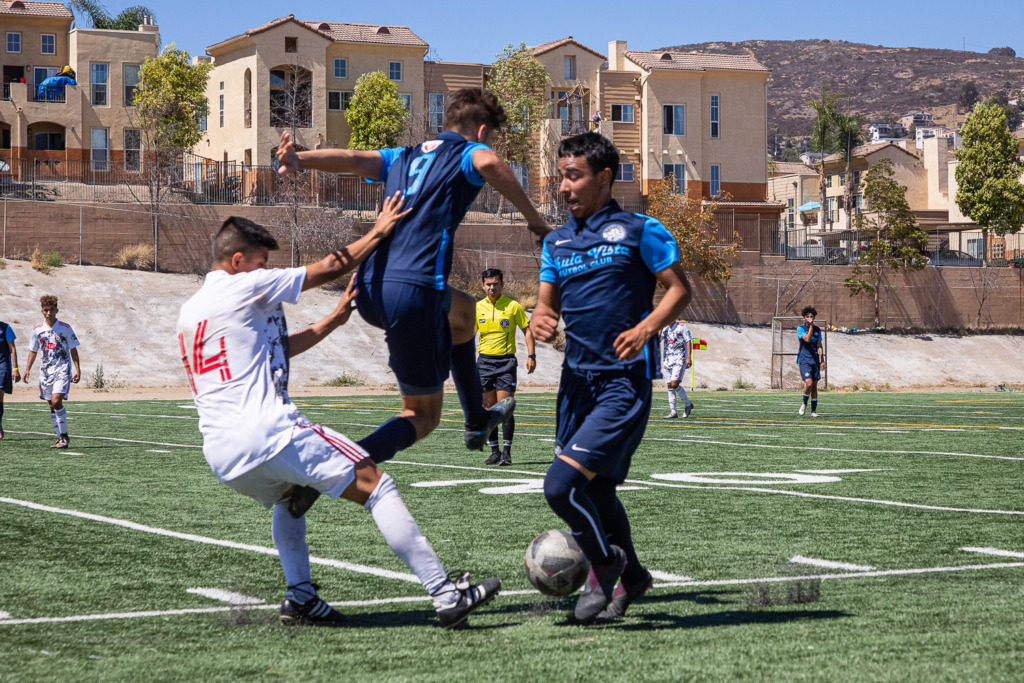
However, I had another trick up my sleeve. I set my ISO to Auto. (Heads-up: Some cameras do not allow ISO to be set to Auto in Manual Mode.) It was a bright sunny California day, so the ISO was able to keep the exposure right where I wanted it, with no work on my part!
By the end of the game, I had a collection of photos to share with the team.
My thoughts going forward
I’m so glad that I got challenged to think differently about which mode to use while shooting action. Now, I have a choice of three modes!
I use Shutter Mode when I’m panning. In fact, I leave my shutter speed set to 1/15th second in Shutter Mode. That way, when I see a chance to pan a moving subject, I just switch into Shutter Mode and pan away.
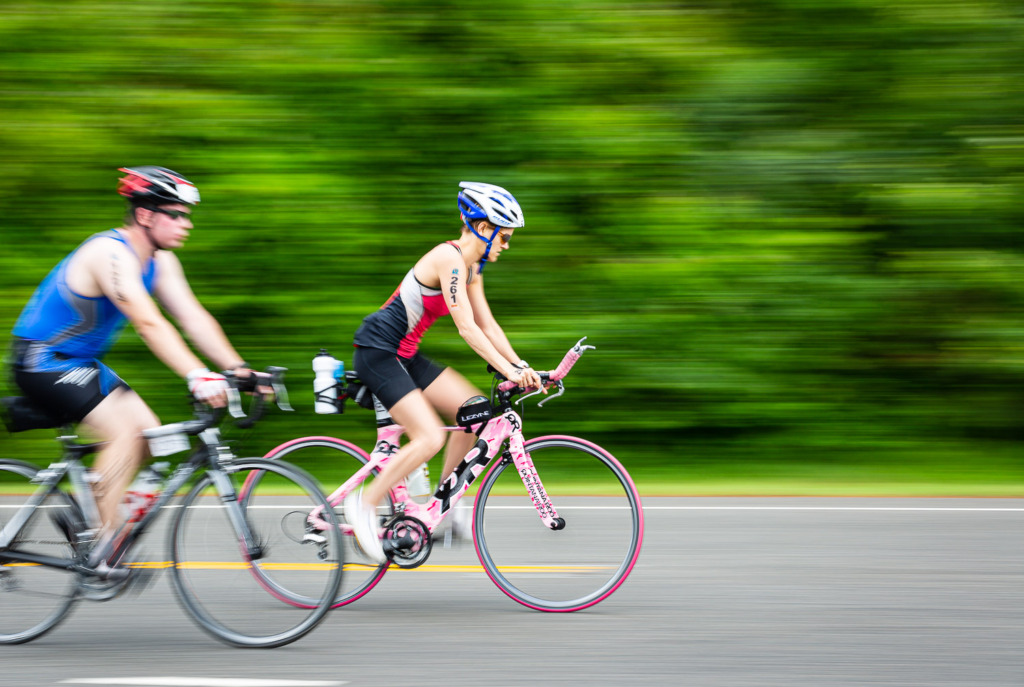
I’ll continue to use Aperture Mode for times when I want to isolate my moving subject from the background.

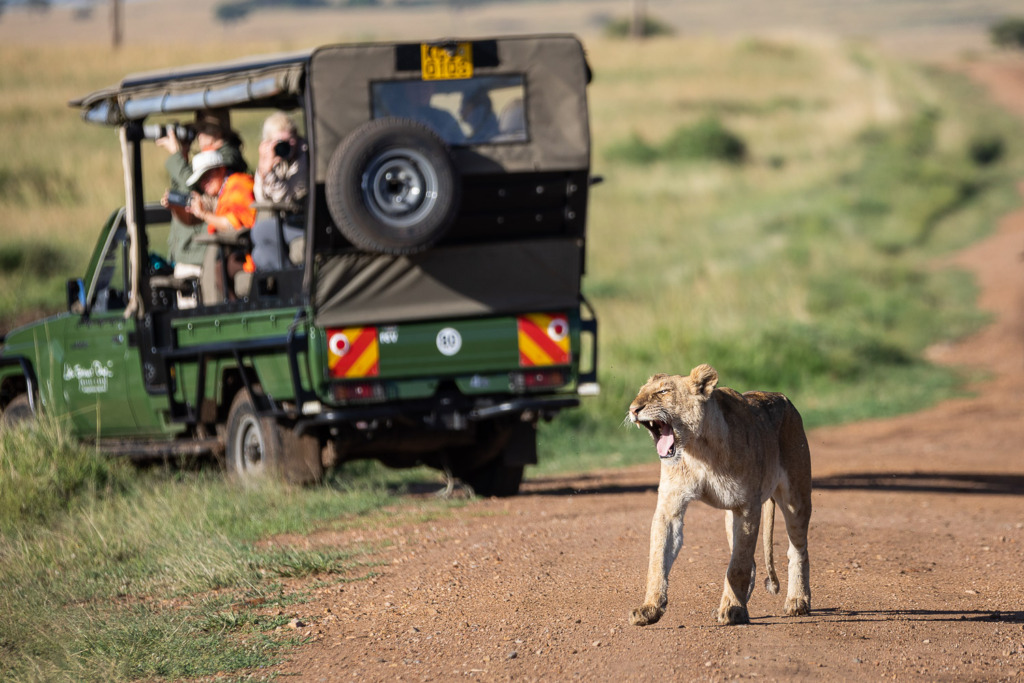
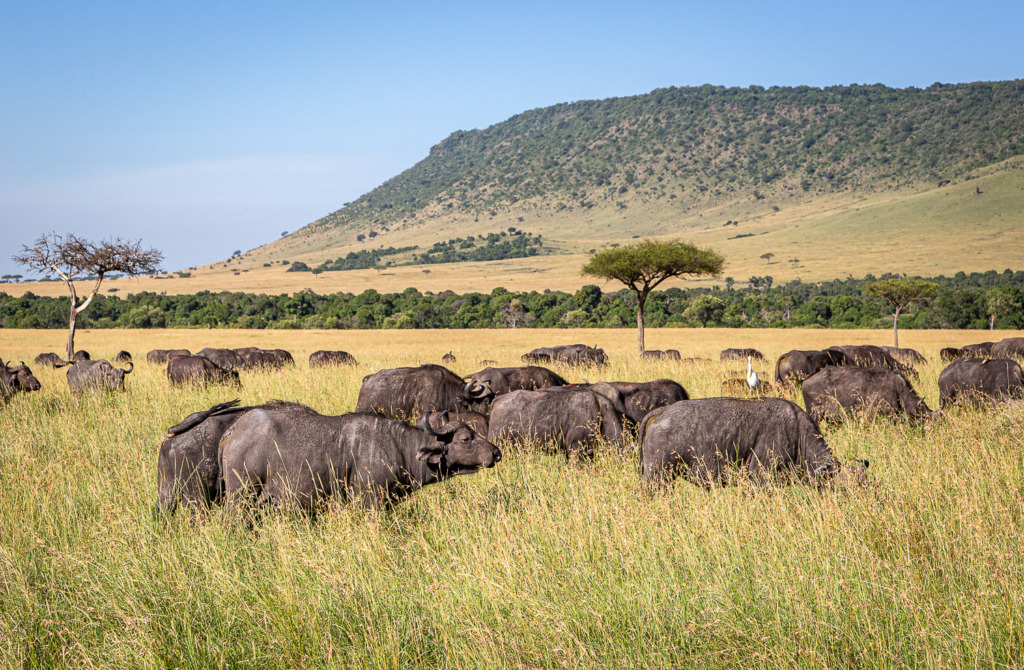
Manual Mode will be my standby for unusual circumstances. One example is when I’m shooting my dog as she leaps in the air or moving animals in Africa. In those cases, it helps to be able to set both a fast shutter speed and a slightly deeper depth of field.
What mode do you prefer when you’re shooting action?
Ready for more?
For more information about shooting action in Manual Mode, read this post.
This post will explain the peak of action.
Here’s another post about shooting action. It features my speedy dog, Kenzie!
To learn more about the settings on your camera, head over to my online workshop, Camera Mechanics!
Do you want to learn how to pan action? You can find my online panning class here.
Be sure to check out Jeff Cable’s blog for more advice on shooting action! He uses all of the modes I mentioned in this post!


Leave a reply