When you think of shooting action in manual mode, what photo comes to mind? Do you envision a waterfall or waves with the water smoothed out? Or an evening photo with light trails leading your eye around the scene? What about sports?
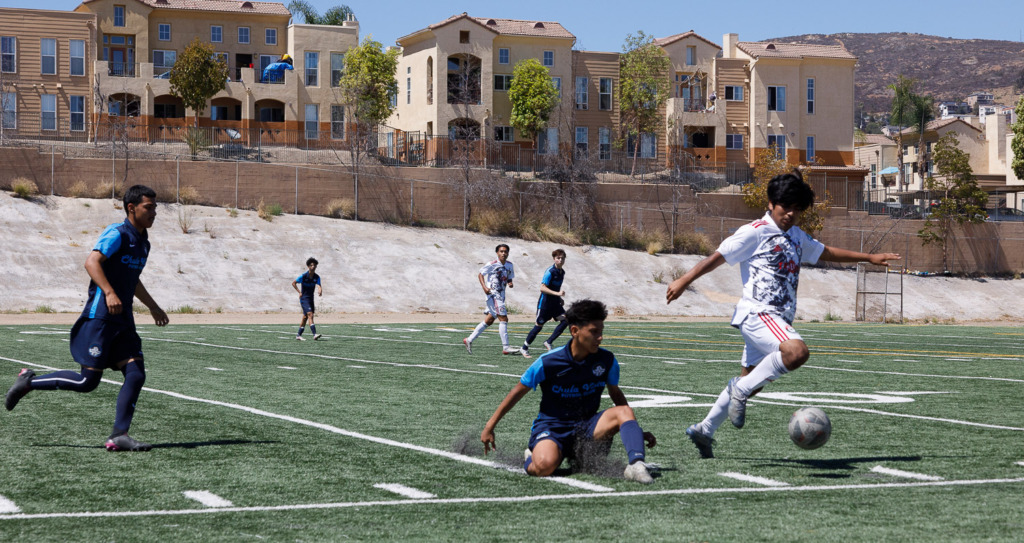
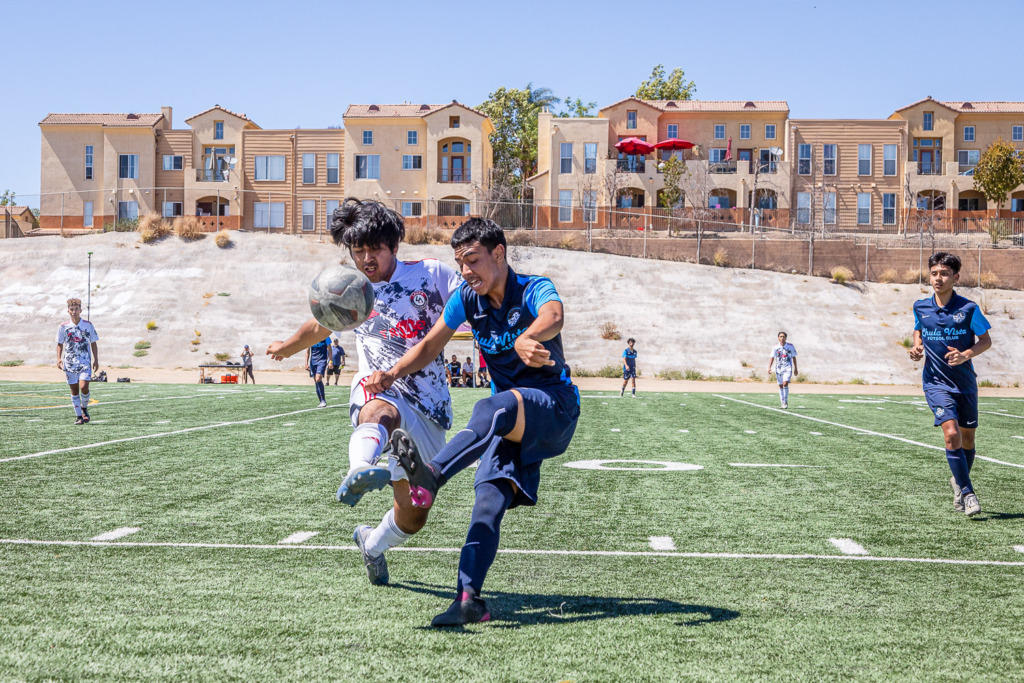
In my last blog post, I wrote about freezing motion in a soccer game using manual mode. (I’ll link to it in the Read More section below.) This is a new approach to action photography for me, and I’m hooked.
But there was one problem when I used Auto ISO in the process.
Shooting action in manual, my photos were underexposed.
Setting my ISO to auto did a fantastic job of freezing the action, but I was relying on my camera’s light meter to set the exposure, and the scene was so bright that the camera slightly underexposed my subjects.

Since I shoot in RAW, this was more of an annoyance than a real problem. In Lightroom, I was able to increase the exposure on all the shots simultaneously. Easy. But what if I were shooting in JPG? What if I needed to share the photos immediately?
Many sports photographers race to get their photos seen. That’s how they make their living. This delay would be more than an inconvenience for them. It could cost them money!
So, I set about researching how to control the exposure while shooting action in manual, and that’s what this blog post is all about.
When you’re shooting sports, you don’t get to choose the lighting.
You show up for the game and discover that the sun is across the field from you and low in the sky, turning your athletes into silhouettes. Or the lighting budget for the school has been spent on the baseball diamond and not the soccer field, and you’re shooting soccer. Or the position you’ve been told to stand in includes bright reflections aimed at you.
First of all, your camera’s light meter is going to tell you the exposure it thinks is best. Much of the time, that works just fine. But if the overall scene is much brighter or darker than your subject, you are likely to disagree with the camera’s choice. 😉 It’s true that you can tell your camera where to meter the light. With many cameras, you can even limit that area to just a spot on your subject.
But when you are shooting action in manual, you’re doing well just to keep your subject in focus while capturing the action as it is happening.

What modes do people use to shoot sports?
The traditional mode for shooting sports has been Shutter Mode. You set the shutter speed and perhaps the IOS and the camera sets the rest. How do you control over or under exposure? With one of my favorite settings! Exposure Compensation. It let us overrule the camera’s light meter. But with this mode, the camera is choosing the aperture and that can lead to depth of field problems for the photographer.
A second mode for shooting action is Aperture Mode. If you set your widest aperture (lowest aperture number), your camera will set the fastest shutter speed for the available light. You can control the shutter speed by raising or lowering the ISO or just leave it on auto. Setting the aperture gives you some control over the depth of field in the scene. Again, you can use Exposure Compensation to brighten or darken the exposure.
But, what about shooting action in Manual mode? Well, Manual Mode has traditionally been manual. Your job is to set the aperture, shutter speed and ISO. All of them. Then, you look through your viewfinder and balance the settings to create a good exposure. The problem is that this takes time.
When camera manufacturers added Auto ISO to Manual Mode, we gained more flexibility. Now we could set the aperture and shutter speed and let the camera balance the exposure for us. Now, Manual Mode was starting to make sense for shooting fast action.
When shooting action in manual, try this solution.
Some newer cameras include the option to set Exposure Compensation in Manual Mode. You’ll have to do some research on your exact make and model. And there may be a trick to setting it!
My husband’s Sony a6000 includes the option. I was so surprised when I discovered it. I wondered why it was included. When I thought of using Manual Mode, the photos that came to my mind were mostly taken with a slow shutter speed on a tripod. It seemed so simple to just move the needle away from “0” in the light meter indicator, in the viewfinder, if I wanted a brighter or darker photo. Let’s face it, I had time. The waterfall wasn’t going anywhere.
This was before the soccer game in California. (I’ll link to that blog post in the Read More section below.) Suddenly, I wasn’t really controlling the exposure manually. The ISO was. Shooting action in Manual Mode was getting complicated.

Check the Custom Settings
On Skip’s Sony a6000, the Exposure Compensation button continues to work in Manual Mode. Simple! My Canon 5D Mark IV doesn’t have an Exposure Compensation button. In most modes, I simply tap the shutter button and then turn the Quick Control Dial to adjust the exposure. Unfortunately, the same dial sets the shutter speed when I’m in Manual Mode.
My solution was in the Custom Controls menu. I was able to assign the Set button (located in the center of the Quick Control Dial) to control the Exposure Compensation. Now, I hold down the Set button while turning the Main Dial to raise or lower the exposure compensation. It works!
Give this a try on your camera and see if you can control Exposure Compensation while you’re shooting action in Manual. (I also own the Canon 5D Mark III and this solution doesn’t work on it.) Then, let me know in the comments what you think. For me, this is a game changer for shooting sports and fast wildlife (like my dog…). Now, wouldn’t it be nice to go on safari to try this out?
Read More:
Ready to read about the soccer game I shot in California? Click here.
Curious about when and why to use Exposure Compensation? You can read about it here and here.
Panning to capture action is fun to learn. Click here to learn about my online panning class.
Looking for some more sport photo inspiration? Check out Scott Kelby’s portfolio here.


Leave a reply