I love shooting moments in time, but this can be tricky if there is movement and the light is low. We’re encouraged to shoot during the golden hour for the wonderful light, but without a high ISO, it’s hard to freeze action. If we’re on a trip and shooting an evening event, there is rarely enough light. On safari, most drives occur in lower light, when the animals are active. Even in bright light, fast action can be hard to freeze. But all is not lost. I do have one technique that works surprisingly well, and that is capturing the peak of action.
What is the peak of action?
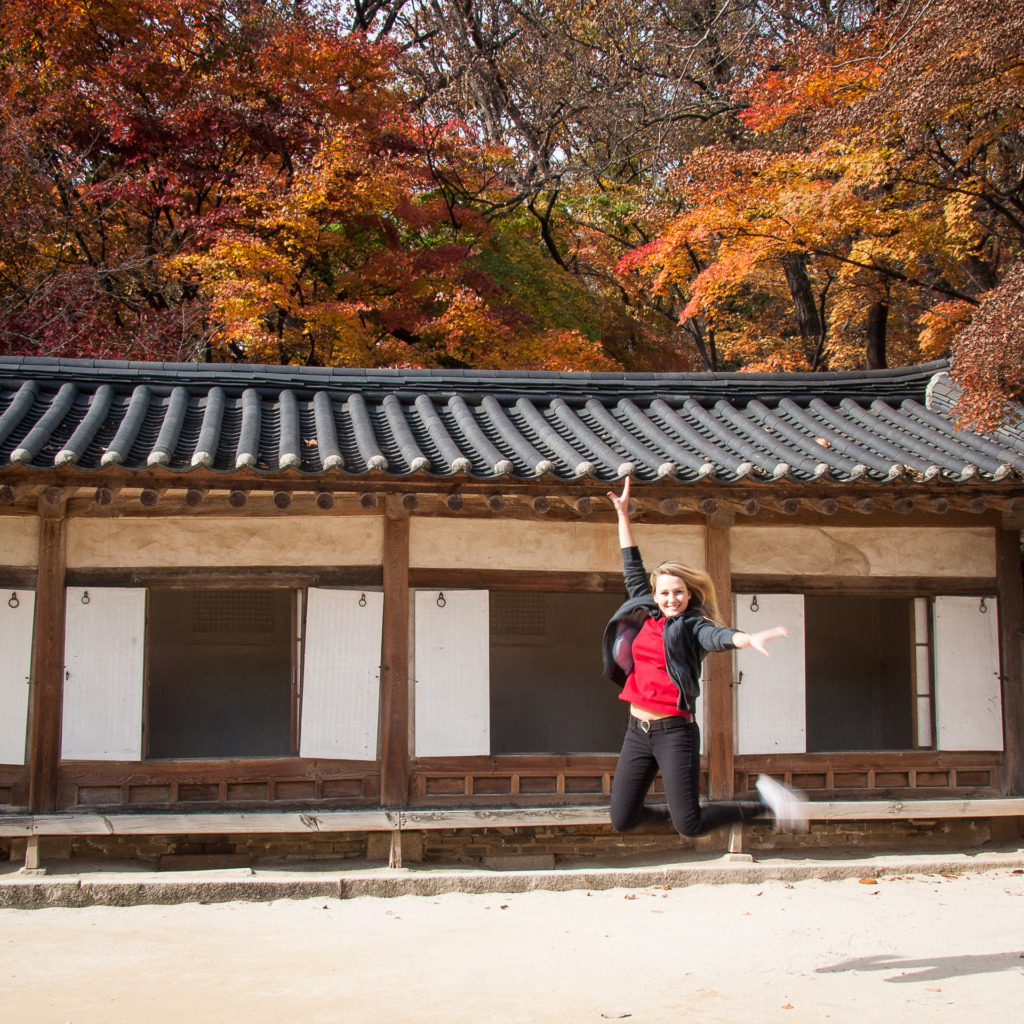
This photo of my daughter jumping into the air is a great example. I shot it in Seoul, in the Secret Garden. We were out for a walk in the fall, looking for autumn leaves. Suddenly, she jumped into the air. (She is a dancer, as you can probably tell…) I asked her to do it again and caught this shot. While the sun was out, the light was pretty low and I had selected a narrow aperture (high aperture number), so my shutter speed was only 1/50th second. That is a really slow shutter speed for action.

So, how did I freeze her? She actually froze herself. Let me explain. When you toss a ball up in the air, there is a fraction of a second when it stops, just before it starts to come back down. The same is true of any object or person. To freeze action in low light you need to capture the peak of action, that moment when the action stops.
If you look closely, you’ll notice that her hair, shirt, jacket, feet and a hand are all still moving. But her face is still and her eyes are in focus. I love the dynamic quality of the photo, with some parts moving and other parts still. You definitely know that she was not photoshopped into the scene.
How do you time your shot?
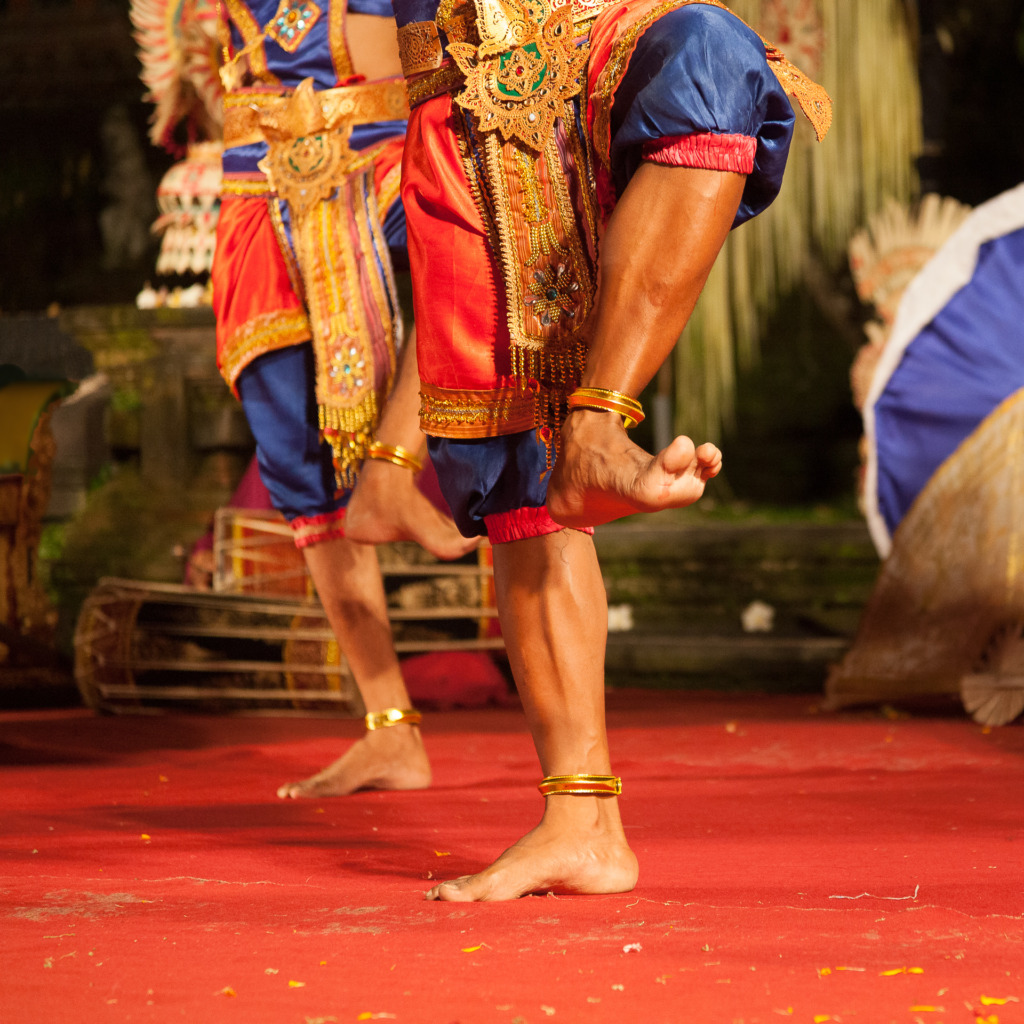
Here’s an evening shot with a shutter speed of 1/100th second. There wasn’t enough light for a fast shutter speed. I focused on the raised foot of the front Balinese dancer and used Continuous Shooting Mode to capture the peak of action when his foot was as high as it would go.

The secret to capturing the peak of action is a setting on your camera called Continuous Shooting Mode or Burst Mode and patience. 😉 (It may have a different name on your camera. Different brands use different names.) It’s really difficult to time your shot, so you let your camera help you out. In the days before digital photography, this could be an expensive approach, due to the cost of film and printing. Today, it’s an easily affordable luxury.
Setting Continuous Shooting Mode
You’ll need to look over the buttons on your camera. A quick Google search with your camera’s make and model plus Continuous Shooting Mode or Burst Mode in the question will probably be the fastest way to find the right button! Since I’m a Canon shooter, I include some Canon instructions below.
On my Canon T5i, there is a button on the back that has an icon that looks like three photos stacked on top of each other. Pressing that will take me into a Drive Mode selection page. To set Continuous Shooting Mode, the second selection, the icon of the three photos, is the one to choose. Then, I press the Set icon or button.
Some cameras may have two speeds. On my Canon 5d Mark IV, I press the Drive button on the top of the camera. Then, I spin the wheel on the back to select the icon with the three photos. There are actually two of these icons. One has an “H” next to it to indicate that this is the higher speed.
If you have a Canon, you can also make this choice by tapping the Q button on the back of the camera. The icon to choose will look either like a single photo, multiple photos or a stopwatch. That will open the page where you make your choice.
Using Continuous Shooting Mode to capture the peak of action
Now that you have the camera set, how do you time your shot? When your subject starts to jump, you start shooting, keeping your finger on the shutter button until the moment is over. Depending on your camera model, you will have anywhere from 3 photos to many more. More expensive models shoot more shots per second in Continuous Shooting Mode. There is a certain amount of luck involved, too, especially if your camera isn’t a really fast shooter. But this makes it a fun challenge.

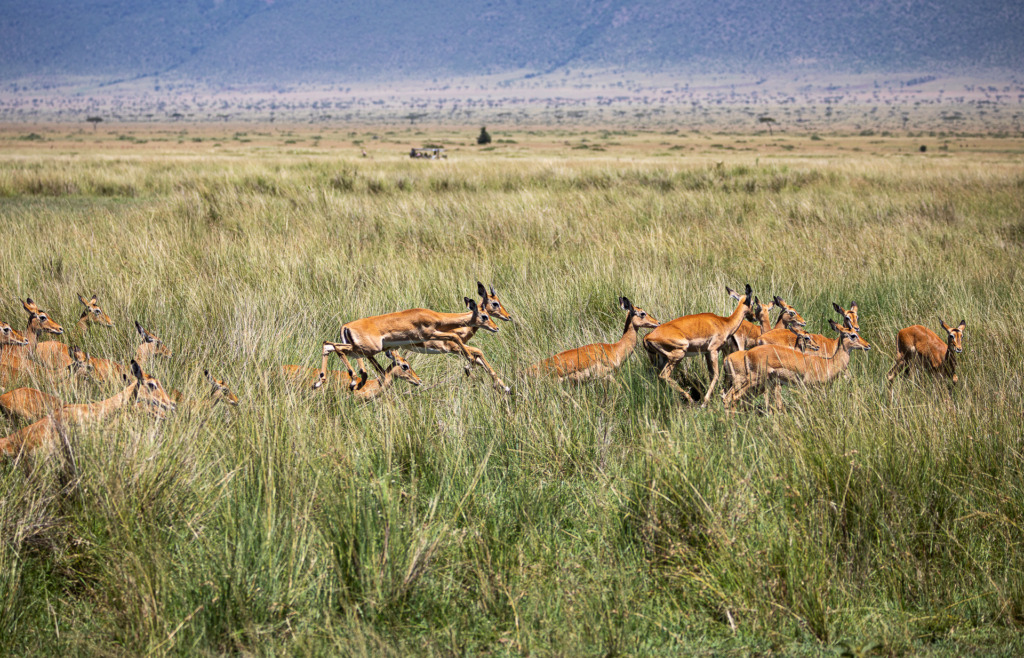
Here is a full-sized version of the panorama at the top. I was able to freeze these female impala as they followed a buck in Kenya, using a combination of Continuous Shooting Mode, a faster shutter speed and capturing the peak of action. They are such graceful jumpers!
Maintaining focus can be a problem
Another problem you may encounter is that your subject could move out of focus. To help avoid that, you can increase your aperture number slightly. That will give you a deeper depth of field and a little more wiggle room on your focus.
Shooting from a distance will also help with depth of field and focus.
So, the best approach is to repeat the action and keep trying to capture it. When you get your photos onto your computer, you’ll need to look at them closely to find the one that is the best.

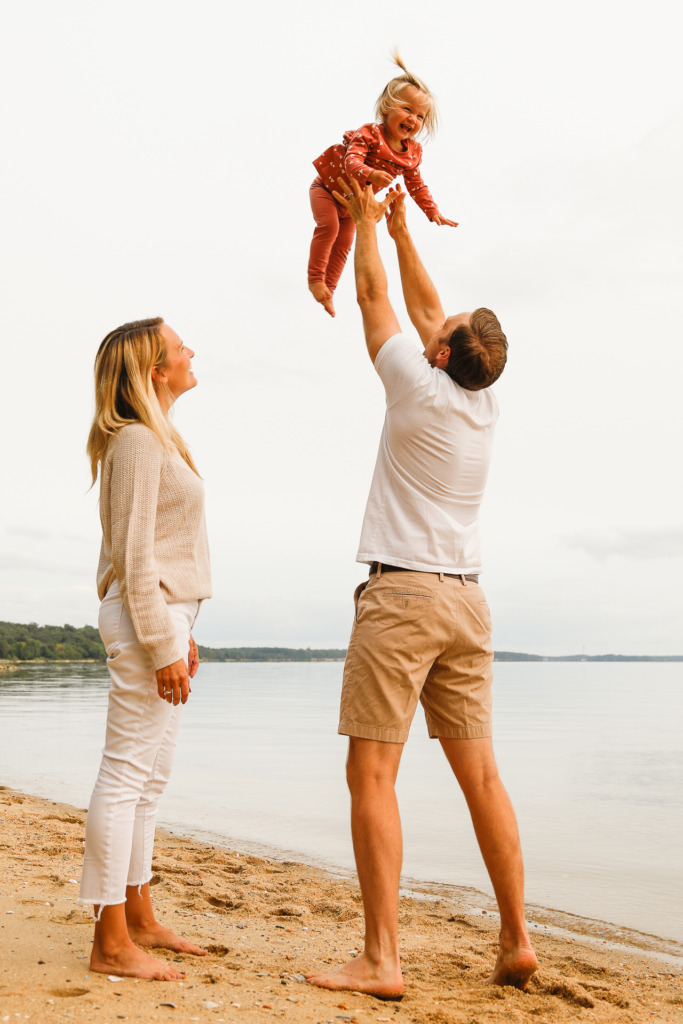
For this photo, I was looking for a shot that had the face and eyes of the little girl (my granddaughter) in focus. I wanted to show how much she liked playing this game with her father. Without Continuous Shooting Mode, it would have been really hard to capture the peak of action and freeze her in the air.
Now it’s your turn
Anyone who has taken my workshop in recent years will be familiar with this exercise. It gets a lot of laughs. You’ll need a helper to try it out. Have your assistant throw a beach ball (or any ball that has distinct markings on it, so you can focus on it) straight up into the air, while you shoot. Give it a try and see if you can capture it at the top, frozen. One tip. Focus on it first, before you start shooting. Also, frame your shot so the helper is also in the shot. That will help you hold your camera steady and not instinctively follow the ball.
Read more
I use Continuous Shooting Mode when I take pet photos. You can read about it in these two posts:
Capturing Your Dog’s Personality
Pet Portraits for Your Holiday Cards and Gifts
If you’d like to try this with your iPhone, here’s a post all about it:
Using Your iPhone in Burst Mode
If you’d like to learn more about Continuous Shooting Mode, here’s an article about it from Digital Photography School.


2 Comments
Caroline, what focal points would you use in these shots? In still shots, I use the small single focus point, but obviously this won’t work for action shots. I’ve tried repeatedly to capture the CW lambs leaping about, but – like you said- they are most active in the evening when the light is low! I’ve tried center focus and wide focus, but anything that turns out is due more to luck than talent! Thanks! 🙂
Hi Joyce, I think I have an answer for you! When I read this, I knew I had to do some research. As you know, I’m a Canon shooter, but I added a Sony A6000 in December, to help me as I develop the online version of my workshop. Today, I read an excellent but really technical article about focus. I had both my Canon 5D Mark IV and my new Sony by my side and tried to follow along. (I even ended up with two books by David Busch open on my desk. Like I said, the article was pretty technical! 🤣)
When I reread your question this evening, I knew what the problem was! But, first, I quickly looked up which camera you owned. Bingo! A Sony! According to the author of the article, Jared Lloyd, who is a wildlife photographer, both center focus and wide focus on a Sony are basically just letting the camera decide what to focus on. He doesn’t recommend them! If you want to read the article, you can find it by Googling “Master Your Auto Focus” by Jered Lloyd.
I asked two bird photographers about focusing when they shoot. One uses just one focus point and follows the bird. The other varies between 3 different focus areas. A small one, a slightly larger one and an even bigger one. Of course, they aren’t trying to shoot in a field with things that get in the way.
On your Sony, I would try Flexible Spot: Medium. Let me know if this works! I think I’ll try it myself when it’s warm enough outside!
Finally, with my Canon, I use the single focus point like you. I also use back button focusing along with AI Servo. On your Sony, that would be AF-C.
Any more questions? I’d love to help figure it out with you! Have you tried back button focusing?