Exposure compensation is one of the most useful and important tools on your DSLR or mirrorless camera because it allows you to override the camera’s choice of exposure. When you use exposure compensation, you are telling the camera that the exposure it has set is either too dark or too light.
When should you use exposure compensation?

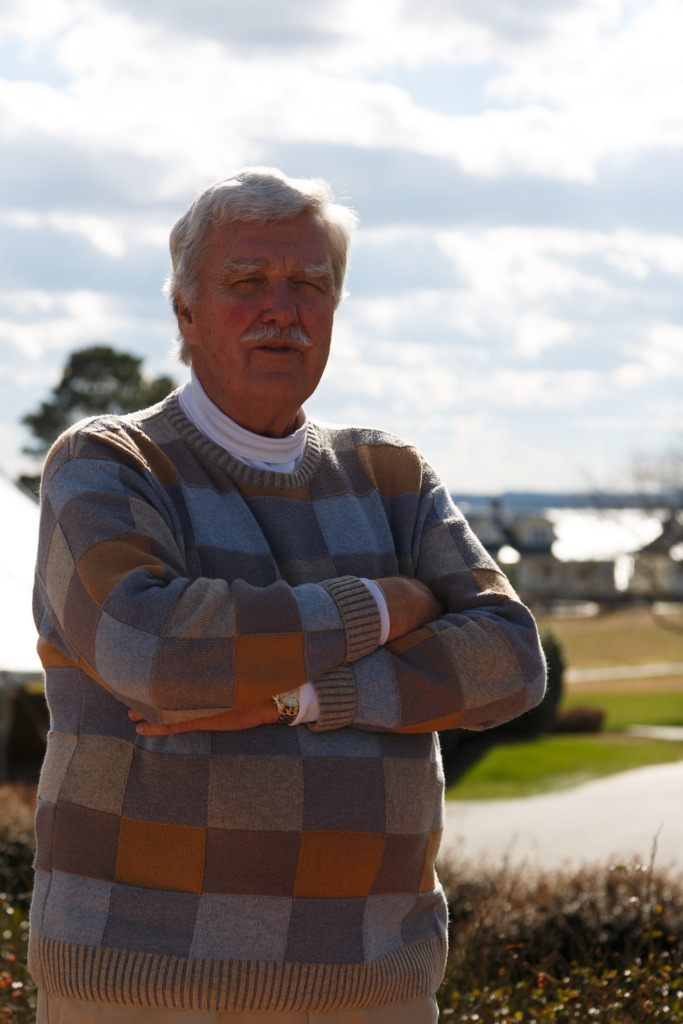
In this photo, you can see that the subject (my sweet, long suffering model/husband, Skip! 😉) is underexposed, due to the brightness of the sky behind him. The camera has metered the scene to try to properly expose it while including the brightest and darkest parts of the image.
Unfortunately, cameras have a hard time capturing a scene with this much dynamic range. (Dynamic range is the difference between the blacks and whites in an image.) So, you will need to decide what data is important.
Since the camera didn’t want to blow out the highlights (lose details in the sky) in this photo, it underexposed the subject. This problem is really common when you are shooting at the beach or on a bright sunny day with snow on the ground. It also frequently occurs when you are shooting a backlit or sunset shot.
This is where using exposure compensation can come in handy.

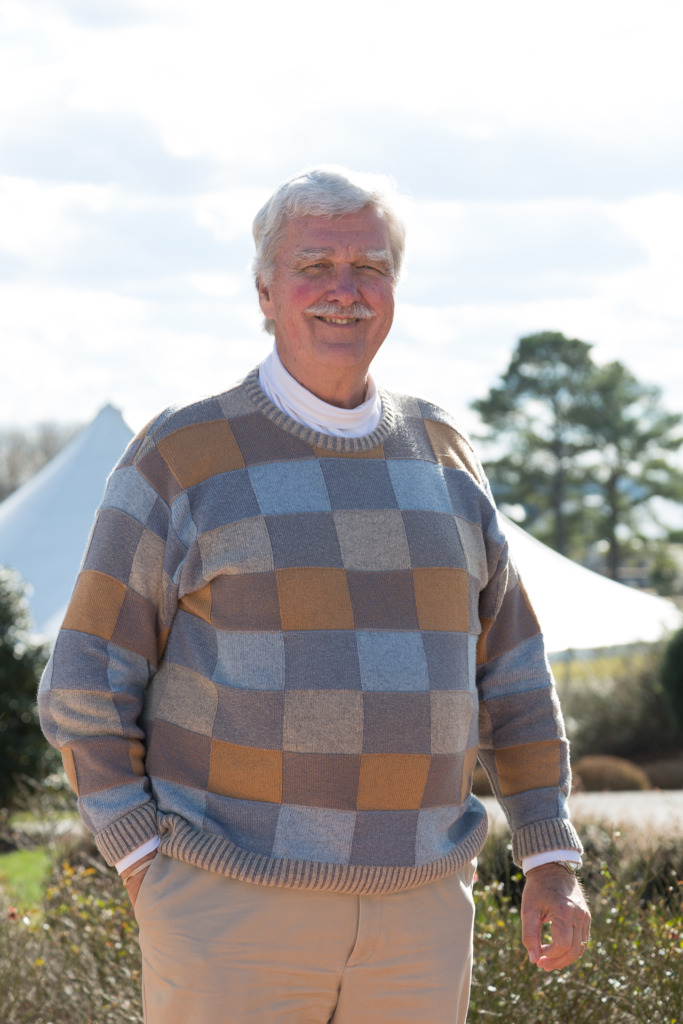
In the next shot, I’ve added exposure compensation to increase the exposure on Skip. The sky doesn’t have any detail, but that is less important than properly exposing my subject.
What modes is exposure compensation available in?
You can use exposure compensation in Program, Aperture, and Shutter modes. It isn’t available in Auto mode and that is one of the reasons you should get out of auto! Why isn’t it available in Manual mode? It is there, but it looks different.
When you set your camera to Manual mode, you are still using the camera’s light meter. If the photo is too dark, you simply add light by moving the needle to the right of zero (or positive side) in your viewfinder. If the scene is too dark, you’ll set the exposure with the needle to the left of zero.
Hint: Some camera brands reverse which side is positive. You’ll need to study your light meter reading in your viewfinder. One side will have a plus sign and one will have a negative sign. Also, some camera brands display the light meter reading as an up-and-down dial. Look for the plus and minus signs!
How do you know how much exposure compensation to use?
When you first start using exposure compensation, you’ll need to check your photo on your LCD screen in playback mode. (In mirrorless cameras, you can do this before taking the shot.) As you get better at using it, you’ll develop a sense of how much to use. You can also check the histogram. That comes in handy when you’re shooting outdoors and it’s hard to see the LCD screen.
How do you set exposure compensation?
If your camera has two dials or wheels, chances are that you can simply tap the shutter button to wake it up and then spin one of those wheels or dials. As you do it, you’ll see the needle move to the right or left (or up or down) in your viewfinder.
If your camera has only one wheel or dial, you’ll need to tap and hold another button while you spin that dial. This button is marked with a square icon that is divided in half diagonally. One half is black and the other white. A plus and minus sign are also on the button.
What if you want to preserve the details in both the dark and light parts of the scene?
This is where shooting in RAW rather than JPG is helpful. The negative side to this is you do have to do some editing when you download your photo to your computer. The positive side is that you get to choose which details to keep. I’ve shot in RAW for years because of this. I use exposure compensation and then edit my shot on my laptop before I export it as a JPG.
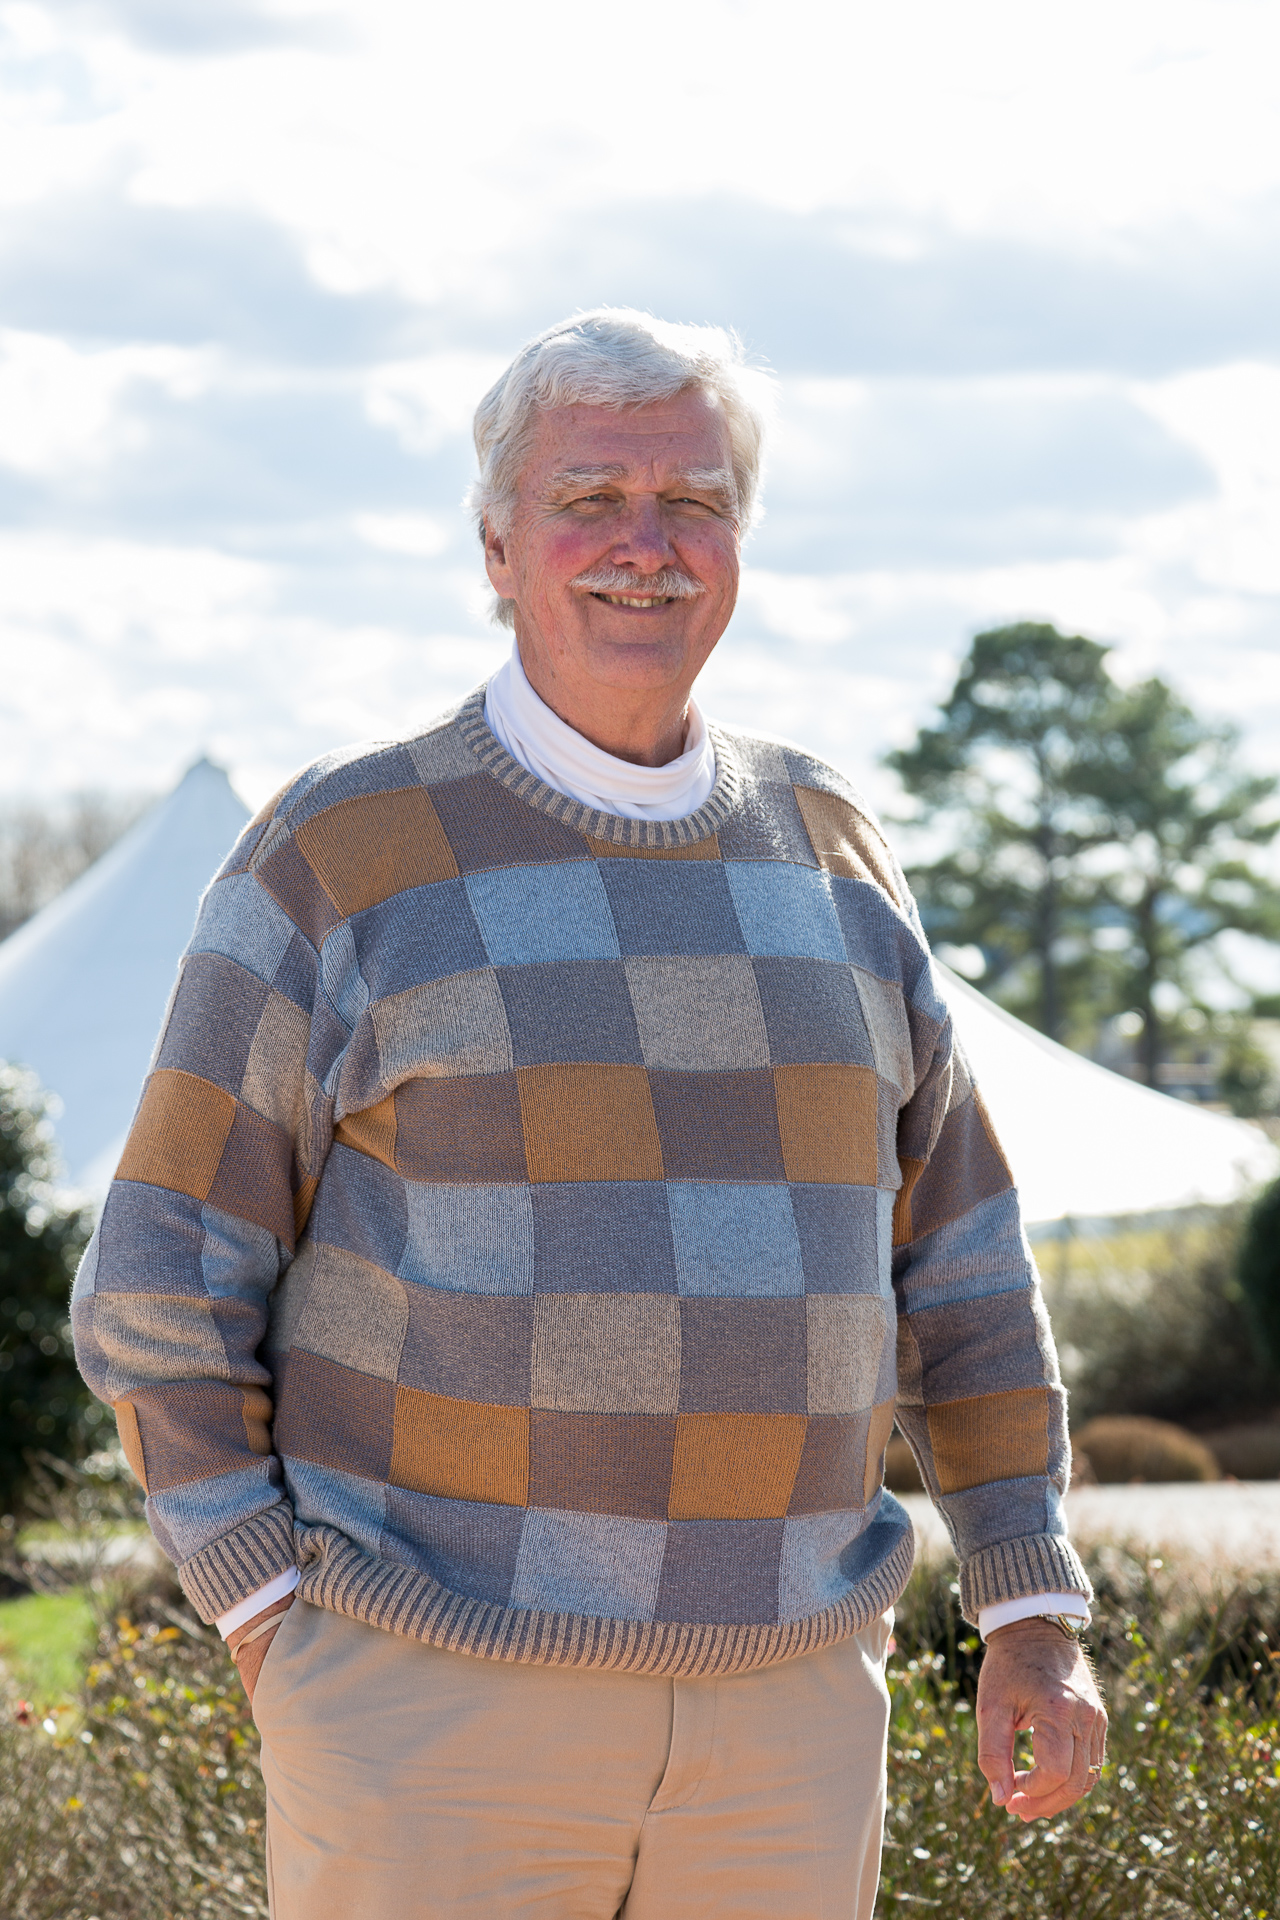
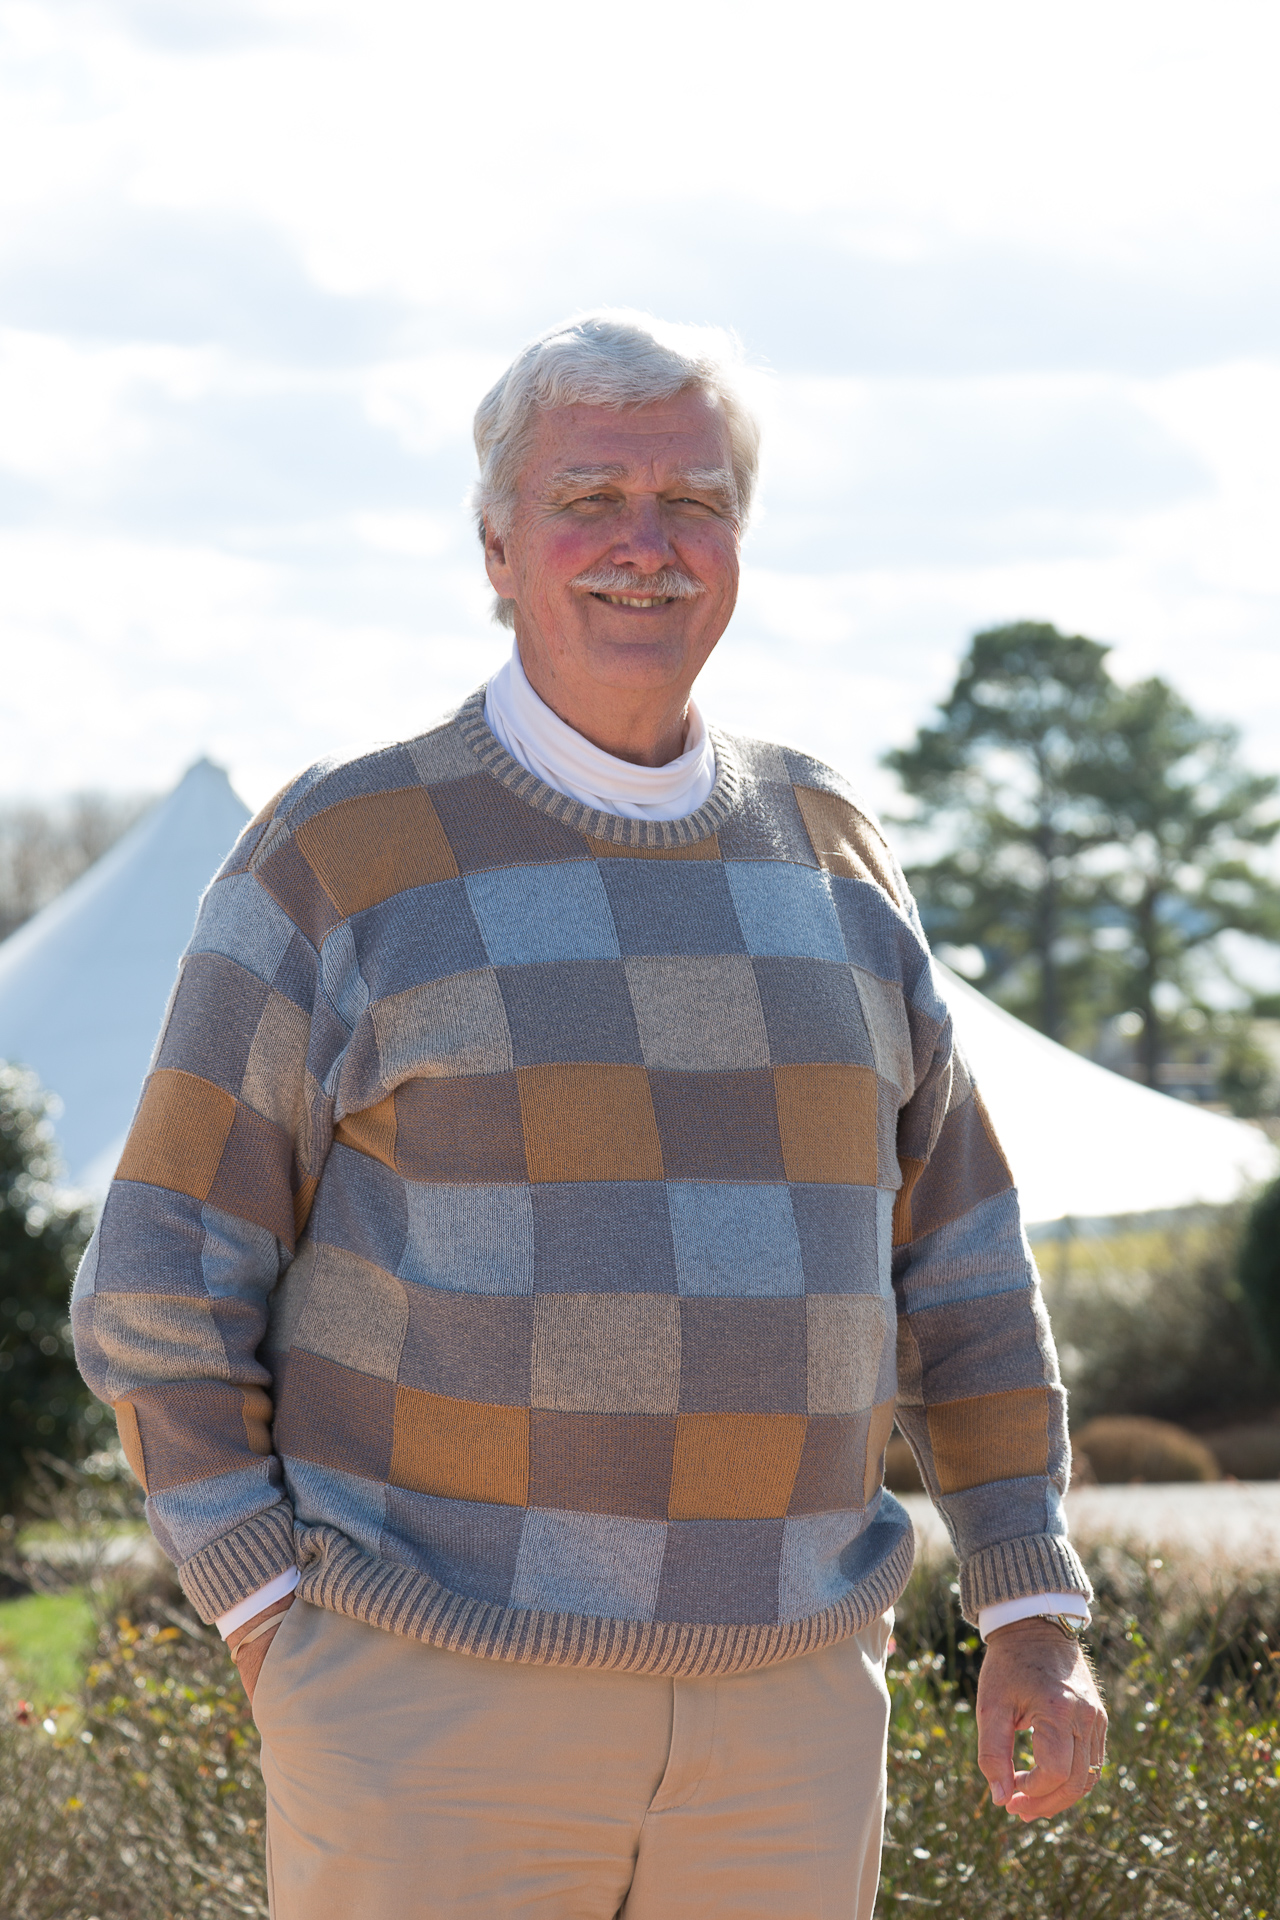
This is how I created the processed shot you see above, if you swipe to the left. The photo on the left is the one from above, with +2/3 exposure compensation, shot as a jpg. The photo on the right is also +2/3 exposure compensation, shot in RAW, with processing in Adobe Lightroom Classic, and then saved as a JPG. You’ll notice that I was able to bring back the details in the sky.
The photo at the very top, of the Bass Harbor Head Lighthouse In Maine, was also shot using exposure compensation. Because the sky was so bright, I used +1 stop, and then I did process it in Lightroom Classic.
You can also try HDR
Another approach which works well with stationary subjects is shooting a series of shots with different exposures and combining them into an HRD image. (HDR stands for high dynamic range.) Some newer cameras allow you to do both the shooting and combining in the camera. There is also a lot of software available to combine the shots. The reason that this doesn’t work well with moving subjects is that the subject will often appear blurry when the shots are combined. Also, your camera should be on a tripod when you shoot the series of images.
By the way, this is why newer iPhones take such rich looking images. They feature automatic HDR when they sense a wide dynamic range.
Big warning!!!
When you set exposure compensation, it remains on until you turn exposure compensation off. This is really useful if you are shooting a series of shots in the same location. It is also really helpful if your camera always seems to under or over expose images. On my Canon 5D Mark III, I leave exposure compensation at +⅓ stop, because this camera seems to take slightly dark photos.
The problem arises when you forget to turn it off. Then, you head out to get some great shots and wonder why they are over or under exposed. I’d like to say that this is unusual, but I confess to catching myself with it turned on every now and then! 😩 (And don’t remind me about the times I leave the timer set… Aargh!)
I also see this problem with many of my beginning students. They don’t how to use exposure compensation yet and have set it by mistake when they are trying to learn to use their cameras. Then, they can’t figure out why their photos are all too dark or too light. It can be really frustrating when you are just starting.
Still curious?
For the “flying baby” shot in this post, I had the exposure compensation set to +1 stop because of the bright sky. You can see it here: https://www.carolinemaryan.com/capturing-the-peak-of-action/
Want to try your hand at HDR photography? Here’s a link to an article about it at expertphotography.com: https://expertphotography.com/hdr-photography-tips-improve-photography/


Leave a reply