These three practical reasons for using Aperture Mode on your camera will make you a faster photographer. They’re my secret to capturing moments as they happen instead of missing them as I hunt for the proper setting. Give them a try. I think you’ll agree that Aperture Mode is one of the most valuable settings your camera offers!
Reason #1: Quickly capture more light using Aperture Mode.
Sometimes, you’ll find yourself shooting in low light. It may be early in the morning or late in the afternoon. You see a scene you want to capture and know you must act fast. A quick solution is to set your camera to Aperture Mode and the lowest aperture number your lens will allow. This will allow the largest amount of light to hit your camera sensor.
More light equals a faster shutter speed.
One of the advantages of the light is that your shutter speed will increase.
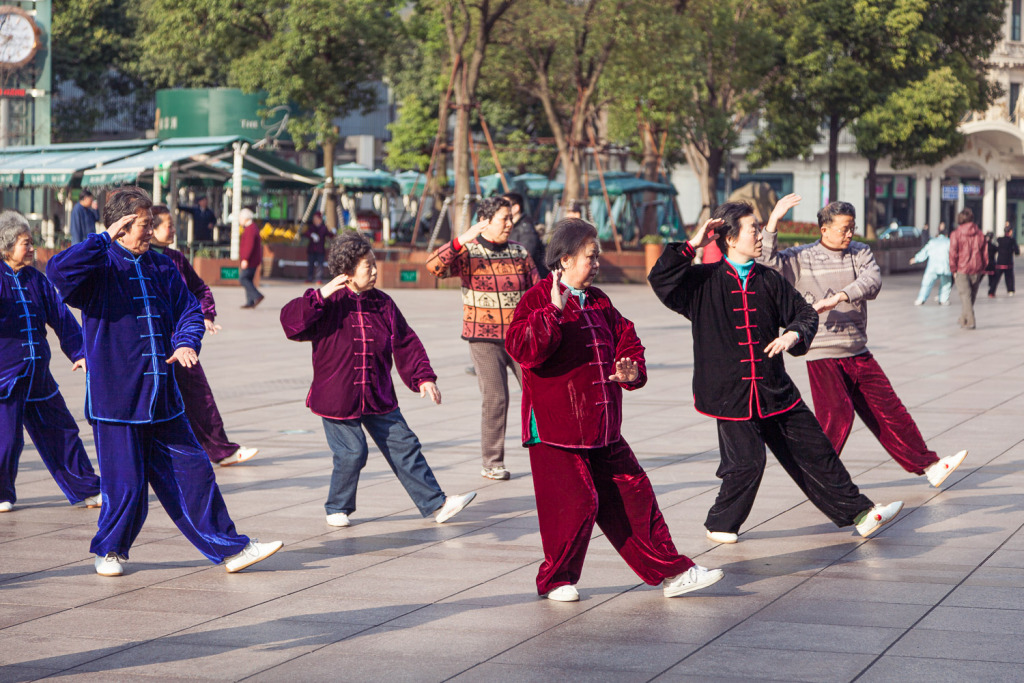
I took a photo of people doing Tai Chi in Shanghai early in the morning. You can see their shadows stretching in front of them. I wanted to freeze the motion, so I set my aperture to f/4.0. The camera would set the shutter speed and choose 1/400th second. Since I usually have my ISO set to Auto, the camera chose ISO 100. I could have manually increased the ISO if I needed a faster shutter speed.
I quickly captured a photo of the moment when their left legs were all stretching forward; What a practical reason for using Aperture Mode.
More light can create a shallower depth of field.
Another advantage of using a low aperture number is the shallow depth of field. That helped set the people doing Tai Chi apart from the background. They were in focus, and the background was not. (Quick heads-up: Other elements are involved in creating a shallow or deep depth of field. In this case, I was close to the people doing Tai Chi, who were far from the background.)

The lighting in the conveyor belt sushi restaurant in Seoul, South Korea, wasn’t very bright. To freeze the motion of the two chefs, I set my aperture to f/4.0 and the ISO to 1600. This gave me a shutter speed of 1/100th second. I love the chef’s expression!
And can you see how the low aperture number helped blur the food in front of me on the conveyor belt? It’s clear what the subject is, due to the shallow depth of field, another practical reason for using aperture mode.
Reason #2: Quickly let in less light using Aperture Mode.
We’ve talked about using a low aperture number, but a high one can also come in handy.
Using less light to create a silhouette:
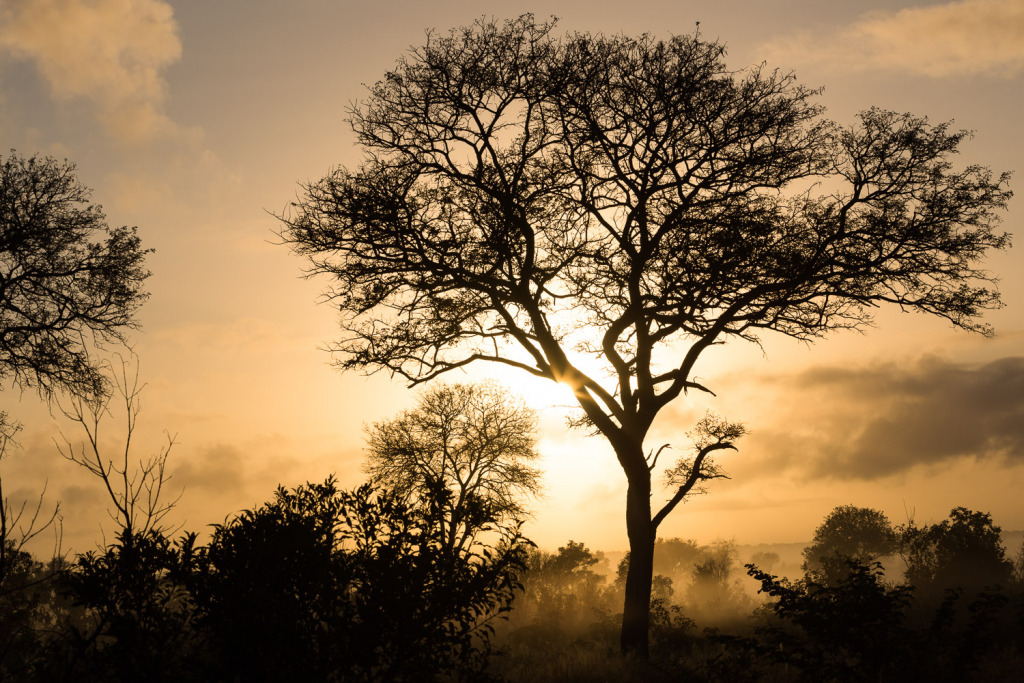
Sometimes you have too much light hitting your camera sensor. I shot this photo of an old tree in the Sabi Sands Game Reserve in South Africa just after sunrise. The mist was still rising from the bushes. While it wasn’t very bright, I shot straight at the rising sun through the mist. My goal was to create a silhouette of the tree.
I set my aperture to f/14 to lessen the light hitting my camera sensor. My ISO was 100, and the camera chose a shutter speed of 1/400th second.
Can you see the starburst against the side of the tree? A high aperture number can help create one of these.
Using less light to slow the shutter speed:
One of the practical reasons for using aperture mode is to make the settings easy and fast.
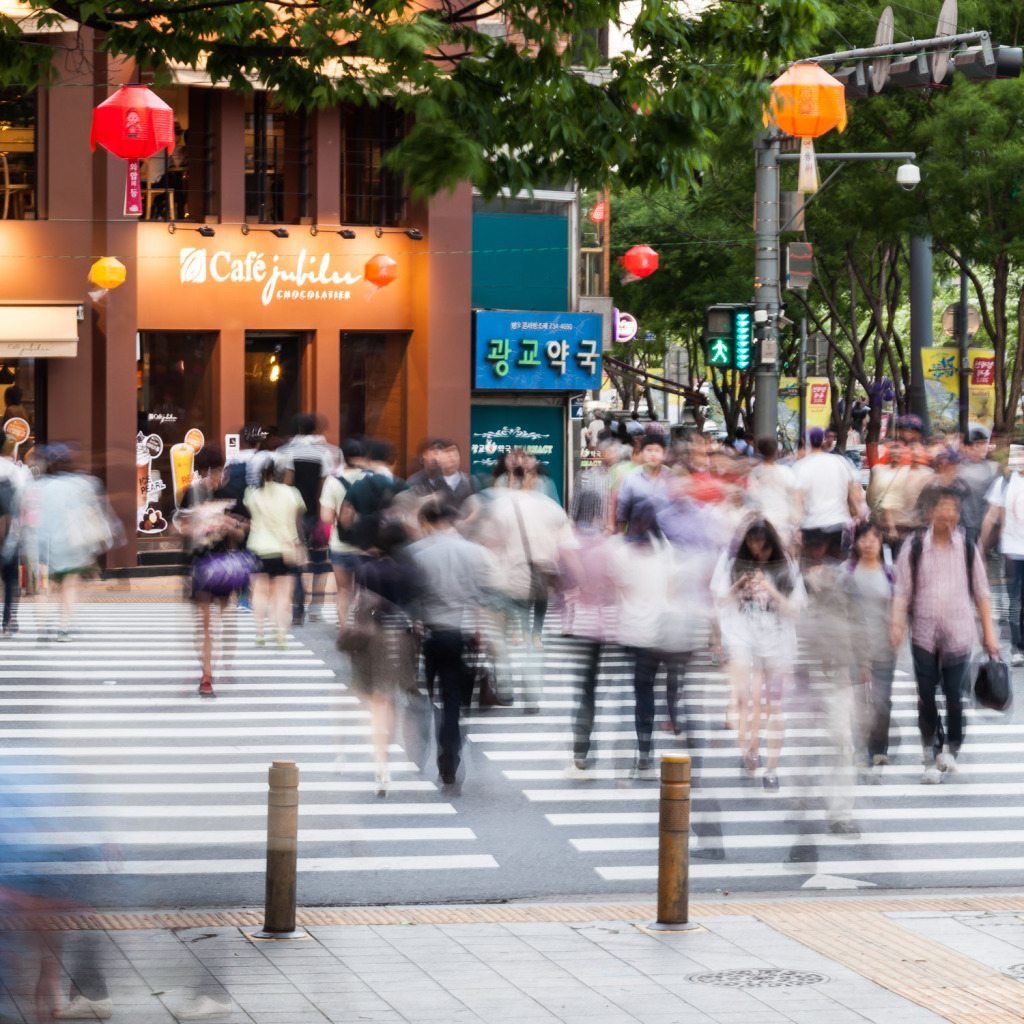
I was on the hunt for a rising perigee super moon in Seoul, South Korea when I came to this intersection. Colorful lanterns were hanging above the street in honor of Buddha’s birthday. The sidewalks were full of people on the way to visit a festival along the Cheonggyecheon Stream nearby. I found a secluded spot to set up my tripod and waited for something interesting to happen.
Suddenly, I noticed a woman crossing the street while she was texting. She made the perfect subject in the hectic crowd. I quickly set my aperture to f/22 to get a slow shutter speed of 1.3 seconds. My ISO was set at 100. Many of the faster people disappeared or became ghosts at that slow speed, but she was taking her time as she read and texted, so she was visible.
Reason #3: Quickly Correct the exposure with Exposure Compensation.
Even with my ISO set to auto, my camera’s light meter can get fooled and create a photo that is too bright or too dark. One of the practical reasons for using aperture mode is to be able to correct the camera’s light meter by using Exposure Compensation.
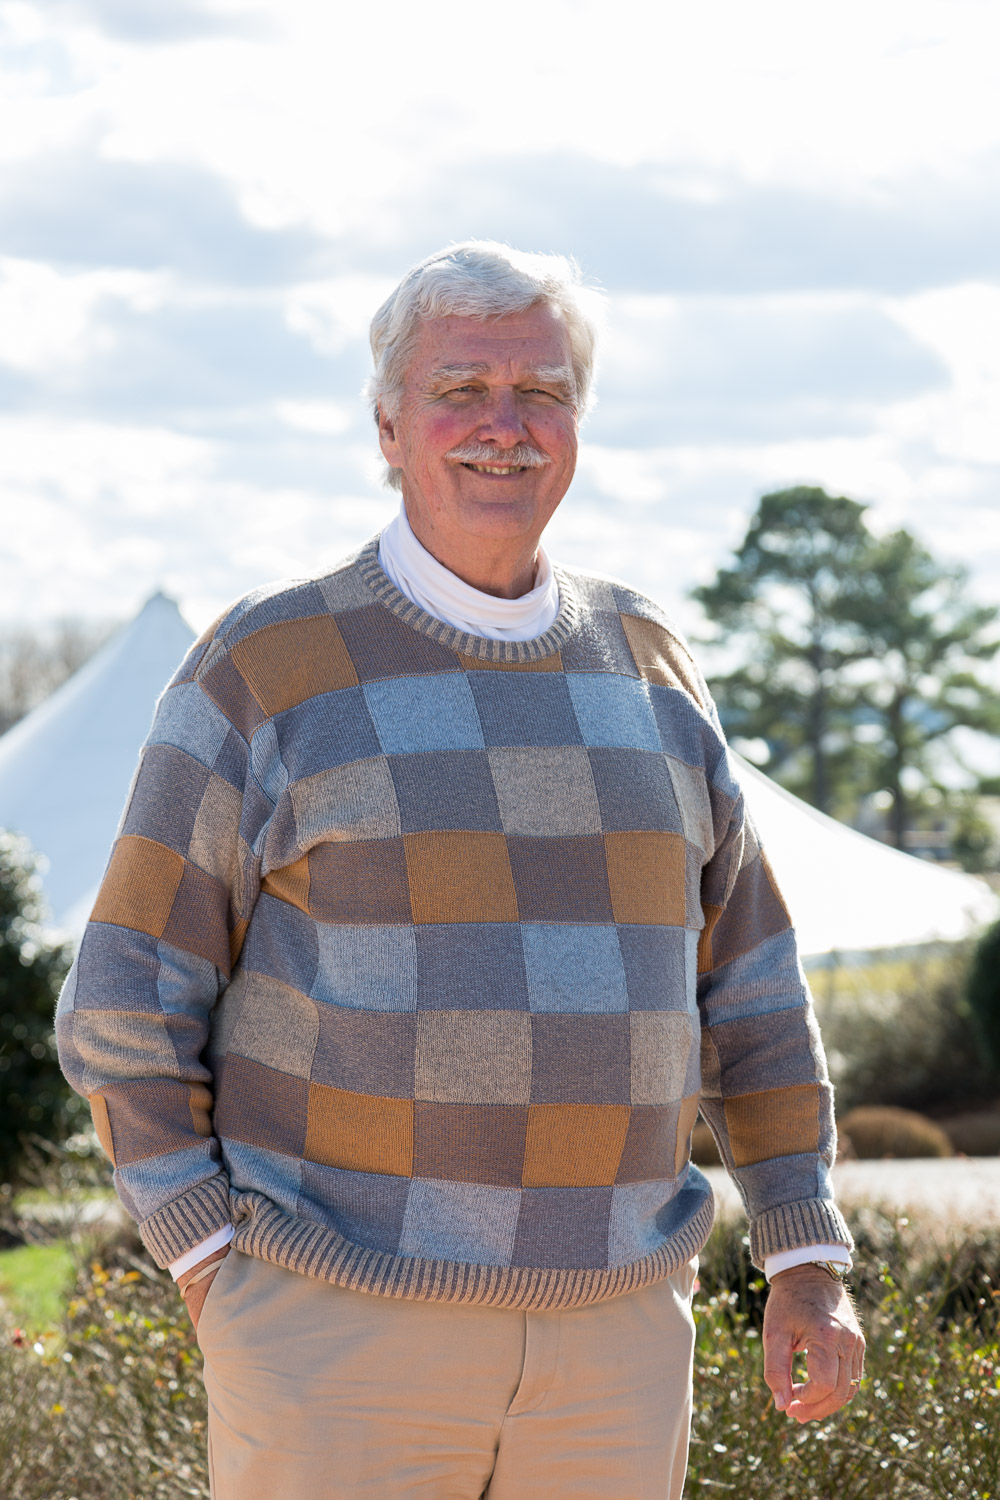
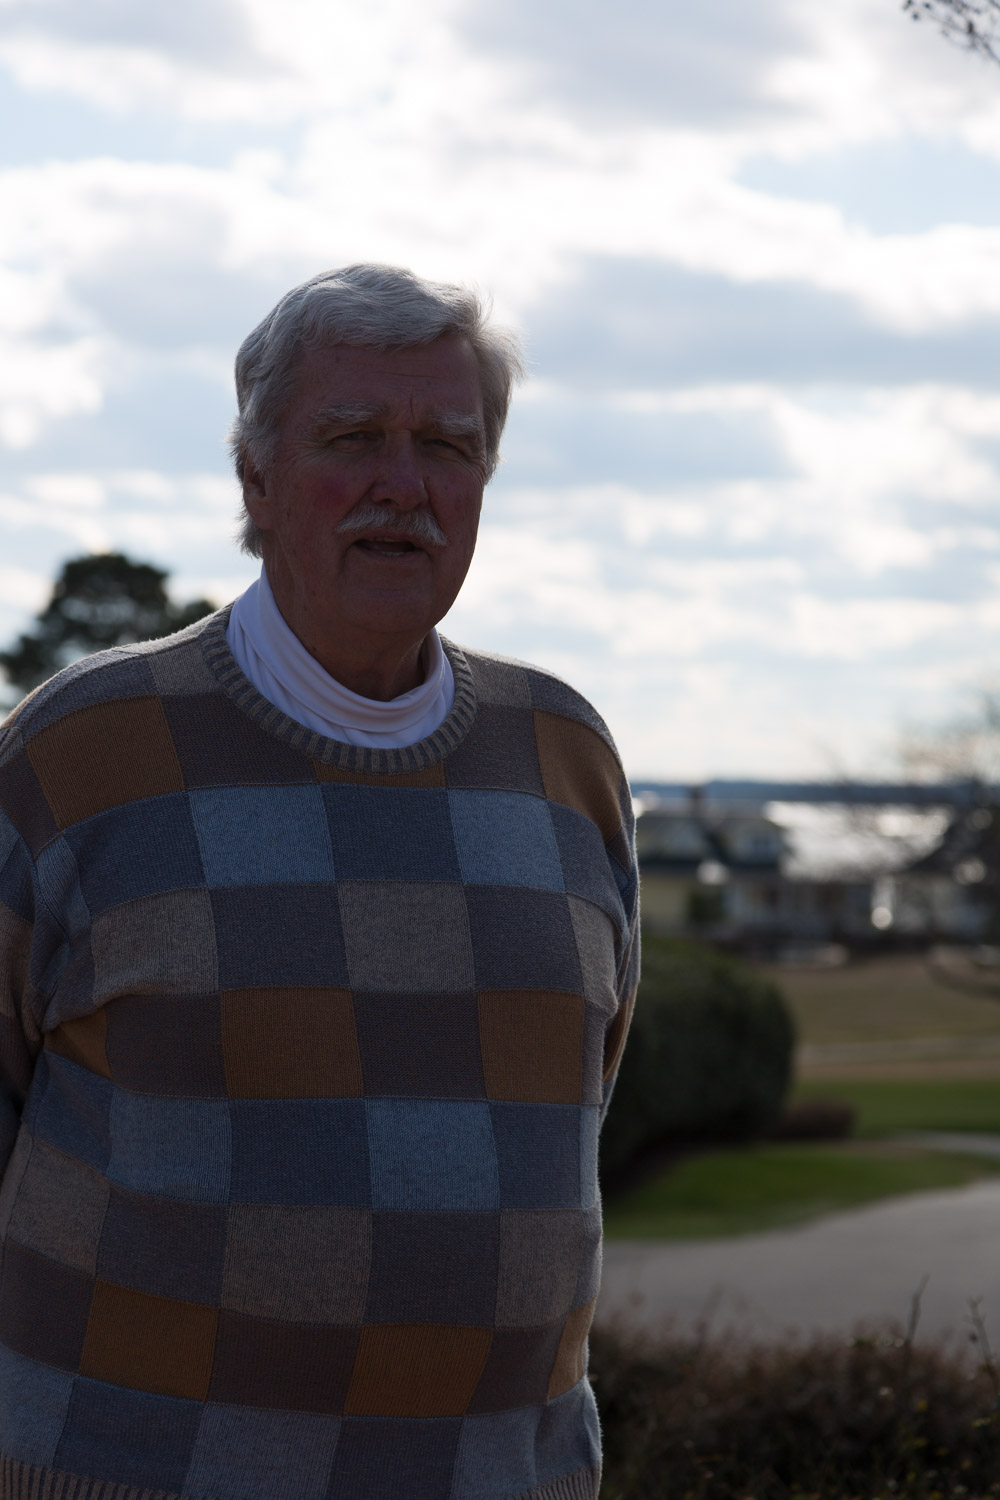
To illustrate this, I asked my sweet husband to model for me with a bright sky behind him. If you slide from the left to the right, you’ll see the difference that adding 2/3 stop of Exposure Compensation can make.
Because of the bright background, my camera chose a fast shutter speed for the first photo. (The dark one.) The settings were f/6.3, ISO 100, and 1/500 sec. I set the exposure compensation to +2/3, which slowed the shutter speed to 1/160 sec.
Grab your camera and check out these three practical reasons for using Aperture Mode.
As you practice, you’ll get faster at making the f/stop choices.
When you try using Exposure Compensation, your process will be different depending on whether you shoot with a DSLR or a mirrorless camera:
With a DSLR: You’ll take a photo and look at it on the LCD screen in replay mode. If it’s too dark, set your exposure compensation to +1 and take another photo. (If it’s too light, you’ll add -1.) You must keep taking photos and checking them to get the right result.
With a mirrorless camera: You’ll be able to see the changes to the photo in the viewfinder or on the LCD screen while you prepare to shoot. It’s much faster!
Now it’s your turn.
Click here to learn how to go from confused to camera confident in as little as a weekend! https://www.carolinemaryan.com/camera-mechanics-workshops-info/
Remember my hunt for the perigee super moon in Seoul? I did find it that night in the oddest of places. You can read about it here: https://www.carolinemaryan.com/shooting-the-full-moon/
Here’s a post about creative ways to use aperture mode: https://www.carolinemaryan.com/creative-ways-to-use-aperture/
I’ve written more about Aperture Mode here: https://www.carolinemaryan.com/set-your-camera-to-aperture-mode/
The Digital Photography School blog has written about Exposure Compensation, and you can read it here: https://digital-photography-school.com/how-to-use-exposure-compensation-to-take-control-of-your-exposure/



Leave a reply