It’s time to set your camera to Aperture Mode and have fun using it!
Do you have a “real” camera (a DSLR or mirrorless?) gathering dust on your closet shelf while you head out to shoot with your iPhone? People tell me that it takes too long to figure out the settings. They think it’s easier to just shoot with their mobile phones.

Well, I’m going to challenge you to grab your camera and take some photos this week. And I’m going to make it easy for you. In fact, it will be easier than using your iPhone!
Step 1: Set your camera to Aperture Mode:
You’ll find this on the mode dial of your camera. It will be either an “A” or an “AV.” (“AV” stands for Aperture Value…) Then, set the Aperture to the lowest aperture number available. Your camera will now use that aperture and it will also set the shutter speed for the available light. That’s two settings taken care of!

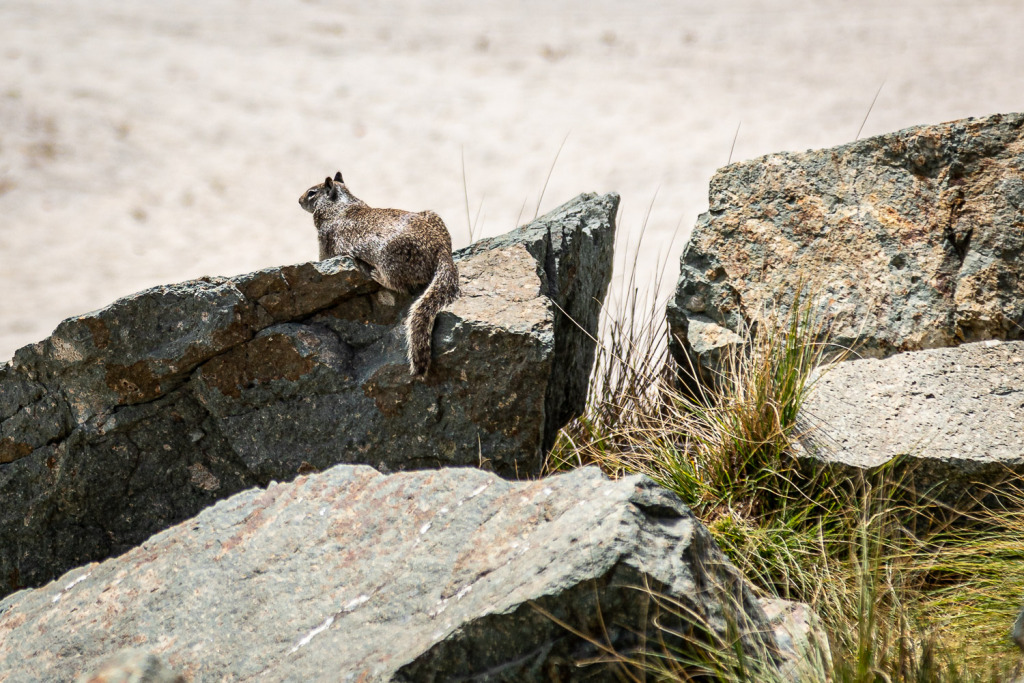
A combination of a low aperture number and a bright day allowed me to freeze this rock squirrel without setting the shutter speed myself. He didn’t hang around long after he spotted me, so shooting quickly was important. I found him in the rocks along the shore on Coronado Island in San Diego.
Step 2: Set your ISO to auto.
On most cameras, you’ll find an ISO button that you hold or tap. Then, you’ll spin a dial to set it to AUTO. Nikon cameras are a little more complicated. You’ll need to go into the Menu and find ISO Sensitivity Settings to turn Auto ISO on. You can’t turn it on just using a button and dial on the camera.

The Public Armoury in Colonial Williamsburg is only lit by this fire and open windows and doors. In other words, it’s a dark place to take a photo! Setting my ISO to auto allowed my camera to adjust as the blacksmith used the bellows to fan the flames. I didn’t have to keep adjusting the ISO myself.
When your ISO is set to auto, your camera will set the exposure for you by raising or lowering the ISO. That’s three settings taken care of!
Step 3: Use exposure Compensation:
If the photos are too dark or too bright, use Exposure Compensation to control the exposure instead of manually adjusting the ISO.

Now, you’re ready to shoot.
How is this like using an iPhone?
Do you have to set your iPhone camera to aperture mode? No. iPhones come with a fixed aperture that is set at a low number. The actual number depends on the model of your iPhone. Your iPhone will also automatically set the ISO for the available light. And it will set the shutter speed, too.
If you are used to tapping on your iPhone screen and then dragging your finger up or down to brighten or darken the photo, you’ll find that Exposure Compensation is doing the same thing.
Bonus Step: Set your camera to use only one focus point.
When you shoot with your iPhone camera, do you tap on the screen to choose a focus point? You can do the same thing on your camera. You’ll need to set this in the menu, but once it’s set, you’ll be able to easily choose the focus point for every photo.

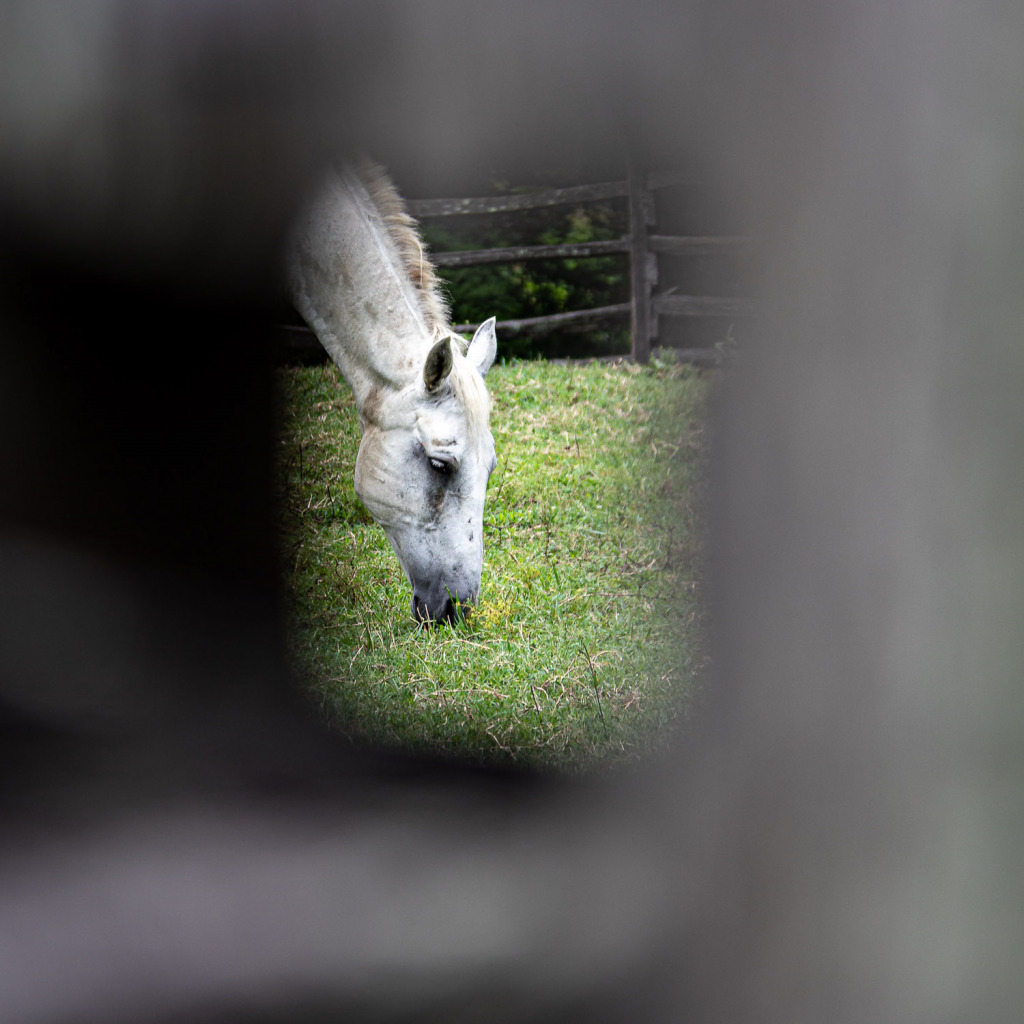
You’ll be amazed at the control it gives you! For instance, you’ll be able to shoot through the opening in the split rail fence post and have the fence post out of focus and your subject in focus.
Now it’s your turn:
To learn more about how to set your camera, be sure to check out my online workshop, Camera Mechanics. It will be launching again in July. https://www.carolinemaryan.com/workshops-camera-how-to-williamsburg-va/
I’ve written about setting your focus point here: https://www.carolinemaryan.com/set-your-focus-point-for-better-shots/
To read about Exposure Compensation, you can read my post here: https://www.carolinemaryan.com/when-to-use-exposure-compensation/
In case you’re not familiar with Exposure Compensation, Digital Photography School has an in-depth explanation of Exposure Compensation here: https://digital-photography-school.com/how-to-use-exposure-compensation-to-take-control-of-your-exposure/


Leave a reply