It’s time to digitize your photos and videos, and it’s not as complicated as you think.
With today’s digital cameras and mobile phones, keeping multiple copies of your photos and videos is easy. But how do you create digital copies of paper photos and home videos you shot with old camera and video equipment? And what about your slides and even the negatives of photographs you’ve lost? Can these be copied? And can you do it yourself?
- If you have owned a film camera, you have photos to digitize.
- Have you inherited old family photos, videos, and movies? It's time to digitize them!
- Three ways to digitize your old photos and videos.
- Here's the process to digitize your photos and videos, and it's easier than you think!
- Scanning multiple photos at once.
- How to digitize your videos:
- Digitizing your slides and negatives works the same way.
- Where do you put your new photos?
- Where do your videos go?
- A final important step:
- Now it's your turn:
If you have owned a film camera, you have photos to digitize.
If you bought your first camera before digital cameras became affordable, you probably have boxes of paper photos hidden in a closet. I love this shot of my daughter and me at Paul’s Place on Kangaroo Island in Australia. Having a digital copy means I can share it with her daughters!
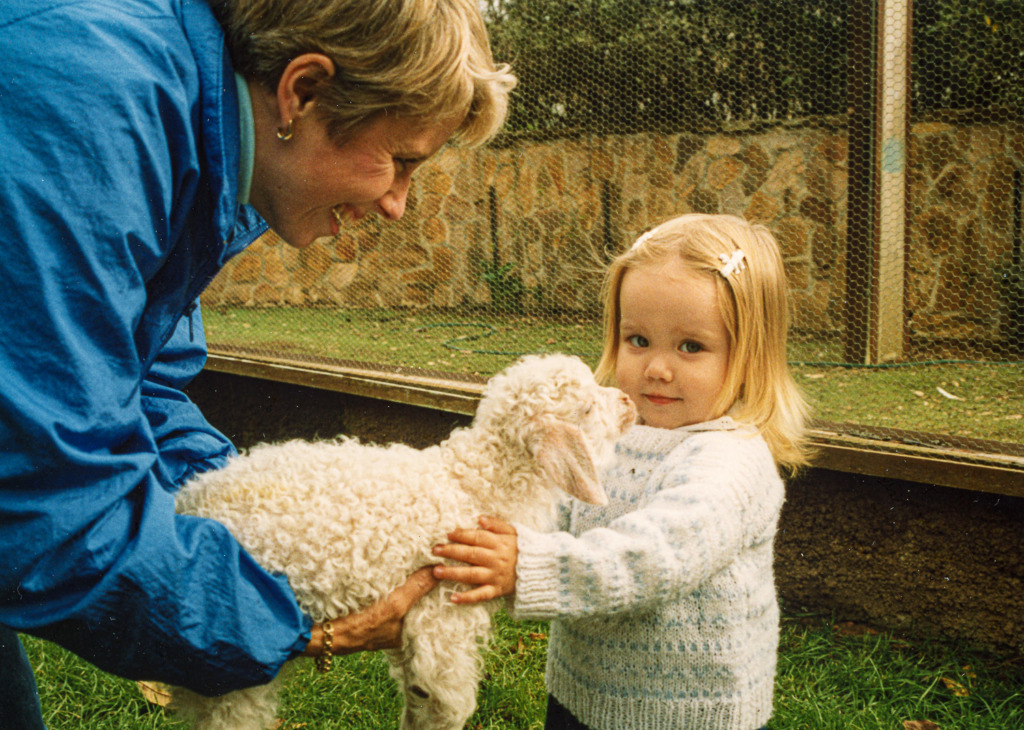
I started photography with a Brownie Hawkeye camera, a gift for my 9th birthday. I still have all the photos I took with it, some in an album but most in a box. Then, as Kodak offered new inexpensive cameras, I moved through the various models, including the Instamatic, which everyone seemed to own at the time. It was sort of the iPhone camera of its generation and perfect for taking snapshots.
When my son was seven years old, the perfect SLR camera came on the market, the Canon A1, and I bought it to capture all the “impressive” things my son did. It was fairly easy to use and created beautiful shots, so my collection of photos grew. Finally, as two younger siblings joined him, I added a video camera.
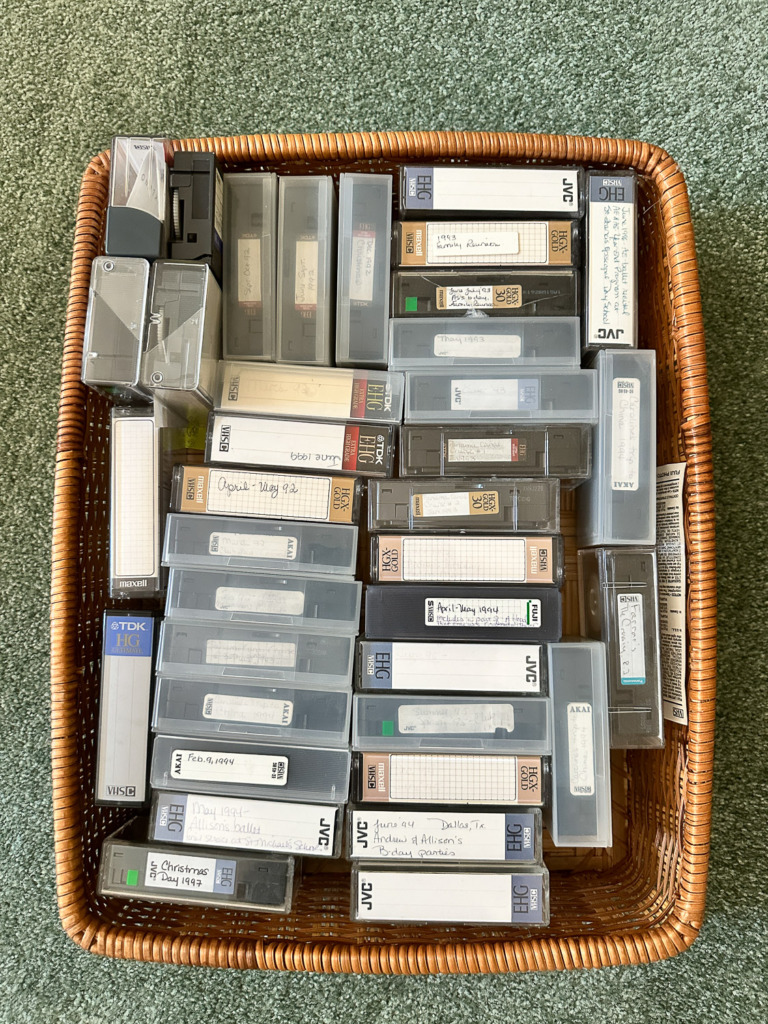
I’m proud to say that all but ten boxes worth of photos are labeled and in albums, but they’re not digital. I can’t say the same for the videotapes! While some are labeled, it’s anybody’s guess what is on most of them! But I know there are some perfect moments I don’t want to forget! How will I ever copy them to a digital format?
Have you inherited old family photos, videos, and movies? It’s time to digitize them!
I am so grateful for inheriting our family’s photos, journals, telegrams, and movies! Some even go back to the mid-1800s. But after I enjoy looking at them, how do I share them with the rest of the family? And how do I preserve them so they don’t continue to deteriorate?
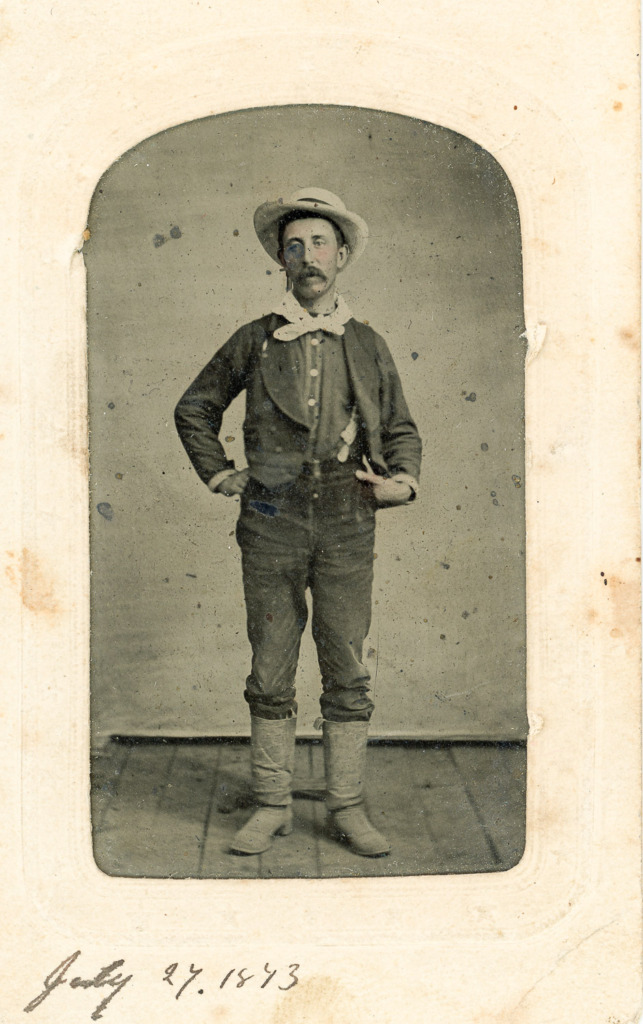
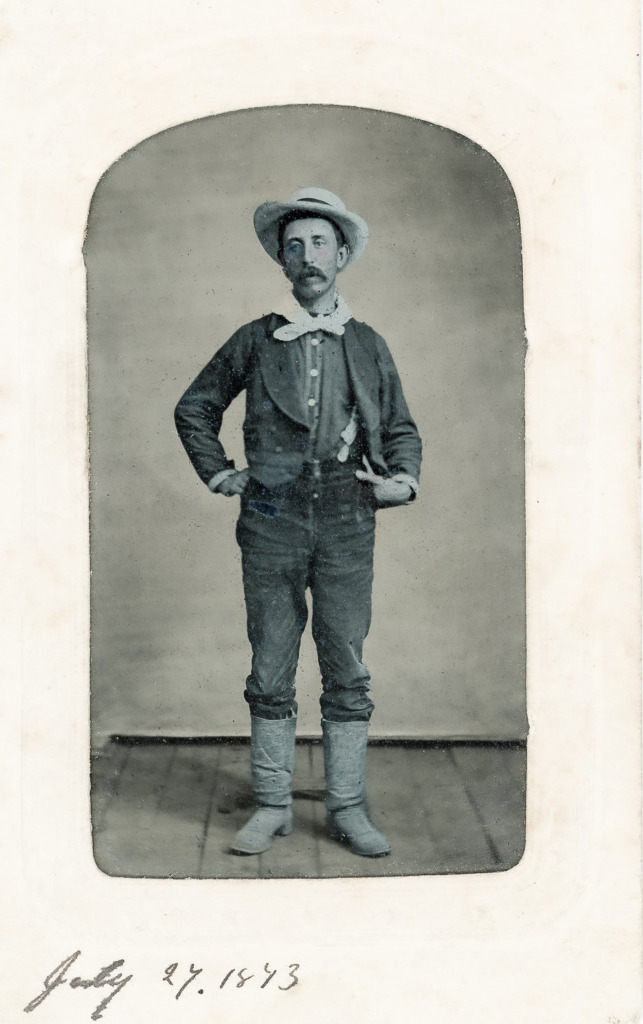
See this dapper man in Western wear? He’s my great-grandfather, Jim Wardner, who wrote a memoir and named three towns in the West after himself as he followed the gold rush. That’s a professional photo dated 1873, which will make it 150 years old in July. The image needs to be shared with the extended family, and it also needs to be restored. It’s been in an old album for over 100 years. Unfortunately, these old albums weren’t acid-free. That’s the cause of the spots you can see. I’m not an expert on the different types of photos produced then, but this one is printed on metal.
If I can digitize this photo, I’m one step closer to sharing and preserving it. Plus, I can share it with even more people by adding it to my family tree on Ancestry.
But wait, here he is again! It’s almost magic! After digitizing the photo, I spent about 15 minutes in Adobe Lightroom Classic and Photoshop, restoring him. What a difference! If you don’t have a subscription to Adobe products, there are other less expensive options.
Three ways to digitize your old photos and videos.
Pay for an online service
This is my least favorite solution for two reasons. First, this can become expensive if you have boxes of photos and videos. The second reason is even more important to me. I don’t want to risk losing them! I’d much prefer to keep my photos and videos locally.
Buy the equipment and do it yourself.
If you’re comfortable with technology and don’t mind investing in the equipment, this is the route I would take. It gives you complete control over the process, which I’ll describe below.
Use a local service that allows you to digitize using their equipment.
This is the perfect solution for anyone allergic to technology or not wanting to pay for equipment. For this post, I visited the Digital Memory Lab at the Williamsburg Regional Library. They offer a free service to help you through the process. Does your library offer this?
Here’s the process to digitize your photos and videos, and it’s easier than you think!
I gathered some old photos and videos to get started. Then, I made an appointment on the library website: https://www.wrl.org/adults/book-a-librarian/. The only extra equipment I needed was a thumb drive or external disk for storage. (I recommend one later in the post.)
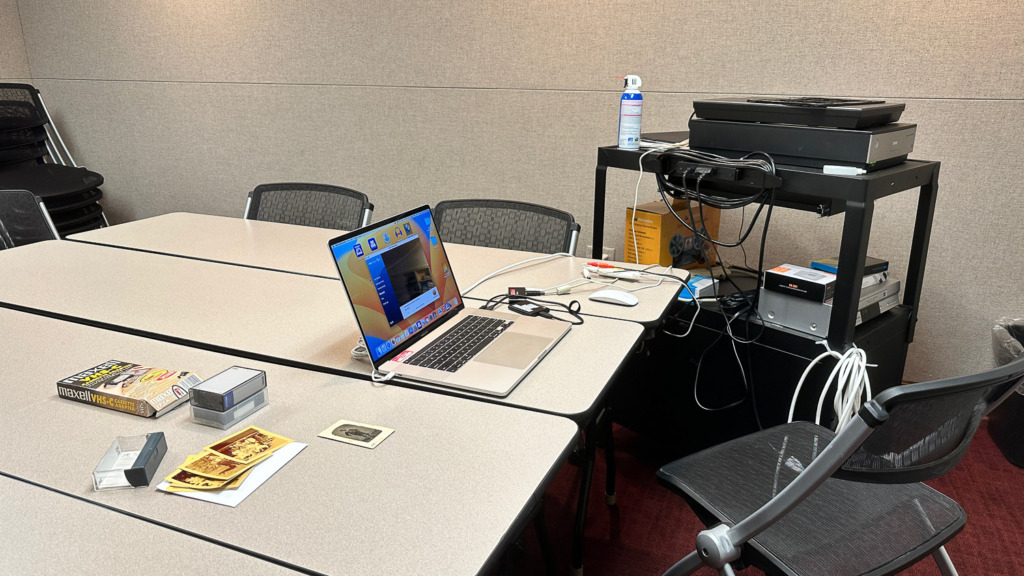
When I arrived at the library, I was greeted by Keenan, who would be my tutor. I had a quiet room all to myself, with large tables where I could sort my photos. Keenan showed me how to use the Epson scanner to scan photos, slides, and negatives and turn them into high-resolution digital files. The scanner is attached to a MacBook laptop which the library also provides.
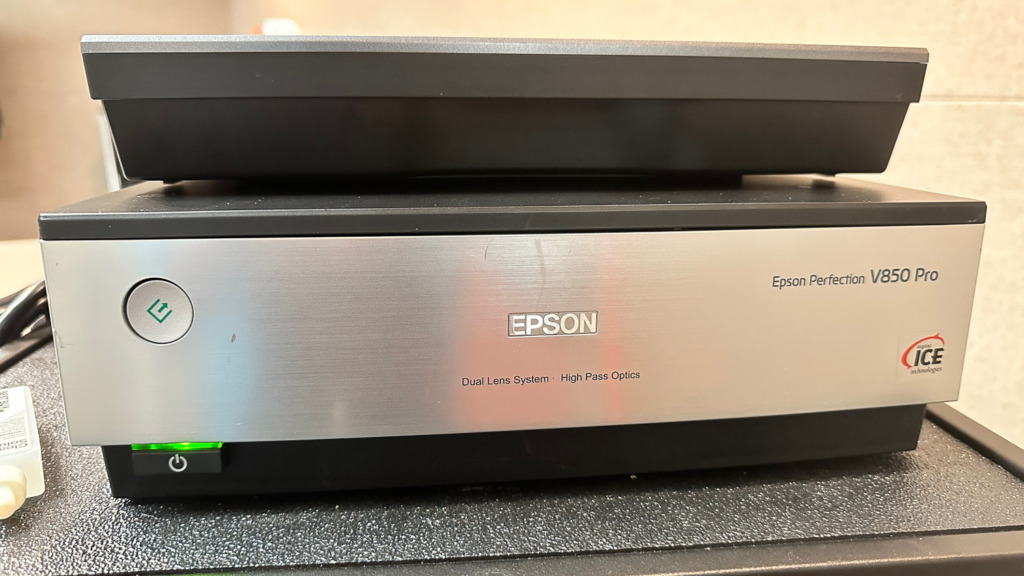
Scanning multiple photos at once.
Being able to load multiple photos onto the scanner was an excellent time-saver! Keenan showed me how to do a preliminary scan and then tell the scanner that I wanted it to scan the individual photos separately. Simple! He even recommended how to size the images.
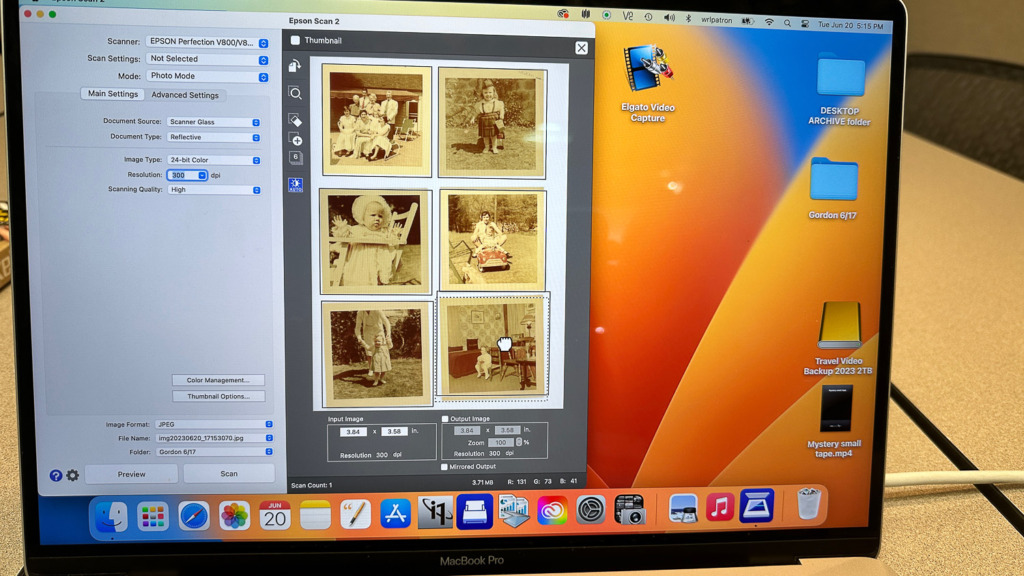
Once that was set up, I hit Scan and soon had six individual digital files stored on the Desktop of the MacBook they provide. All that was left to do was drag them onto the external drive I’d attached to the laptop. He showed me how.
While the scanner was working, I could continue to sort through my photos and choose the next six shots.
How to digitize your videos:
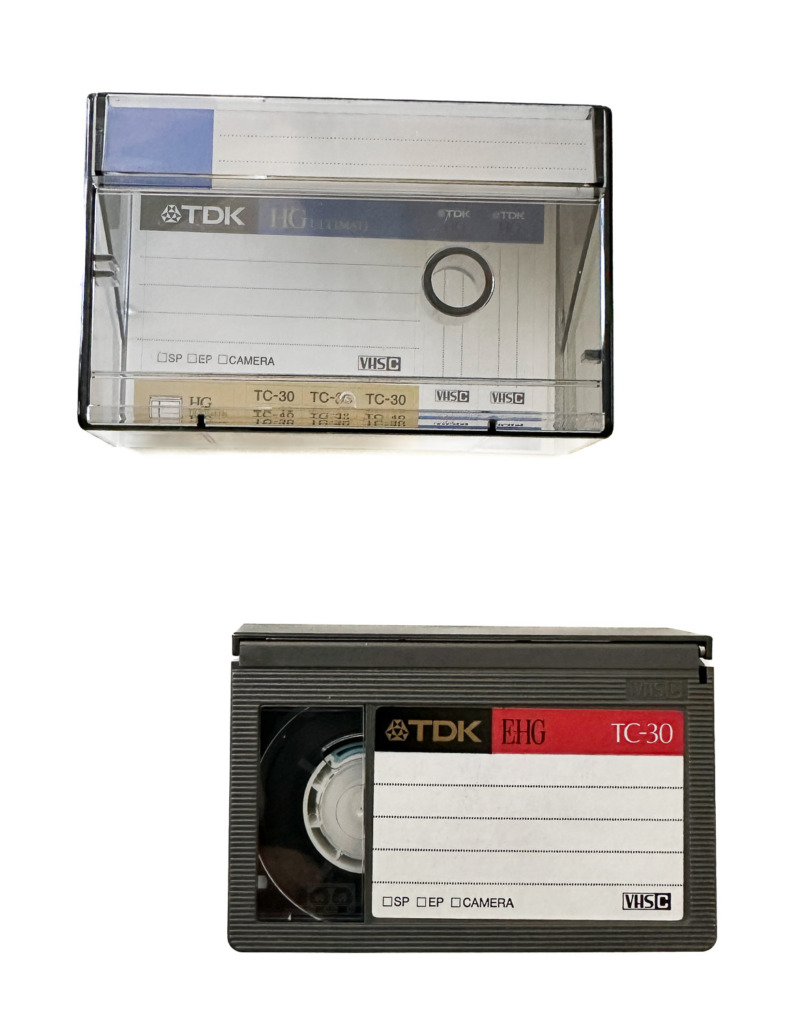
I placed my small VHS-C cassette from my old camera into an adapter that made it large enough to load into the VCR in the Lab. The VCR was attached to the laptop via an Elgato Video Capture device which does the digitizing (link below.) Now, I pushed play and could watch the old video on the computer during the process.
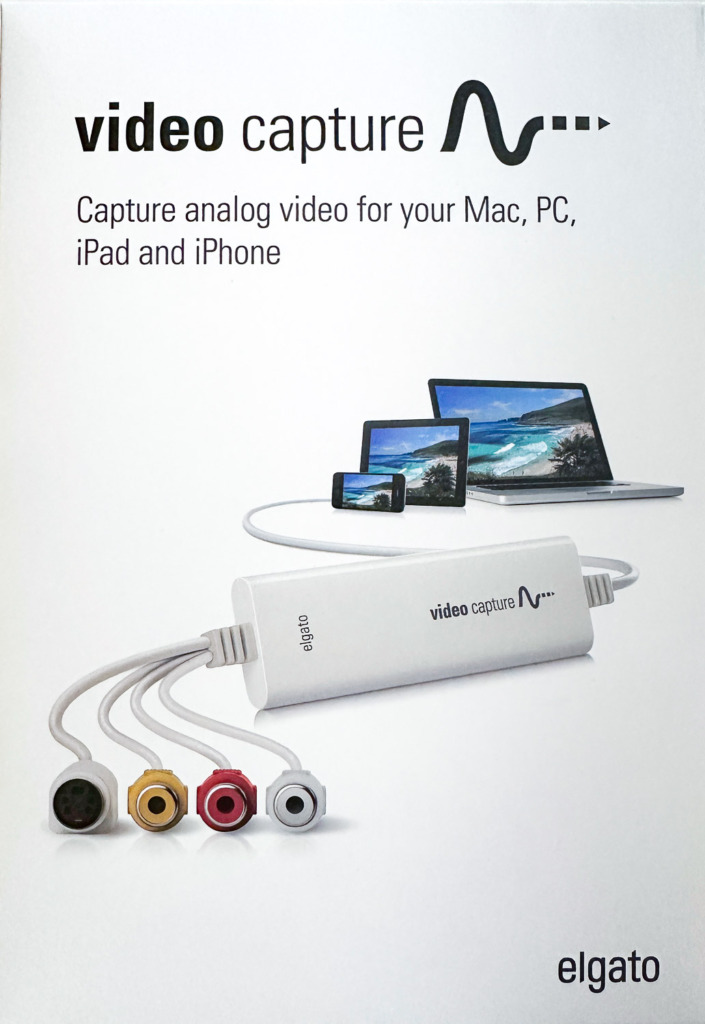
The one problem is the speed. The video must run at its normal speed, which meant my 40-minute video took 40 minutes to digitize.
As I mentioned before, I was not good at labeling my videos, so I chose one randomly. But what a find! I was so excited by what I was watching that I pulled out my iPhone and recorded two short movie clips as they played on the laptop screen. Then, I shared them with my kids via an online chat. My daughter-in-law immediately “liked” seeing her husband when he was in 7th grade, playing the xylophone. My son-in-law’s reaction to seeing his wife play a piano piece she had written in a 5th-grade recital was even better. He commented, “You play the piano?” If I needed a reason to digitize my old videos, I couldn’t have found a better one. All of this communication took place while I was digitizing the video!
Digitizing your slides and negatives works the same way.
The Epson scanner comes with trays for holding the slides and negatives. You’ll set the software to know what you’re scanning, and then the process is the same. The scanner does it for you!
Where do you put your new photos?
After you digitize your photos and videos, you can import your new digital photos into the photo software on your computer. I use a Mac, so I added mine to the Photos app. I also use Adobe Lightroom, so I added them to Lightroom as well. You can stop right there and just enjoy them the way they are. If they need cleaning up, you can use Lightroom and Photoshop if you’re familiar with them. Otherwise, there are other photo apps that will help. Now you have photos to share in emails and on the internet.
Where do your videos go?
Like the photos, you’ll copy them to your computer and store them wherever you keep your videos. Now you can watch them or have fun editing them into shorter clips to share.
A final important step:
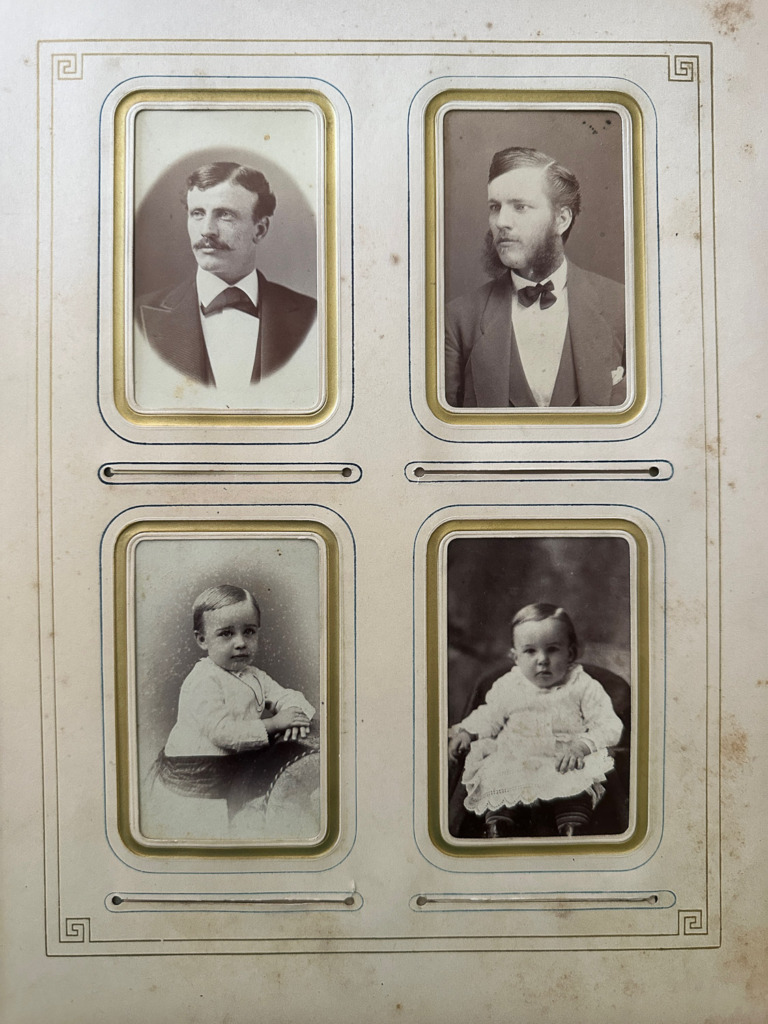
You’ll want to think and act like a genealogist for photos and videos that are historically important to your family story. It’s important to keep the original pictures in the best condition possible. This means placing them in a temperature-controlled spot in your house that isn’t likely to be flooded. No basements. No attics. A rarely used closet works perfectly. Keep them out of direct sunlight!
You can order acid-free boxes online to hold them. Regular cardboard is acidic and will damage your pictures.
Now it’s your turn:
To learn more about our incredible local library, visit their website: https://www.wrl.org. Does your library offer this service?
If you’d like to try digitizing your home videos on your own, you’ll need a computer and a way to watch your videos (either on a VCR or on your movie camera.) Then order the Elgato Video Capture and attach it to your computer and the VCR or your movie camera. Next, download the software, and away you go! (Amazon affiliate link = https://amzn.to/42SPBtu)
Be sure to back up your new digital photos in multiple places! You can learn how I do this in this blog post: https://www.carolinemaryan.com/back-up-your-backup-disks/.
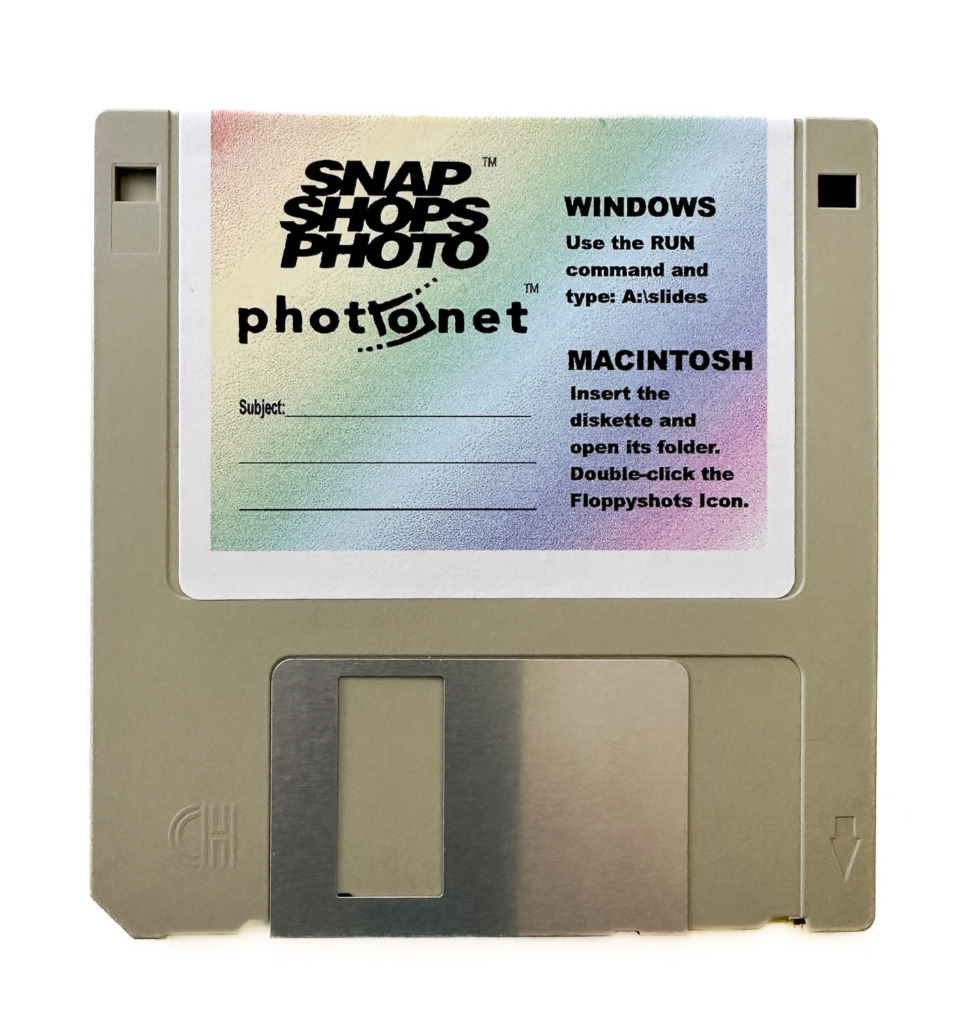
Look around your house. Are any of your photos stored on devices like this floppy disk? It’s time to move them! You’re in trouble if you can’t read the files because the device is no longer supported! I recommend using the Samsung T7 Shield 2 TB, Portable SSD. (Amazon affiliate link = https://amzn.to/3JvzRWs)
Are you ready to improve your photography? Join my online class, Camera Mechanics. You can learn more about it here: https://www.carolinemaryan.com/camera-mechanics-workshops-info/
The Amazon links are affiliate links. I’m an Amazon Associate and may earn a small commission on each sale.



2 Comments
What a great Blog post. I had no idea a library might have this type of service. That is terrific to know. I’ll check it out.
Thank you Caroline for this great information.
Hi CarolAnne! Going to the library to do this was like having a personal assistant to teach me all the steps and answer questions as they arose. Amazing! Check with your library. They might want to start the same program.