Do you back up your backup disks? This is the second part of a two-part blog post on backing up your photos.
- Part One: Start somewhere and keep it simple.
- Part Two: Back up your backup disks!
- How do I back up my backup disks?
- Is there more that I do?
- Back up your backup disks online
- Backing up your photos to the iCloud with a Mac, iPhone, or iPad
- Have you tried Time Machine?
- Be sure to write notes and label your disks!
- Don’t forget to save the cables you’ll need to read your old backup disks!
- A fun question
- Now it’s your turn
Part One: Start somewhere and keep it simple.
Last week, I challenged you to create a backup process for your photos that you would be willing to follow.
I suggested you copy your photos to two places as you download them from your camera. To keep it simple, I recommended that you download all the photos to both places and not bother with deleting any of them at this point. One of the places could be your computer with the backup going to a separate disk.
Finally, I suggested that you buy a fire- and water-proof safe to hold the separate disk. If you haven’t read that post and you don’t have a backup plan in place, you might want to stop now and check it out. I’ve included a link below.
Why would you go to this trouble? So, you wouldn’t lose a photo like this.

I love this photo that I took during our son Broward’s promotion ceremony in the Navy a few years ago. I shared another shot from the same ceremony last week. His expression is so perfect. It would be awful to lose it!
Part Two: Back up your backup disks!
Now it’s time to add a little extra protection. It’s time to add a backup process for your backup disks. (I’ll cover some extra services from Apple later in this post. Don’t panic if you only shoot with an iPhone and use iCloud. You’re doing fine. More about that later.)
Let’s start with the backup disk that you created last week. I suggested that you store it in a fire- and water-proof safe. Being human, you may find it’s easier to leave it connected to your computer. This way, you can easily back up your photos as you download them.
How do I back up my backup disks?
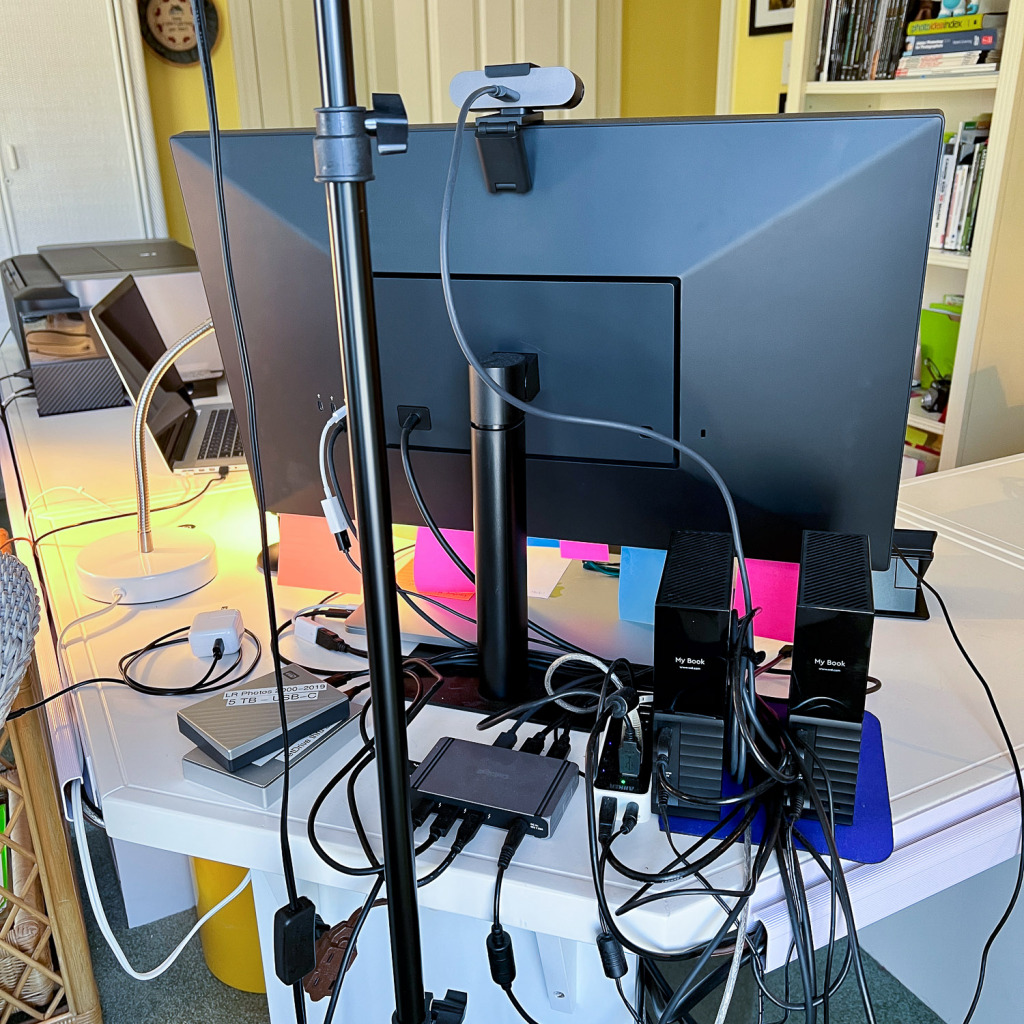
One of these large Western Digital My Book disks (6 TB) is full of my photo backups since January of 2020, while the earlier backups are on a disk in my safe. I like the convenience, but this is where a little duplication comes in to save the day.
What I do is copy the photos from this disk about once a week. They go onto yet another disk in the safe. So, I’ve made a copy of all the downloaded photos in my photo backup disk to another backup disk.
If you’re keeping track, that means that I have three backup disks for photos. In the safe, I have two of them. One is for older photos and that disk is full. One is for newer photos. That’s the one I bring up to my studio to copy onto from the upstairs backup disk.
So far, I’m only talking about the backup photos I created when I did my initial download. I don’t touch these. They are not what I work on in Adobe Lightroom or Photoshop. They are simply hanging out there in case of an emergency.
Is there more that I do?
If you’ve created your initial backup disk for your photos and started using it, and you’ve added a second disk that you copy to (it’s a clone of the first disk), and you keep that second disk in a fire- and water-proof safe, you can congratulate yourself and quit here. 👏
However, I’ve gone a step further. If you’re curious, here’s what I do.
Back up your backup disks online
I use a service called Backblaze. I’ll link to it at the end of this post. It continually backs up my laptop and my current photos backup disk over the internet.
I signed up for this service several years ago when I was watching the news and saw the destruction caused by a gas main rupture. The houses nearby were completely gone. This would be similar to the damage from a flood or tornado or maybe even a wildfire. I didn’t see my safe surviving these events, so I did some research and decided to use Backblaze.
Backing up your photos to the iCloud with a Mac, iPhone, or iPad
Here’s another way to back up your photos online easily if you own a Mac, iPhone, or iPad.
The iCloud is a Mac service you sign up for. It does cost money and it works best if you use an iPhone for your photography, because the file size is smaller. If you use a DSLR or mirrorless camera, you’ll probably find that you run out of room for storage.
I shoot with my iPhone as well as my DSLR and my mirrorless camera, but to keep things simple, let’s assume that I only shoot with an iPhone. Here’s how to use this method to back up your photos seamlessly.
In the settings on your iPhone, look for Photos. Now, turn on iCloud Photos. This will automatically store your photos in the iCloud. Of course, you do need internet access. I also check Optimize iPhone storage. What this does is to make a copy of your photos in the cloud and download them to any other Apple devices you have.
Have you tried Time Machine?
Time Machine is an Apple app that works on your Mac laptop or computer. You set it up to back up regularly to an external disk. In my case, I’ve set it to back up both my laptop and my current photos backup disk. They back up to the other large Western Digital My Book (8 TM) disk in the photo above.
Be sure to write notes and label your disks!
You may think you will remember how you’re doing all of this and what is on each disk. You won’t. Write notes and put them in the safe. I also have a photo of my notes in my Photos app on my iPhone. Sort of like carrying an umbrella to avoid the rain, I find having notes about what I would do in the event of an emergency makes me feel less stressed.
Don’t forget to save the cables you’ll need to read your old backup disks!
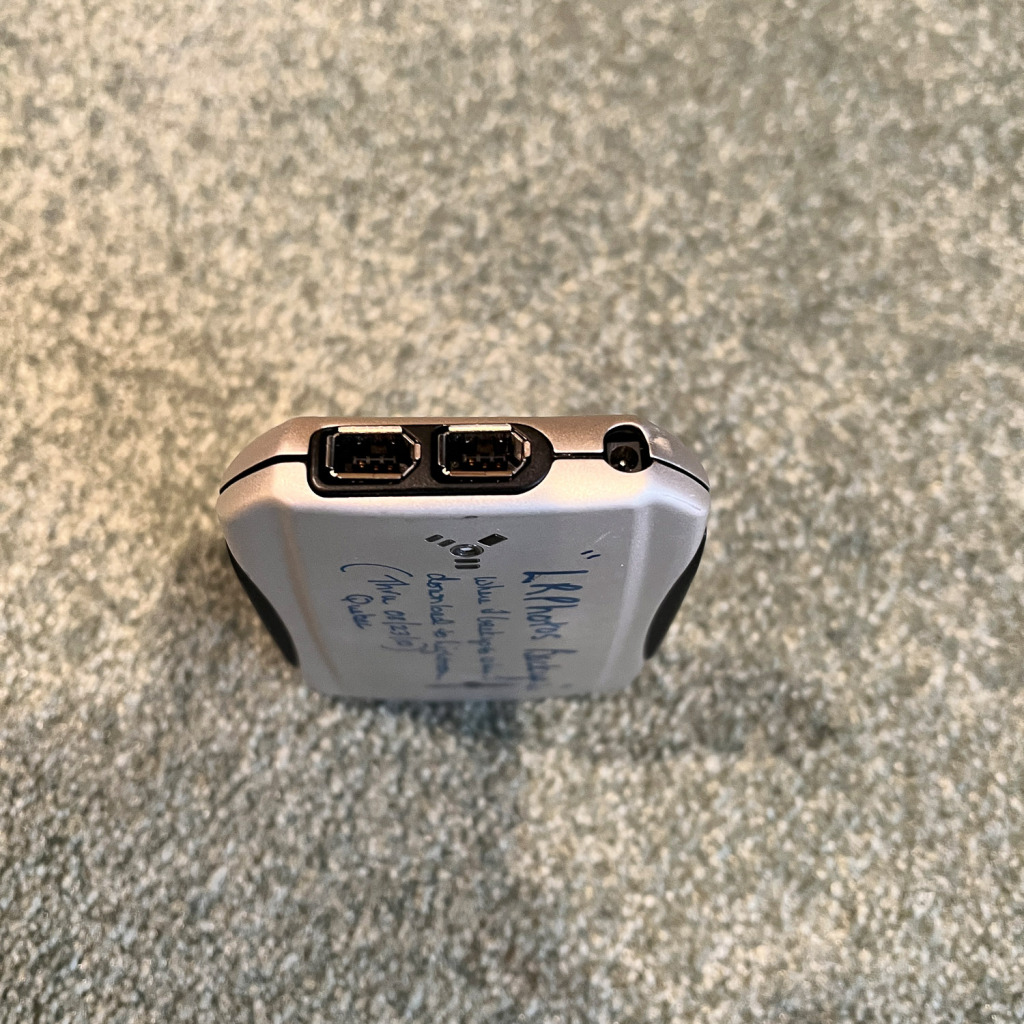
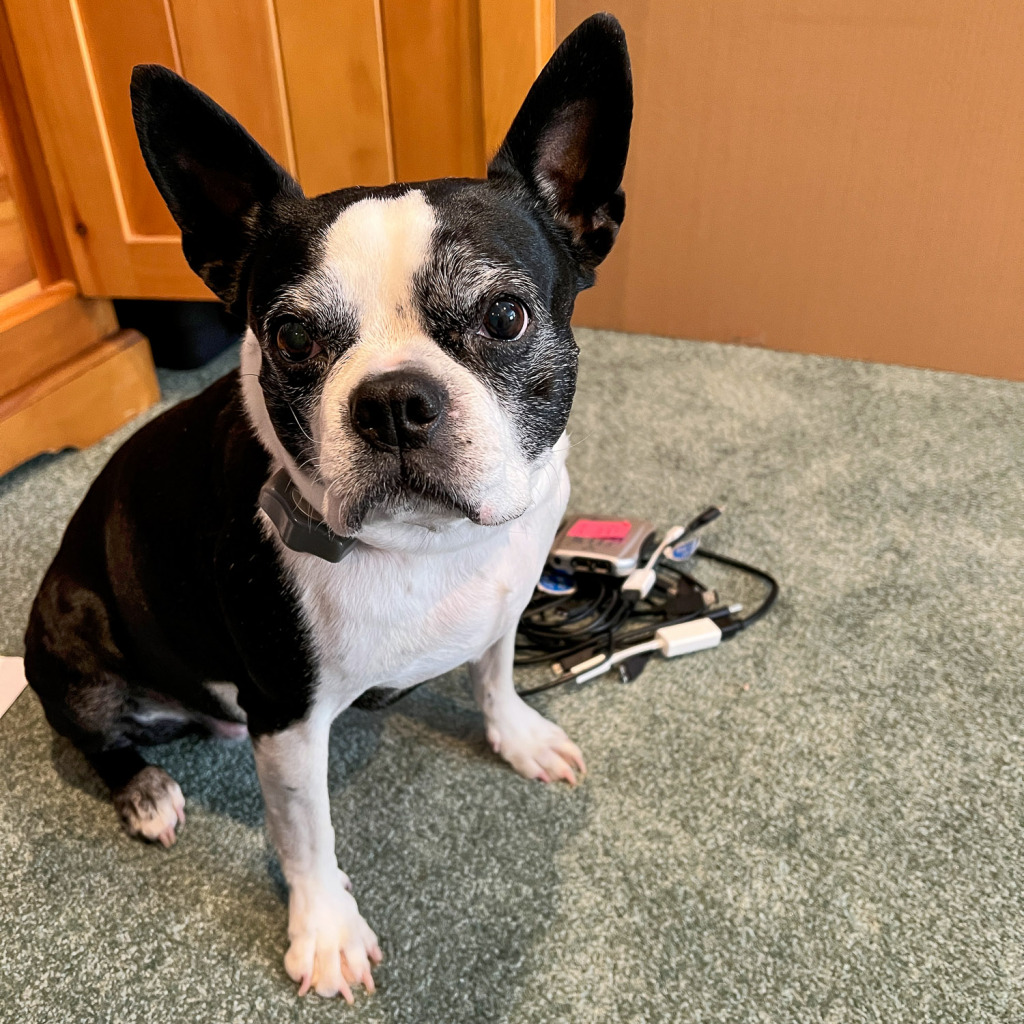
Do you still have a firewire disk in your safe? Don’t throw away the cables! Here’s Kenzie guarding the cables!
A fun question
Do you remember the photo of my backup disks behind my computer screen and laptop above? Can you name how many disks are in the photo? What about how many computers? Any hubs? I’ll give the answer at the end of the post.
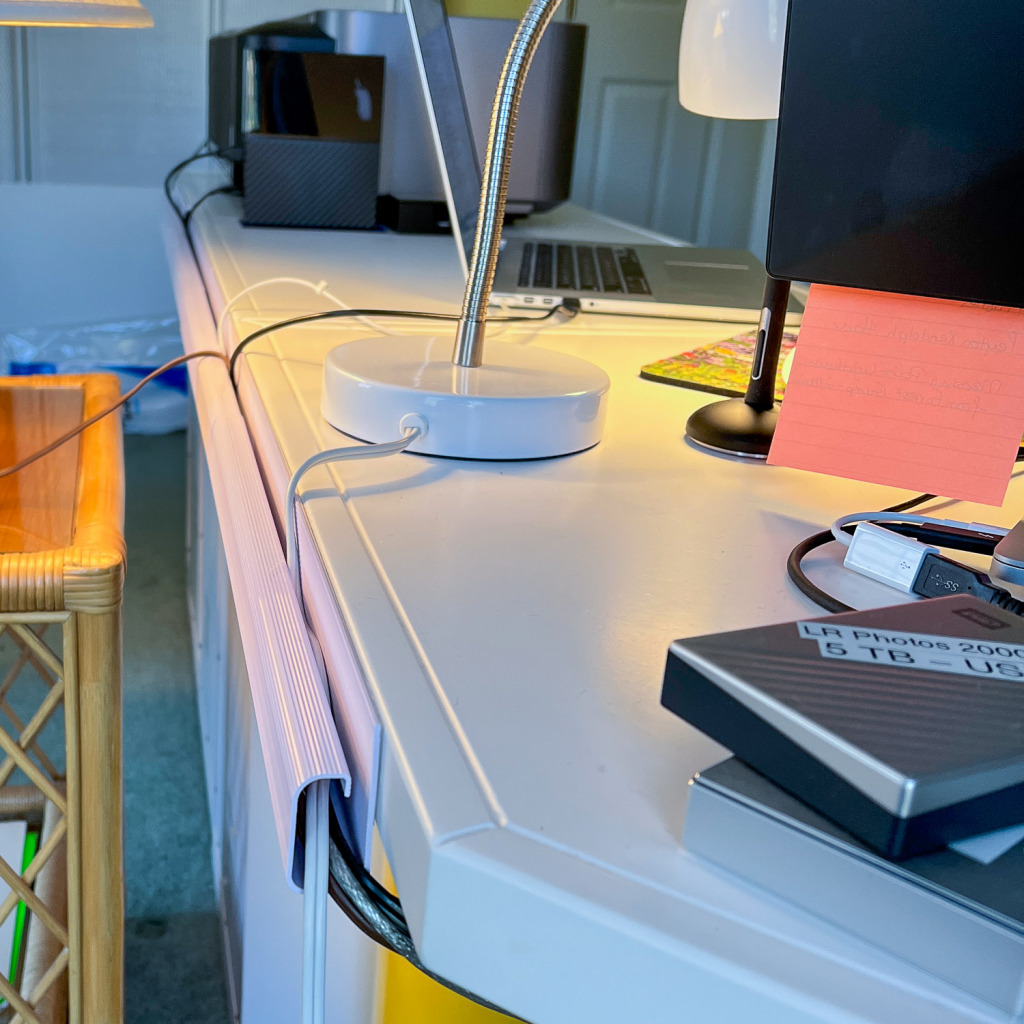
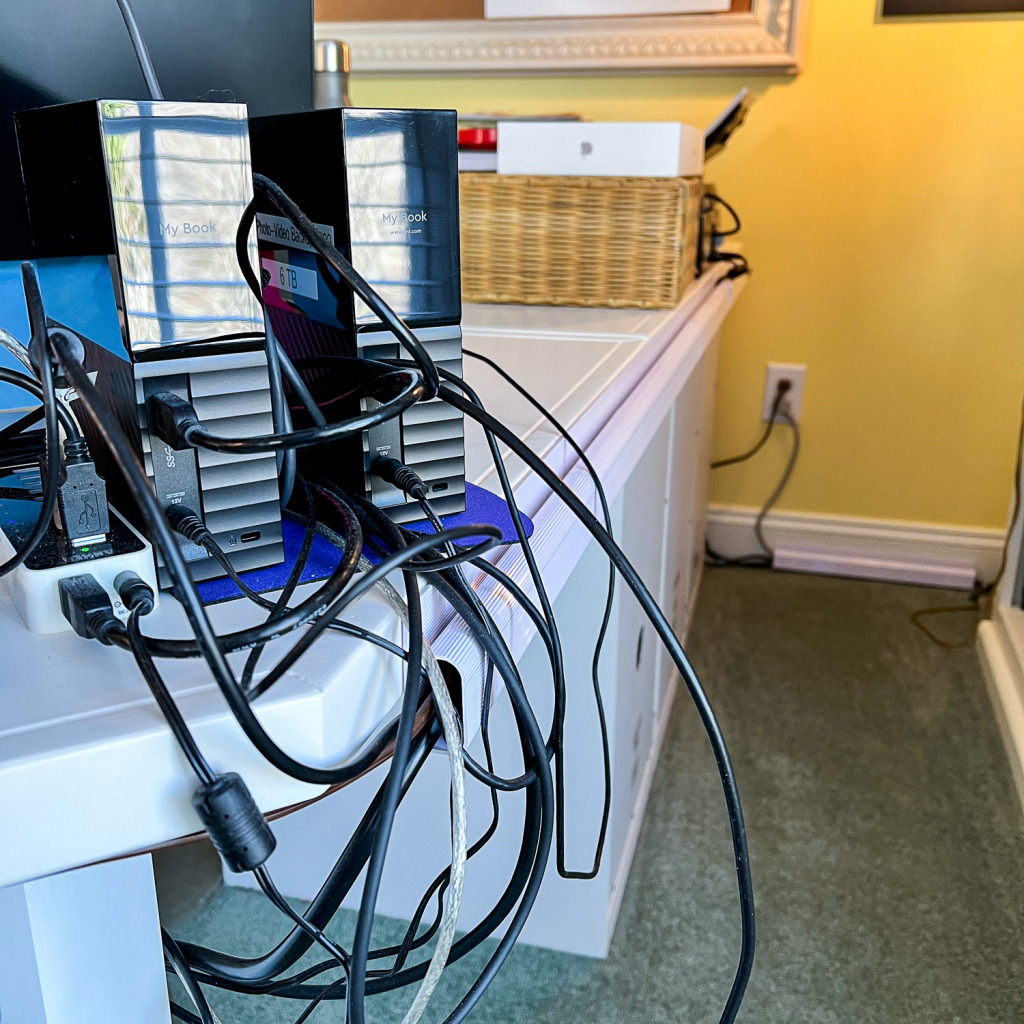
With all of these disks on your desk, you’re going to end up with a tangle of wires. Here’s a closeup of the SimpleCord J Channel that I use to keep the wires on my desk under control. They are a great find! And here’s another photo.
Now it’s your turn
In these two posts, I’ve focused on creating a backup process for your photos as you download them and a backup process for the backup disk you’ve created. Don’t forget that you should also be backing up your laptop or computer. If you own a Mac, Time Machine is a great on-site way to back up. If you decide to use Backblaze to backup online, it will also back up your laptop or computer.
I’ve included some links to the equipment I use for backing up and controlling mayhem at my desk. Make this week the one where you start or improve your backup process for your photos.
Backblaze (This is an affiliate link which means I may receive a free month of Backblaze if you sign up.)
Here’s a link to the SimpleCord J Channel for controlling the cables on my desk.
Here’s a link to last week’s post to get you started.
Answer to the fun question I asked: 5 disks, 2 MacBook Pros, 2 hubs. (What are the disks doing? One is backing up the second laptop using Time Machine. A second disk is backing up my primary MacBook Pro using Time Machine. A third is backing up my photos and videos. A fourth is where I store my photos from 2000 to 2019. The fifth is where I store the videos I shoot. The fourth and fifth are not backup disks.) Yes, they are all labeled! 😎


Leave a reply