Back up your photos. It’s one of the most important things that a photographer does. It’s also one of the most unglamorous ones. But you’ll be glad you did!
Get any group of serious photographers together and mention backing up photos and you better be ready for a long discussion. This is something that they take seriously. Why? Because technology fails. And serious photographers don’t want their images to be part of that failure.

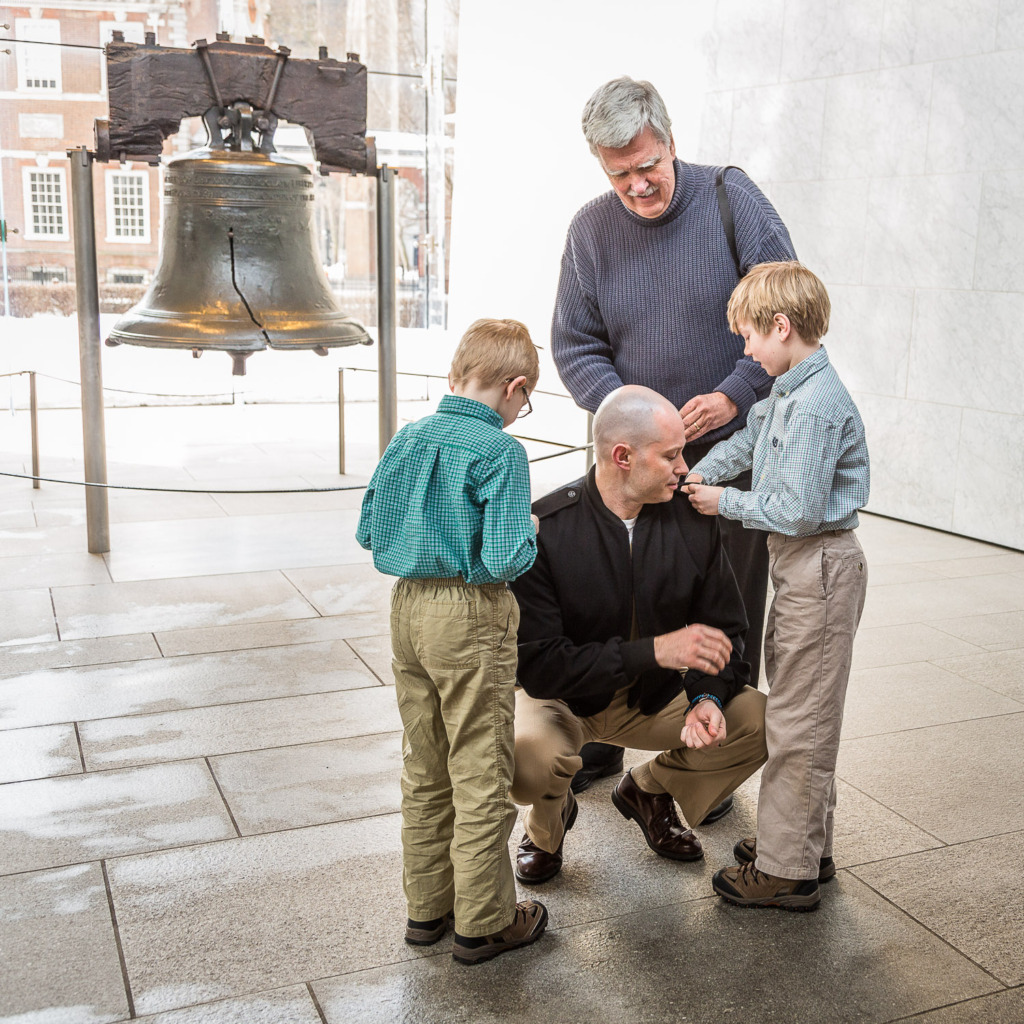
This photo of my son’s Navy promotion a few years ago is a treasured memory for our family. In it, his sons are pinning on his new rank. His father, who was also a Naval officer, is looking on and giving advice. The fact that the ceremony was held by the Liberty Bell in Philadelphia makes it even better. I want to know that I have a copy of this photo! I never want to lose it.
So, how and when do you perform the backup? If you ask a group of photographers, you’ll get lots of suggestions on equipment and frequency. But I thought I’d simplify it for the average camera owner, so here goes. This is part one of a two-part blog post. This week, we’re keeping it simple. No excuses for skipping this step!
When to back up your photos
I always back up my photos as I download them from my camera or memory card. What that means is that I make two copies of each photo I download. One is stored on my laptop and the other is stored on another disk. Never store both on the same laptop or disk. Your aim is to have a copy that is still good if either the disk or laptop fails.
Since I use Adobe Lightroom Classic, it’s easy to do this. I have an import preset that I’ve created and saved. When I put my memory card into the card reader and launch Lightroom, I use the import preset to save the backup copy to a specific disk.
Does that mean you can’t do this without Adobe Lightroom Classic? Absolutely not!
Should you wait to do this until you have time to create backups of all the photos you’ve ever downloaded? NO! Go ahead and thank the perfectionist in you and then ignore it! Done is better than perfect. Start where you are today. 😉
What technical equipment is needed to back up your photos?

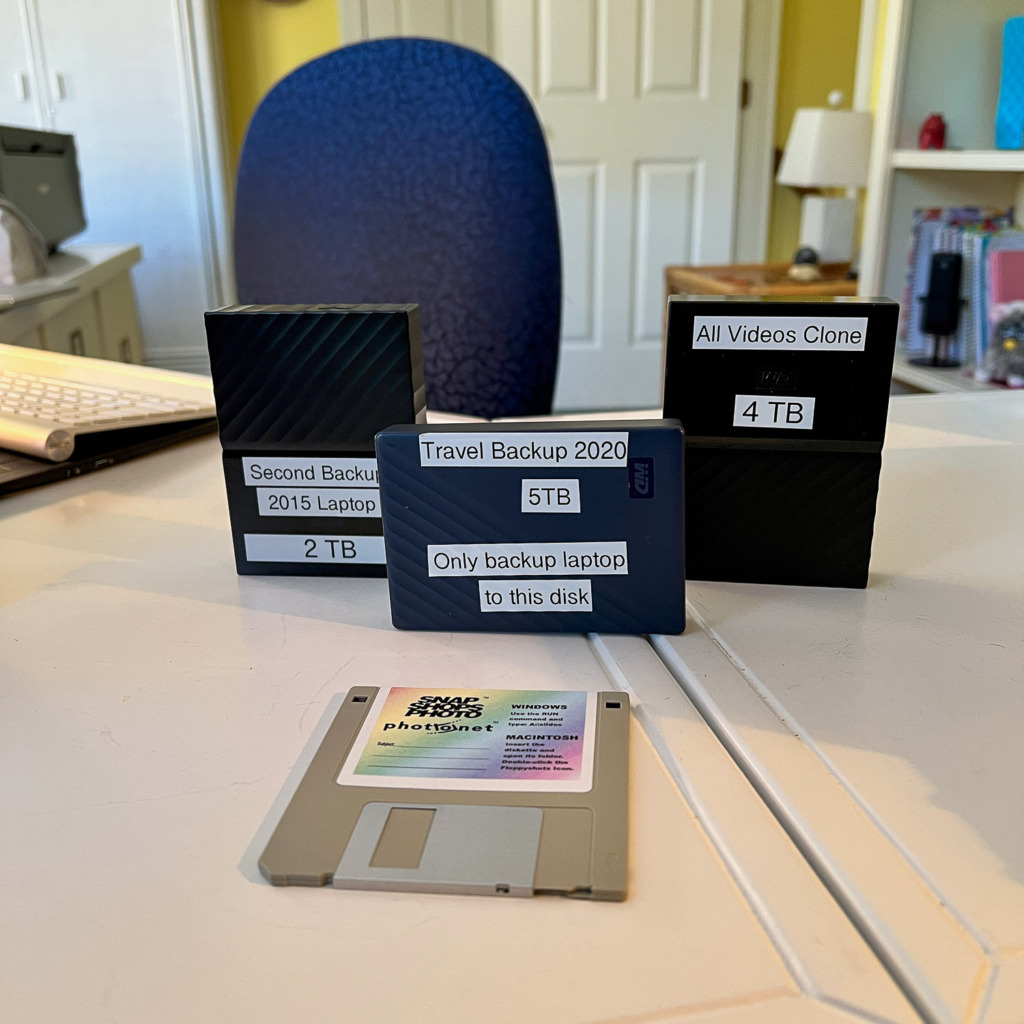
At the minimum, you’ll need an external disk. I use Western Digital equipment because it’s always worked for me. The three disks in the photo above are small enough to store in a safe and can be carried in your camera bag on trips. (Yes, I do back up my photos on trips!)
Do you recognize the funny-looking gray disk in the front? That’s a floppy disk from 1998. If you have any photos backed up on these, you’re probably in trouble. I can’t remember seeing a floppy disk reader in years!
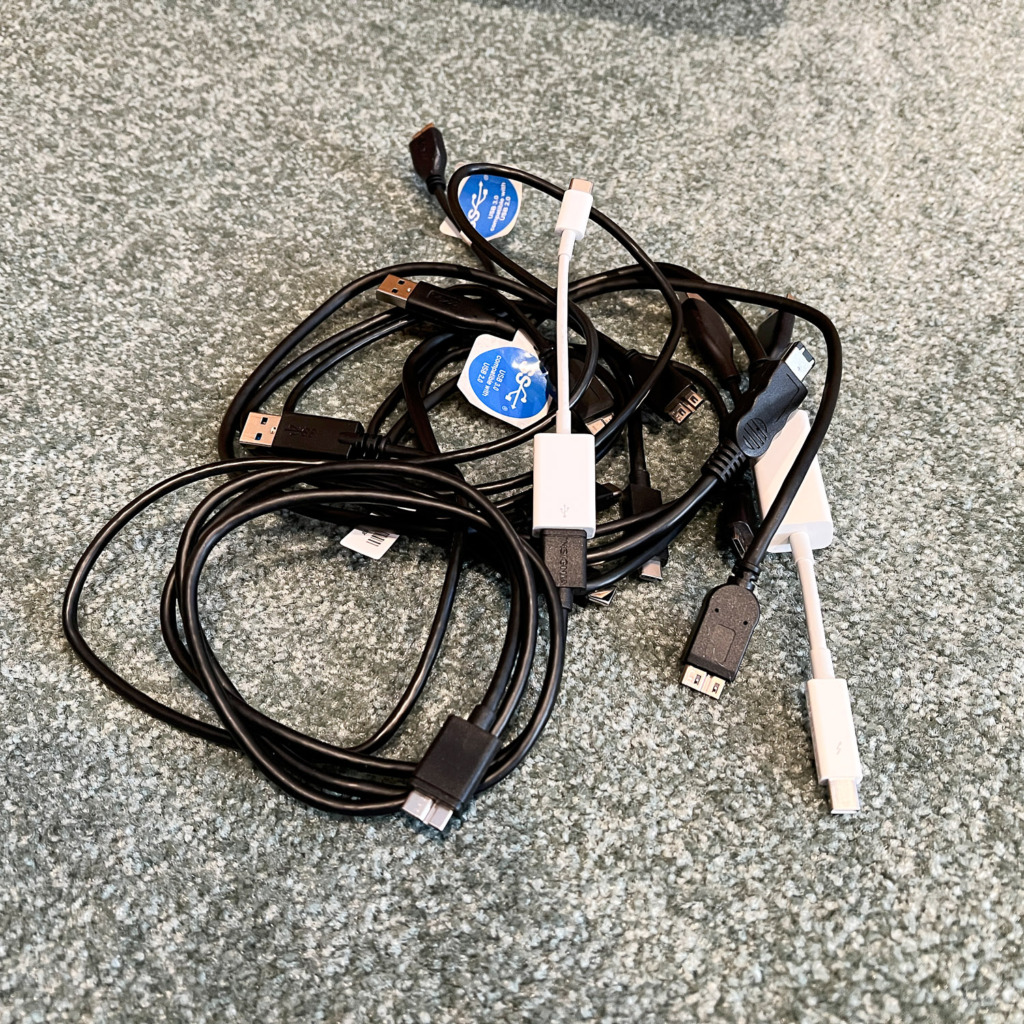
You’ll also need the cables to attach the disk to your computer.

As you can see in this photo, you’ll often need a dongle to attach the cable. (That’s what the two white attachments are in the photo. They allow the common USB cable to attach to the USB-C ports on my MacBook Pro.
What else is needed to back up your photos? Keep it simple…
You’ll need a place to store the disk. You could store it off-site at a friend’s house or your office. However, since we’re humans, we tend to do things that are easy and avoid things that are complicated. How likely are you to remember to bring the disk home to use when you download your photos?

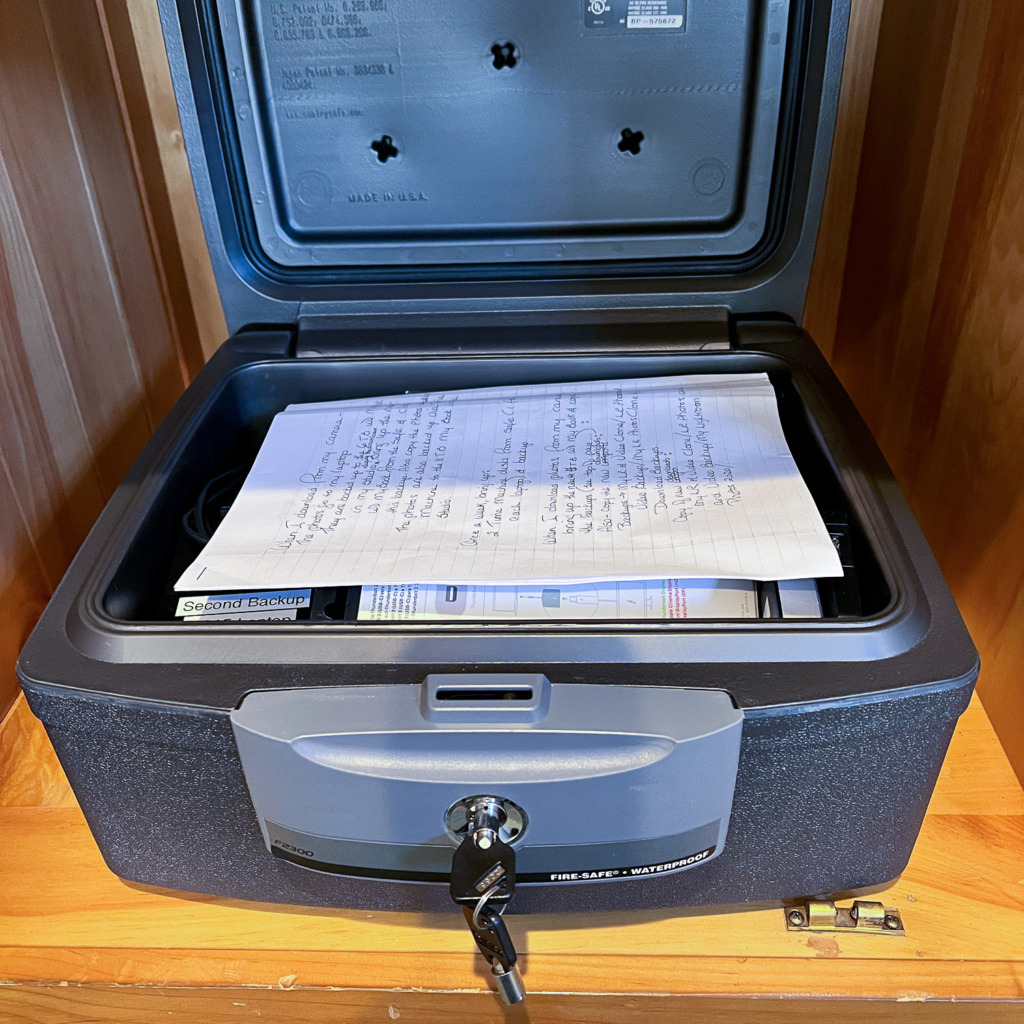
An easy solution is to buy a small fireproof and waterproof safe. Put it in a closet or cabinet on the lowest level of your house. Pop your backup disk in it and you’ve just created a backup system that will work. (Why use a safe? One of the reasons your photos might be lost is fire or water damage. If your house is destroyed, a safe will help save the backup.)
Why did I include the advice on where to place the safe? The safe came with those instructions! In the event of a fire, you don’t want the safe to fall. Why worry about water? Between the floods and wildfires I’ve witnessed in the news over the past few years, I’m just hedging my bets!
Your challenge
If you haven’t been backing up your photos each time you download them, get this set up this week! Just think how good that will make you feel. What a great way to start the new year!
I’ve included a few Amazon links to make it easier for you. You can also find disks at Best Buy and safes at Office Depot. And don’t forget to buy a label maker! And label your disk!!! Never think you’ll remember what’s on a disk. You won’t. 😩
(By the way, the links are affiliate links, which means that I may get a small commission if you order using the link. Thank you!)
I also wrote a blog post about shooting family photos that you might enjoy. The photo of my son was in that post.
Then, watch for next week’s post. In it, I’ll outline some additional steps to take to add extra layers of protection. And I’ll share my secret to having an organized desk, despite all the cables. Here’s a link to that post.


Leave a reply