It’s almost holiday time. What a great time to capture family photos. You can certainly take them with your iPhone, but this is where your DSLR or mirrorless camera will really shine! So, here are some tips for using your camera when you’re taking your own family photos.
Hint: You’ll get the best photos if you prepare your settings ahead. It’s amazing how impatient family members can be. 😉
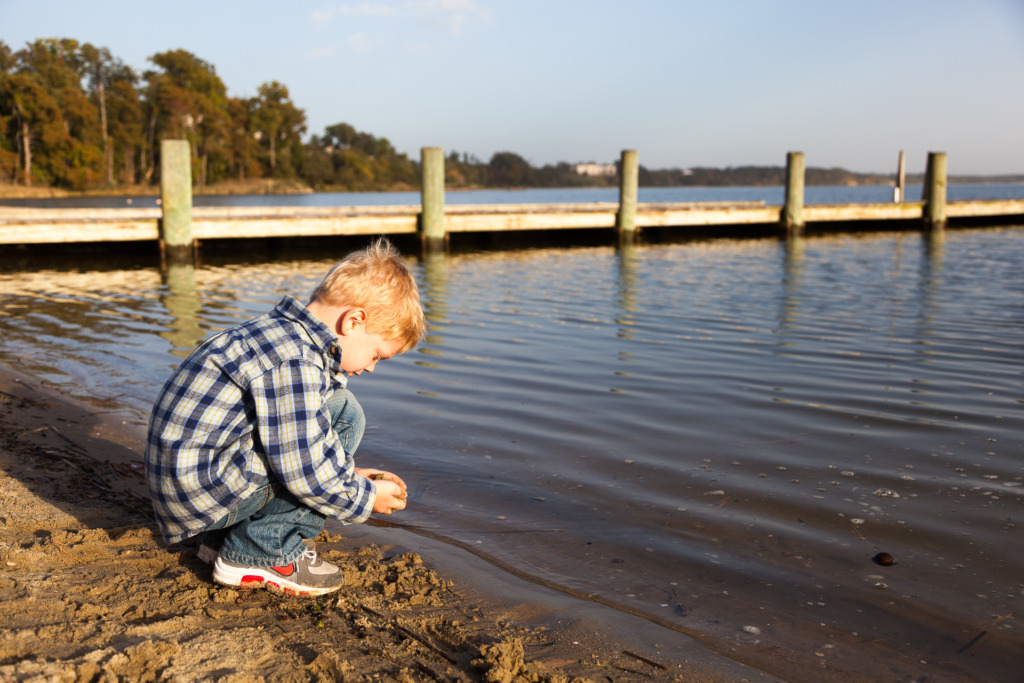
Do you need a tripod?
If you are going to be in the shot, you will need somewhere to put the camera where it can remain steady. A tripod is the best solution. Even a GorillaPod sitting on something to elevate it will work. As a last resort, you can balance the camera on a table. Adding a pillow will help keep it steadier.
If you are using a tripod so you can be in the shot, you’ll need to set your camera’s timer to 10 seconds. That way, you’ll press the shutter button to take the photo and then have 10 seconds to get yourself into the photo before the camera actually takes the shot.
If you are not going to be in the shot, there is no need for a tripod!
Start with your shooting mode: Set it to Aperture mode
Set your camera to Aperture mode. This will help your photos look professional and here’s why.
First of all, your flash won’t fire automatically in Aperture mode. This is a good thing. In general, you will want to avoid using flash.
Secondly, Aperture mode is going to allow you to blur out the background when you are taking your own family photos. That is what sets your camera apart from your iPhone! (Yes, the iPhone has Portrait mode, which I love using, but you have to stand within 8 feet of your subject to use it. Most family photos are group photos and those are hard to take within 8 feet!)
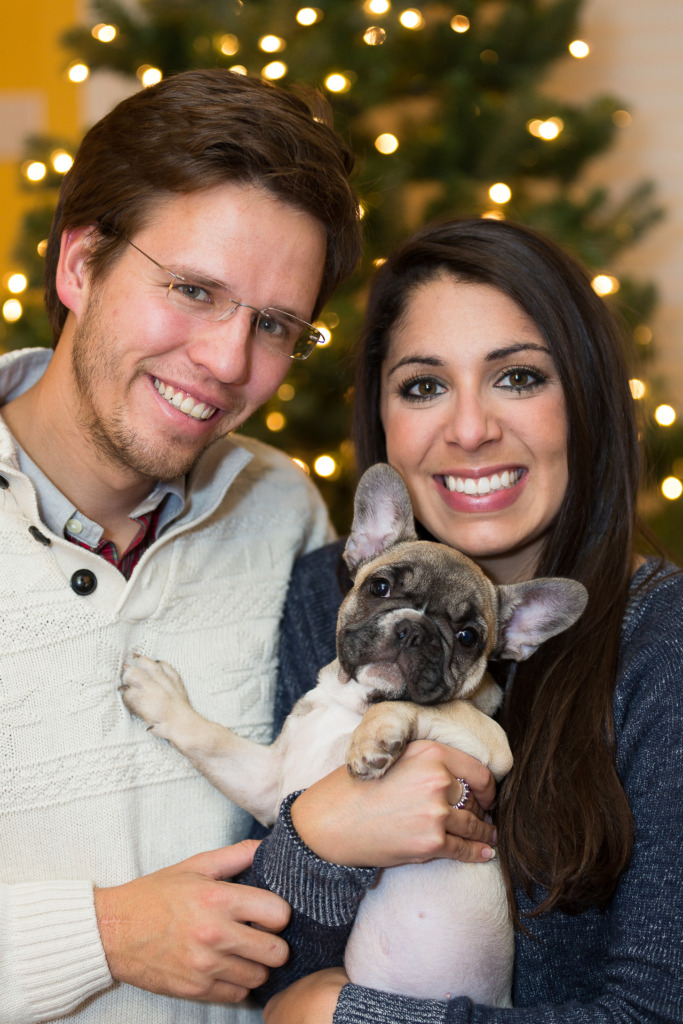
Set your aperture to f/4 or the lowest f/stop number your lens will allow. Since I’m going to suggest zooming, your widest aperture (lowest number) may be 5.6 or even a little higher. This setting is what allows the background to blur.
Next, it’s time to set your ISO
Set your ISO to auto. This will allow the ISO to self-adjust with the lighting conditions. This will be the preferred setting in almost all cases when you are taking your own family photos.
However, there is one instance when you may want to set it to a higher number. If you are taking an action shot, like a photo of everyone jumping, your shutter speed may be too slow to freeze the action. This all depends on how bright the lighting conditions are.
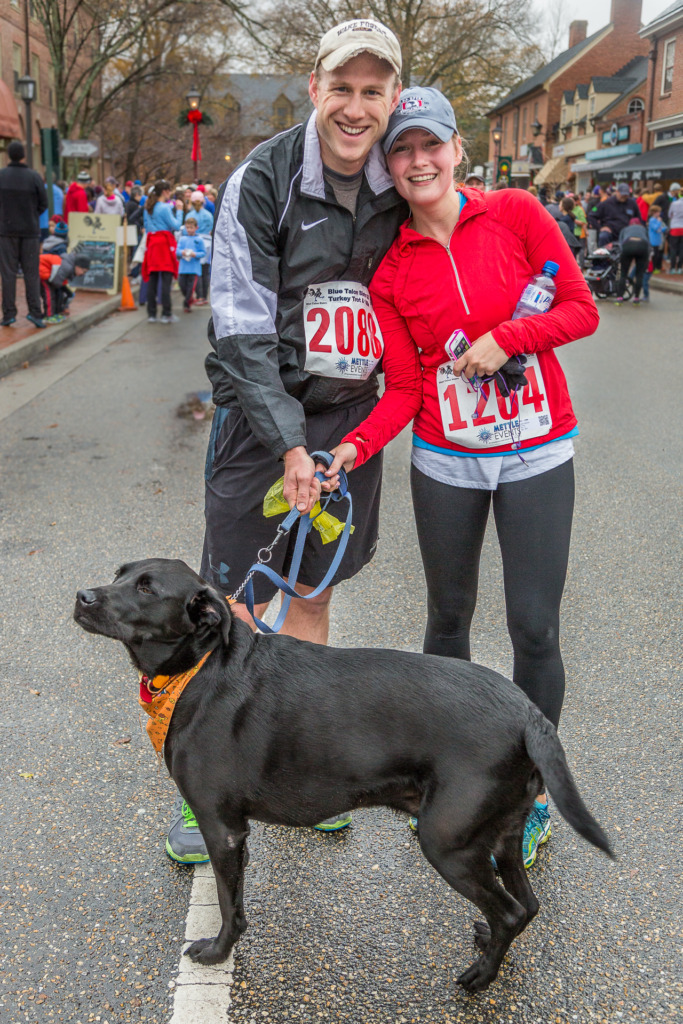
So, take a shot and look at it on your LCD screen. Be sure to tap the magnifying glass button to zoom in on the photo to 100%. Then, look for any blur on your subjects. If there is motion blur, check what ISO the camera has used. Then, manually change your ISO to a higher number than that.
Now it’s time to focus
To keep everyone in focus when you are taking your own family photos, it helps to keep them all the same distance from the camera. That means that if you have six people lined up, the ones at the outside edges may need to step forward a small amount.
Do demonstrate this, just imagine that each person is holding a string that stretches to the camera. All the strings are the same length. (For fun, this might be a good geometry lesson for your kids!) The outside people will naturally be a little forward of the line they were standing on.
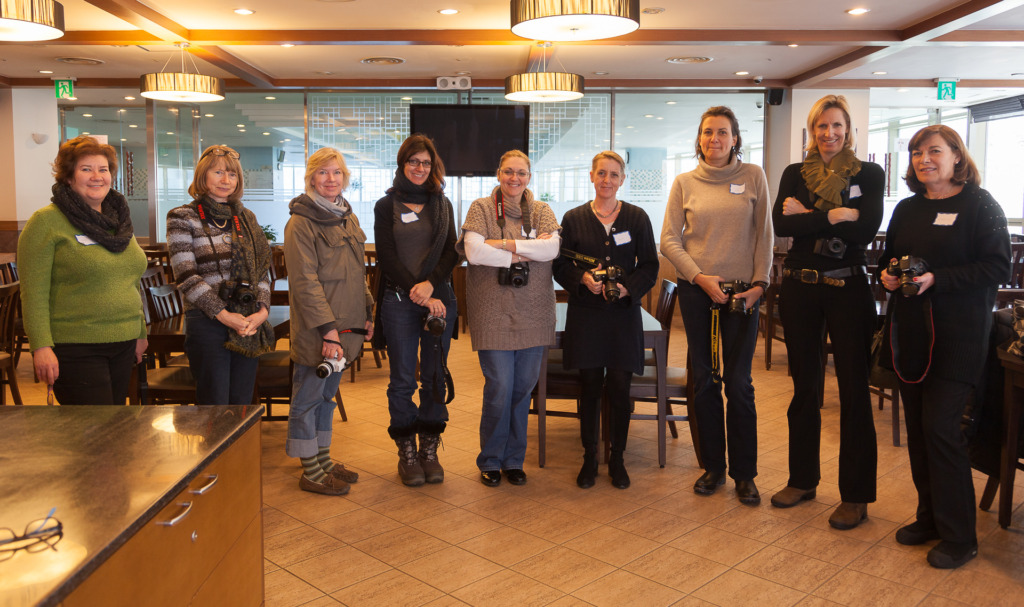
Where do you focus? Focus on one of the eyes of the center person. If they are looking to the side, you’ll focus on the eye closest to you.
Focusing on a group
What if you want to shoot a clump (for want of a better word 😉) of people when you are taking your own family photos? This is a group with some people in the front and some behind them. There are three solutions and you can try them all.
First of all, you can set your aperture to a higher f/stop number, like f/8. To get a good result with a blurry background, you’ll need to be close to them and you’ll want them to be standing or sitting farther from the background.
The other solution is to keep the lower f/stop number and for you to step back a bit. The temptation will be to zoom in closer but that will defeat the purpose. Instead, include some extra space around your family and plan to crop out that space afterward in post-processing.
The third solution is to shoot with a wide-angle lens. It’s much easier to get a deeper depth of field that way. Just be careful that you aren’t shooting a portrait. Wide-angle lenses can cause distortion if they are used up close.
Pro tip
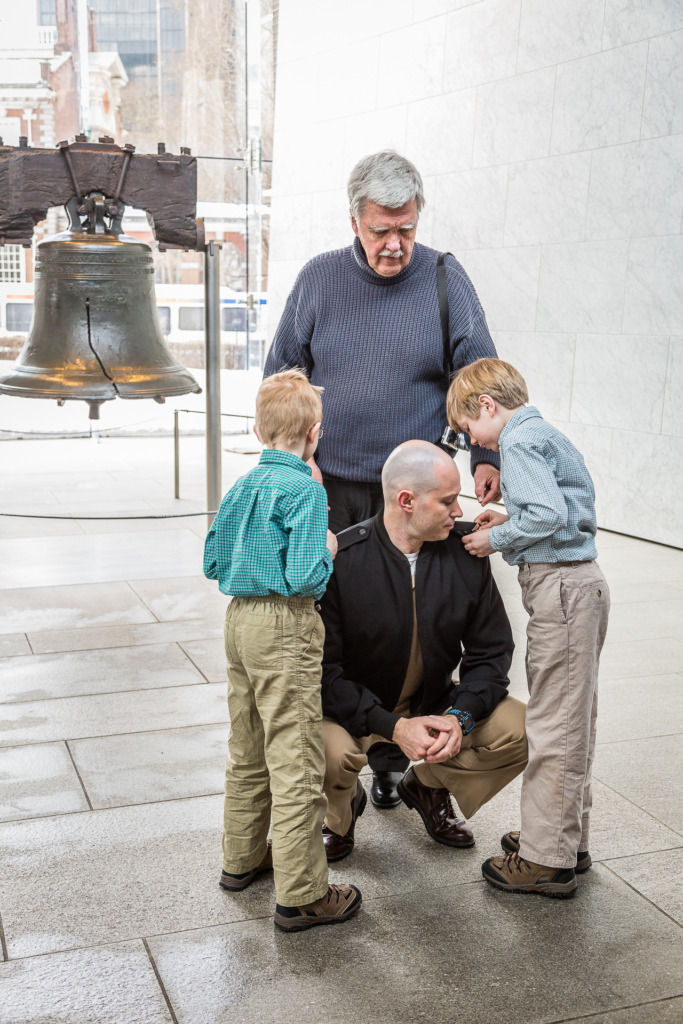
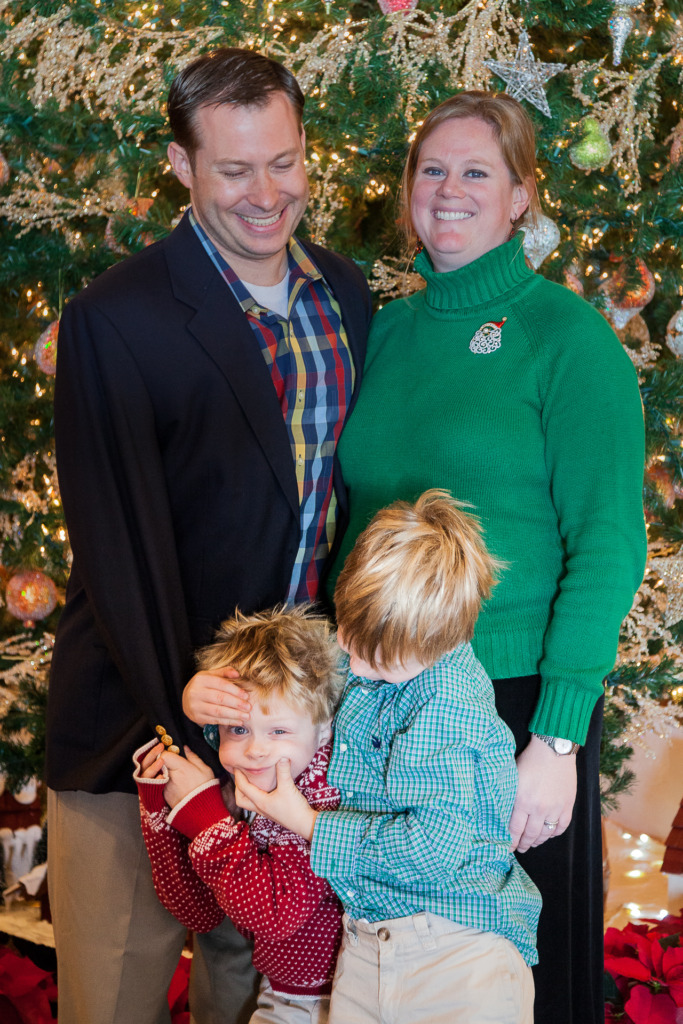
Set your camera to Continuous Shooting Mode and take three or four shots at a time. When you are shooting a group of people, you may need multiple shots to get one with everyone looking good. People blink or smile or pose awkwardly. Or they may glance to the side. With rambunctious toddlers, teenagers or even in-between, there may even be a swift tickle or punch in the side! With multiple shots, you have a better chance of getting a winner. Sometimes, the winner is the one with the mischief! 🤣
Now it’s your turn
Set your camera to Aperture mode with an aperture of f/4-f/5.6. Set your ISO to auto. Now, you’ll be ready to take your own family photos, whether they are planned and posed or even candid. You might even want to play around in post-processing to add some snow!

More Reading
You can learn more about shooting with Continuous Shooting Mode (or Burst Mode) and freezing action in my post about Capturing the Peak of Action.
To get more tips for family photos, be sure to check out my post about Five Quick Tips for Great Holiday Photos with Your DSLR.
The PhotoPills app has a useful chart that will help you visualize depth of field in their DoF Table.
Happy shooting!


Leave a reply