
It’s National Fruits and Veggies Month! What better time is there to learn to take better food photos?
After all, photos of food are some of the best souvenirs! A well-taken photo will bring back the flavors and ambiance of a meal you enjoyed. If you are a travel photographer (and who isn’t?), you naturally include photos of your meals to document your trip. It’s a tough job…
If you are uploading photos to stock agencies, food photos are very popular, as well. In fact, several of the photos I’ve included below are in my stock portfolio.
In this post, I’ll share five tips for taking better food photos both in a restaurant and at home. These tips are for food you are going to eat! Some food photography tips involve shoe polish, uncooked turkeys, and cotton balls. Definitely not the stuff of a sumptuous feast! 😉
Tip number 1: Don’t use the flash on your camera!
Light is everything, but direct, harsh light is worse than low light.
Travel photographers will often ask to sit by a window in a restaurant, if possible, to bring in natural light. Then, they may use a small reflector or even their white napkin to reflect light back on the darker side of the food.
That’s what I did for this photo taken at a restaurant in Seoul. (If you are a spouse of a photographer, patience is a valuable trait. Also, it helps if you aren’t embarrassed easily. I did use a reflector for this shot!)
But what if you are out for dinner with a spouse or friends? Then, your iPhone is your camera of choice. iPhones do well in low-light situations, and they are far less conspicuous than a DSLR! Just remember to tap on the button in the camera app to turn off the flash!
At home, try to shoot in natural but indirect light for better food photos.
If you are shooting at a slow shutter speed, you’ll need to have a tripod. This is easier to do at home than in a restaurant. (Always ask for permission to open a tripod in a restaurant!) A small alternative is a GorillaPod. Since it has legs, you can use it to raise the camera above the surface of the table and vary your angle. It shouldn’t be a problem in most restaurants.
Tip number 2: Try different angles
Believe it or not, food-shooting angles follow trends. Currently, it’s very trendy to shoot straight down on your meal. But, this hasn’t always been the case.
Here’s one of my favorite articles about shooting perspective in photography by Jenika McDavitt, written in 2013: Have a Photo Problem? Try Canonical Perspective
I’ve been following her since she launched her blog in 2011!
In it, she describes canonical perspective. It’s the angle you see your food at as you are sitting at the table and about to eat. It’s about 30-45 degrees above the food. This is certainly an easier angle for shooting discretely in a restaurant. 😉
I always try to shoot from multiple angles. It’s amazing how different the shots will look on your computer. You may find you have one angle you prefer, or you may pick and choose, depending on the meal. You’ll create better food photos when you try different angles and depths of field.
Tip number 3: Play around with what to leave out of the photo
As you survey the scene, look for items that will detract from the shot. Salt and pepper shakers? Unless they tell part of the story, they probably have to go. You can move them out of view, or zoom in on the food.
Unless the other diners in the restaurant are dressed in Australian dirndls and lederhosen or some other local costume, you probably will want to compose without them in the scene. Remember, you are telling a story of your meal.
If you’re shooting in your kitchen, you’re still telling a story, so take a good look around the shot. If the dishes in the sink aren’t an important part, zoom in or recompose. This will definitely lead to a better food photo!
Sometimes, you may want to zoom closer and only include a part of a dish. Really zoom in and focus on one important element. An example of this would be to shoot the mint leaves on the top of a chocolate sundae. Closeups are very popular as travel shots.
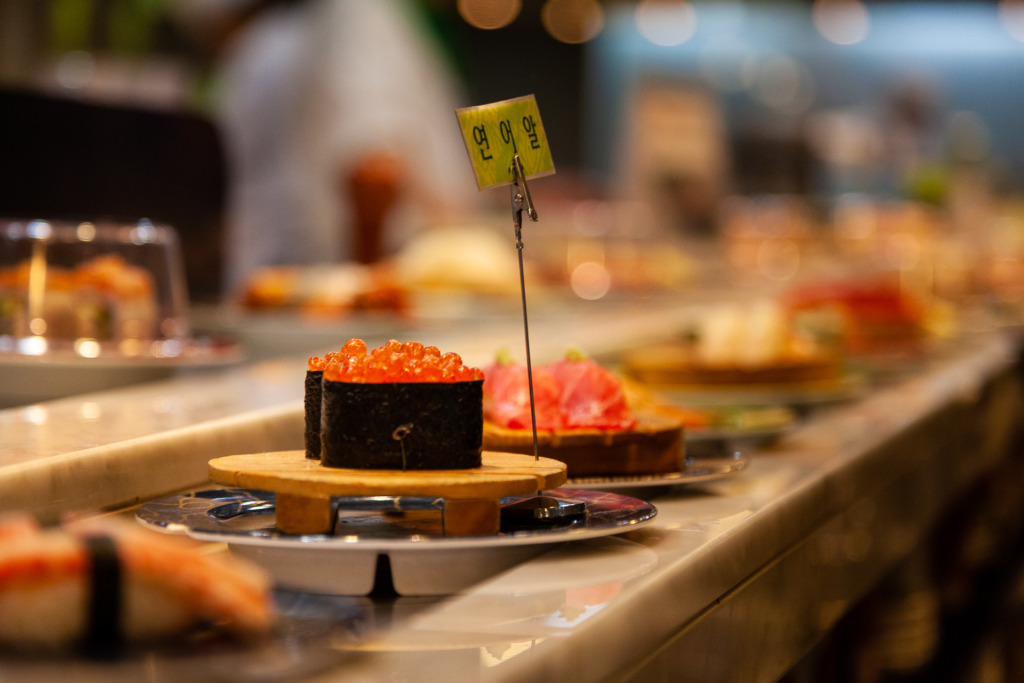
This photo is a full-sized version of the panorama at the very top. I used a wide aperture (small aperture number) to blur out most of the photo and bring attention to one piece of sushi and the sign, in a conveyor belt sushi bar in Seoul.
Tip number 4: Play around with what to add to the photo
So far, we’ve been concentrating on removing extraneous items. Now, it’s time to see what we can add to improve the story and take better food photos.
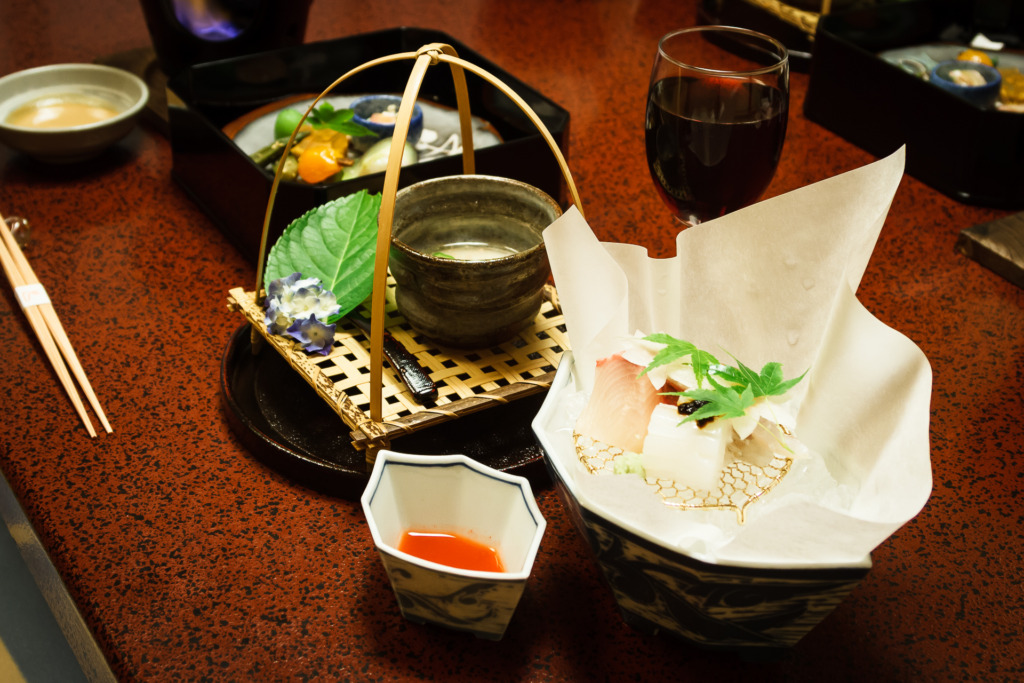
You might want to include part of the table, with the whole dish plus the fork and knife, with a napkin bunched up next to the plate. You could even pose the fork on the plate.
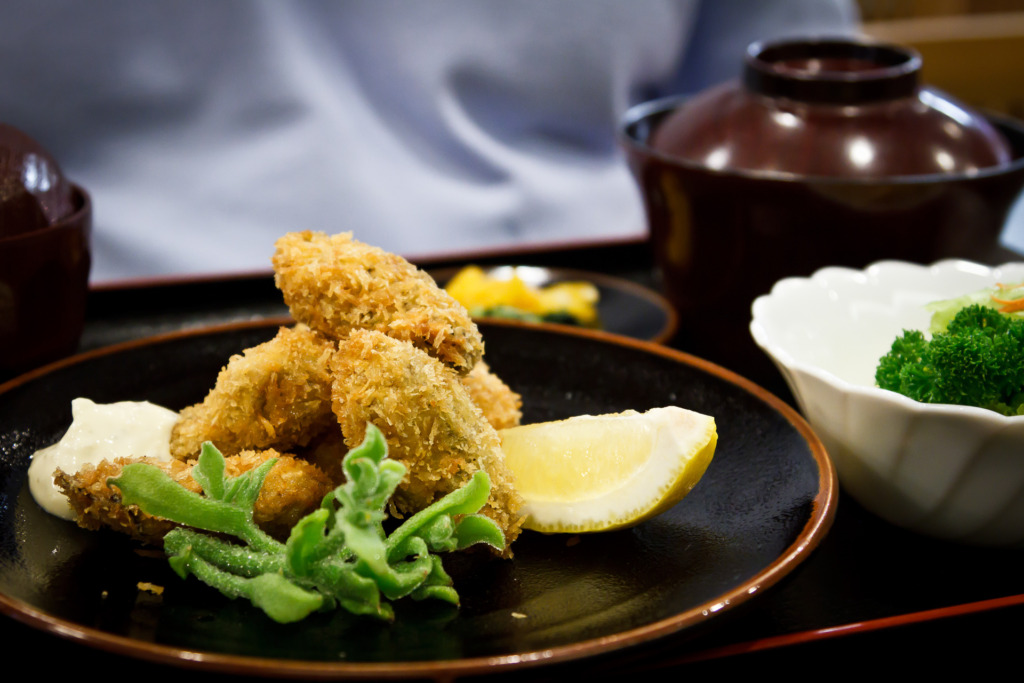
In this photo, I included the chopsticks.
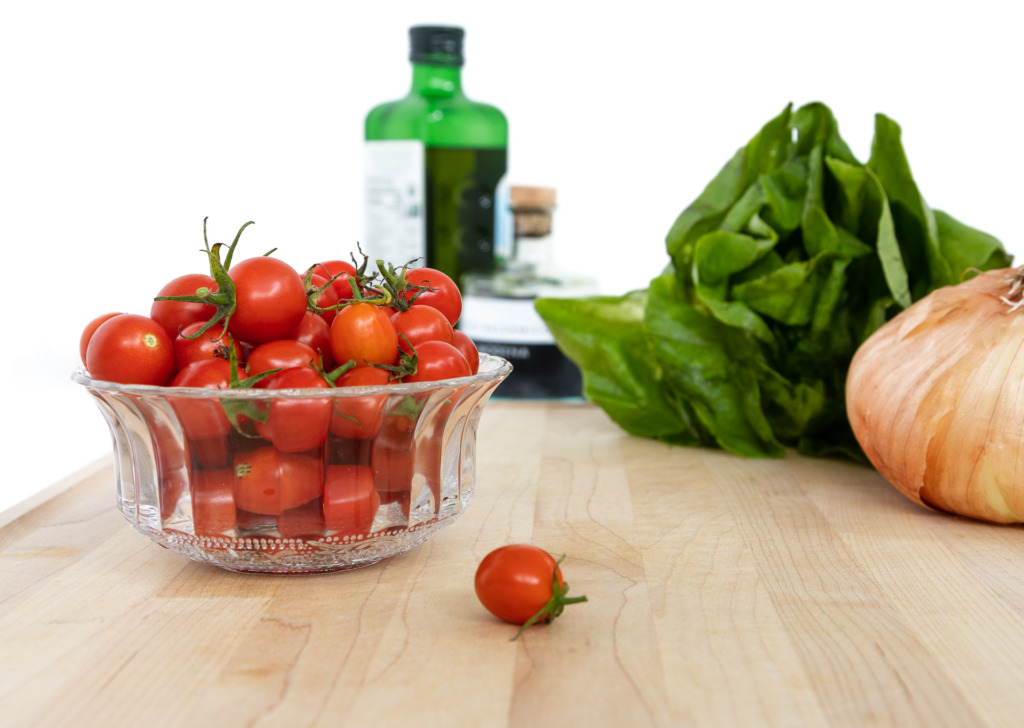
If you’re shooting at home and your table isn’t exciting, what about using a cutting board, instead? Take a look around your kitchen and see what you can enlist as an interesting prop.
Portraits that include the place along with the person are called environmental portraits. They can really help tell a story. The same goes for food photography. Including a bit of the environment can enhance the shot and create a better food photo.
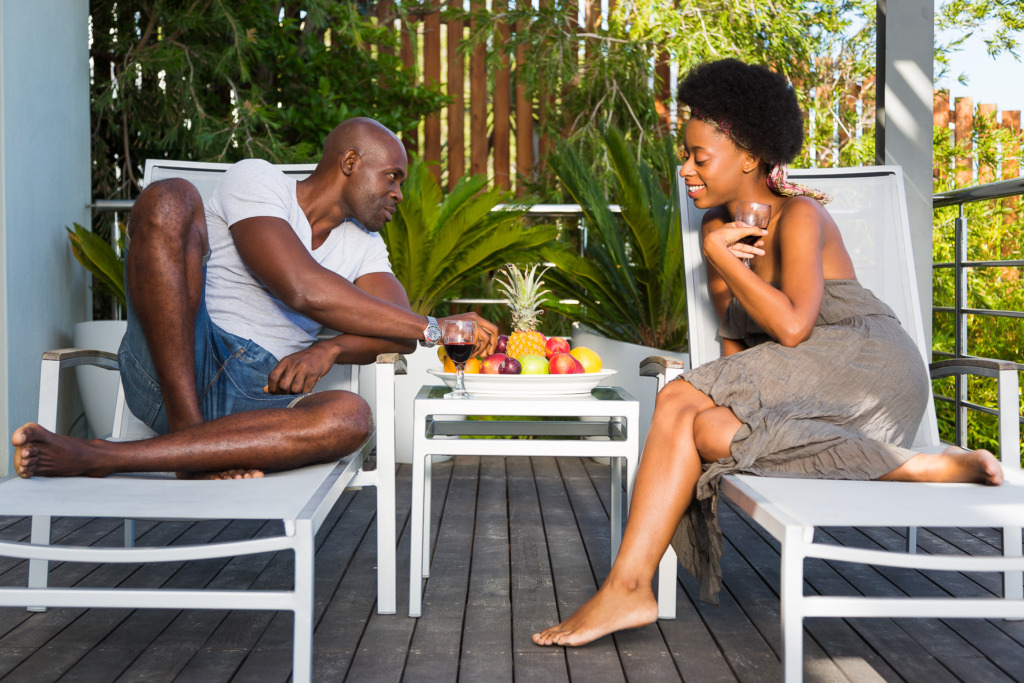
Another way to take better and more exciting food photos is to include a person. A portrait of food and a happy eater is more exciting than just the photo of food. Even just adding a hand holding a fork above the food is a way to add interest.
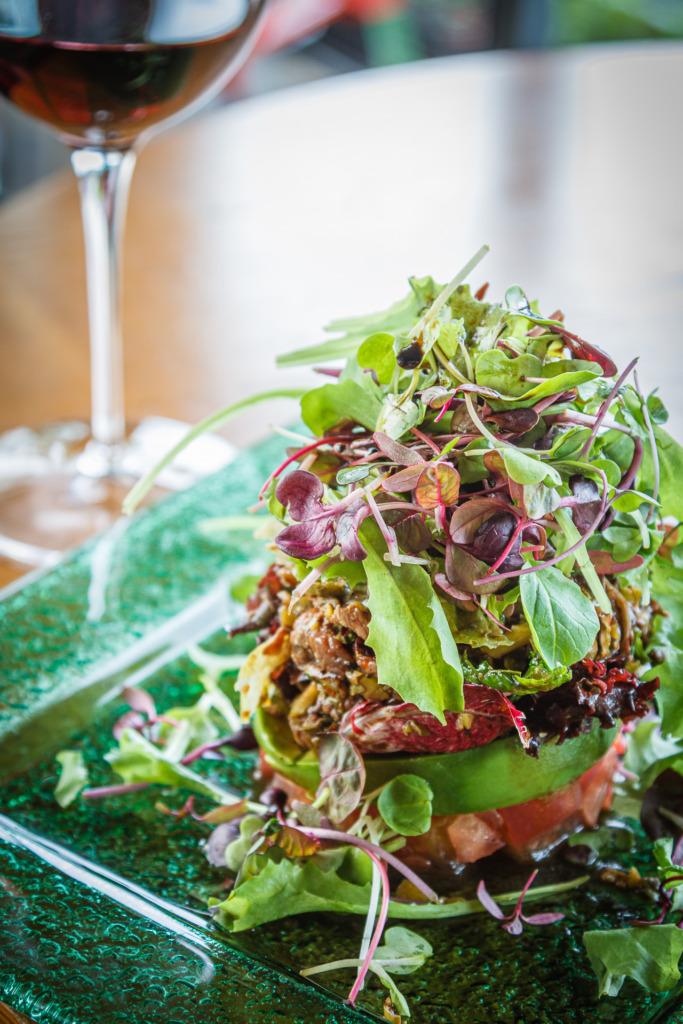
In this shot, adding the people puts you on vacation with them as they enjoy a fruit platter and wine.
Tip number 5: Be creative
If you are stuck at home due to the Corona Virus, you can really be creative. While you can’t play with your food in a restaurant, at home you get to be the food stylist. No one is stopping you.
Why not create a backdrop of white poster board and then try different combinations of foods, straight out of your fridge?
Create a French picnic with several kinds of cheese and some grapes, and a baguette in the background.
Create a dessert extravaganza with a big dish of ice cream and a tower of freshly baked cookies next to it. You can even add to the story by taking a bite out of one of the cookies and leaning it against the ice cream dish.
Use your imagination… and your appetite! 😃
Further Reading:
Interested in learning more? Here are a few related blog posts I’ve written:
What Does a Travel Photographer Shoot?
Painting with Light in Photography
Controlling Your Aperture for Better Shots
Final note:
One of the best ways to improve your food photography is to take lots of photos. Then, upload them to your computer and compare them. See which photos speak to you. And, of course, celebrate your successes.
Now, it’s your turn. Grab your camera, head to your fridge, and see what you can “cook up” to shoot. If you find that you are really having fun doing this, why not try to upload a few of your best photos to Adobe Stock.

Leave a reply