This week, I’m going to introduce you to a fun and creative technique called painting with light. All you need is your camera and a few props. It’s the perfect antidote to being stuck at home, either due to the Corona Virus or the weather.
Once you learn how to do it, you can branch out to more elaborate shots like old houses or even old cars in a junkyard.
But, for this post, we’re going to keep it really simple so you can be producing shots in an afternoon.
What you’ll need to paint with light:
Your camera: either your DSLR or mirrorless camera that can shoot in manual mode.
Your tripod, or a pile of pillows or a stack of books to hold your camera.
A flashlight.
Something to shoot, like a glass of beer or a bowl of fruit or a flowering plant.
A room that you can totally darken.
The setup:
1) In a room that you can darken completely, create your subject. Yes, the room will be lit at this point. 😉 If you’re having trouble thinking of a subject, keep reading. I have an example photo later in the post.
2) Because you will be using a slow shutter speed, mount your camera on a tripod or place it on a pile of pillows or a stack of books.
Camera settings:
3) To paint with light, you’ll set your camera to Manual. (That’s the “M” on the mode dial of your camera.)
4) Set your Shutter Speed to 6 seconds. This usually will look like this: 6″. Yes, that’s a quotation mark after the number. It’s how cameras let you know you are setting seconds and not fractions of a second.
If you’ve never shot in Manual mode before, here’s a tip for setting your shutter speed. Depending on the camera model, you’ll probably turn either a wheel or a dial on the top of your camera. The changing shutter speed should be visible on your LCD screen or in your viewfinder. Remember, all camera makes and models are unique. You may have to try Google for instructions for your particular camera.
5) Set your Aperture to f/11. Since you will be shooting very close to the subject, this will give you a deeper depth of field, which will help more of the subject to be in focus.
New to Manual mode? There are two likely ways you’ll do it. If your camera has two wheels, one of them should control the aperture. If your camera only has one wheel, you’ll look for a button to push and hold while you turn the one wheel. This button usually has the letters “Av” on it.
6) Set your ISO to 100, to reduce noise in the photo.
7) Finally, turn on your camera’s Self-Timer. (On some cameras, you will want to choose the single-shot self-timer. That’s a feature on some of the newer cameras.) Two seconds will be plenty if you have that choice. This will allow the camera to settle down after you have depressed the shutter button. It will help reduce motion blur caused by camera movement.
The shoot:
8) Now it’s time to paint your subject with the light from your flashlight. Turn on the flashlight and darken the room. The only light will be coming from the flashlight, so you are in complete control!
8) Aim the flashlight at your subject and partially depress the shutter button, until the camera focuses. You want to be sure your subject is in focus. It’s important that you don’t move the camera after this.
9) Go ahead and take the picture. The camera timer will blink and maybe make a noise as it counts down. Start moving the flashlight slowly around your subject, being careful not to shine it directly at the camera.
When the timer goes off, remember that your camera will be taking the picture for six more seconds, so keep moving your flashlight until those six seconds are over.
Check your photo, then “rinse and repeat”:
10) See what you think of your photo. You can change the settings if you want, and try another shot.
Or, try painting with light with a different flashlight. Just like light bulbs, flashlights have different color temperatures. This means the light color from them will tend to vary. As a result, your photos from different flashlights may look bluer or more yellow.
Having trouble with focusing?
If you have trouble with your camera focusing, you may want to set the focus (See Number 8) and then turn off the Auto Focus on your camera. How you do that depends on your camera.
On a Canon, it’s done by moving the slider from AF to MF on the side of the lens.
On some Nikons, you must do that and also turn off the Auto Focus on the front of the camera body, down near the lens release button. Check your camera manual or Google it, if you’re not sure.
Now it’s your turn!
Use your imagination! Look around your house and see what else you can shoot. Flowers look really nice with this technique. You can even experiment with dodging and burning the photo by spending more time painting some parts of the scene with light than others.

When we lived in Seoul, the only room in our apartment that could be completely darkened was the master bedroom. To set up this scene for my workshop, I placed a piece of white poster board on the bed. Then, I carefully 😳 added the mugs with a little beer in them and the St. Patrick’s Day decoration. During the class, twelve students took turns shooting it! Thankfully, no beer was spilled!
If you don’t have a room that can be darkened, shoot at night!
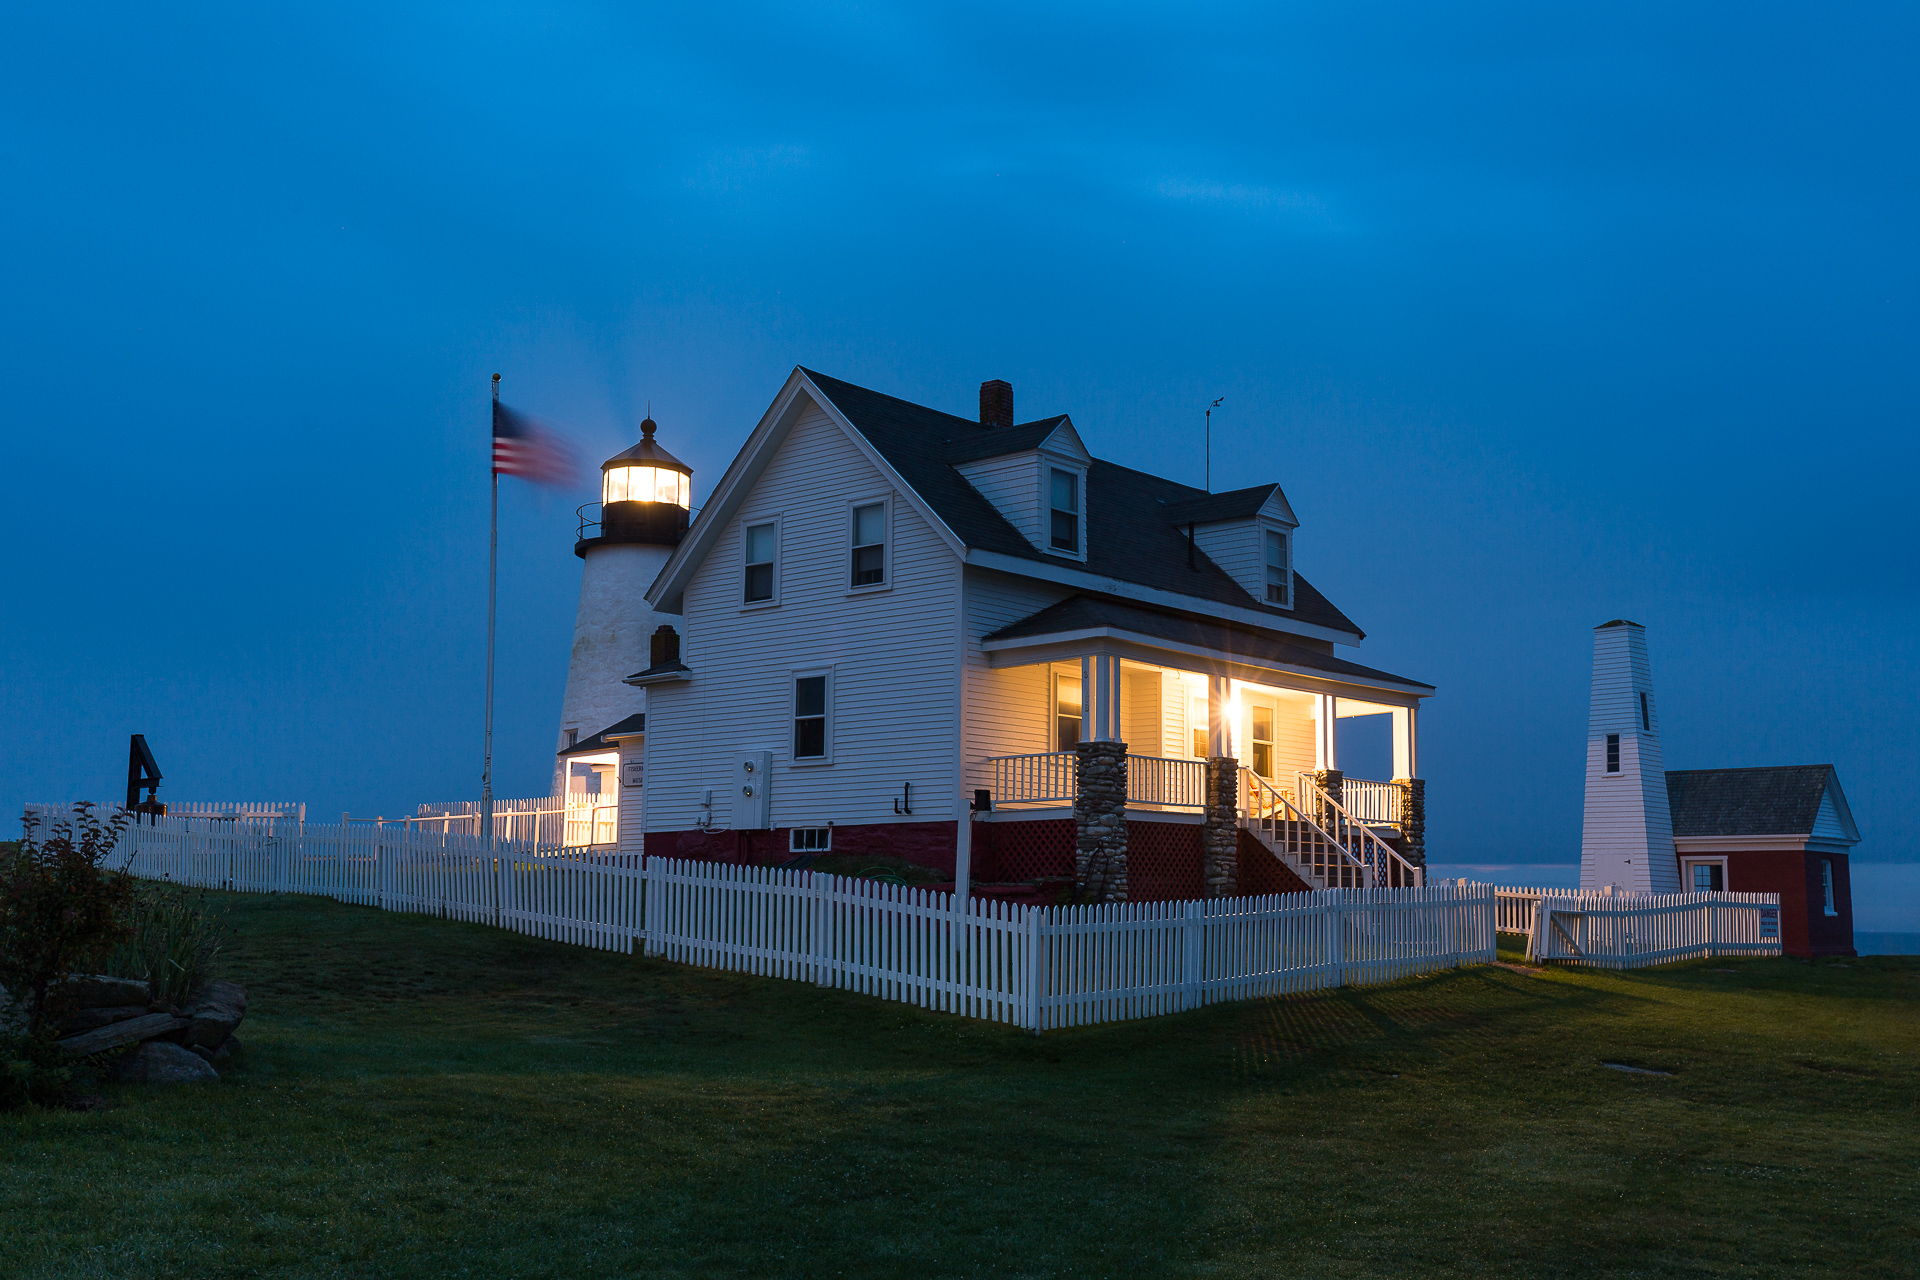
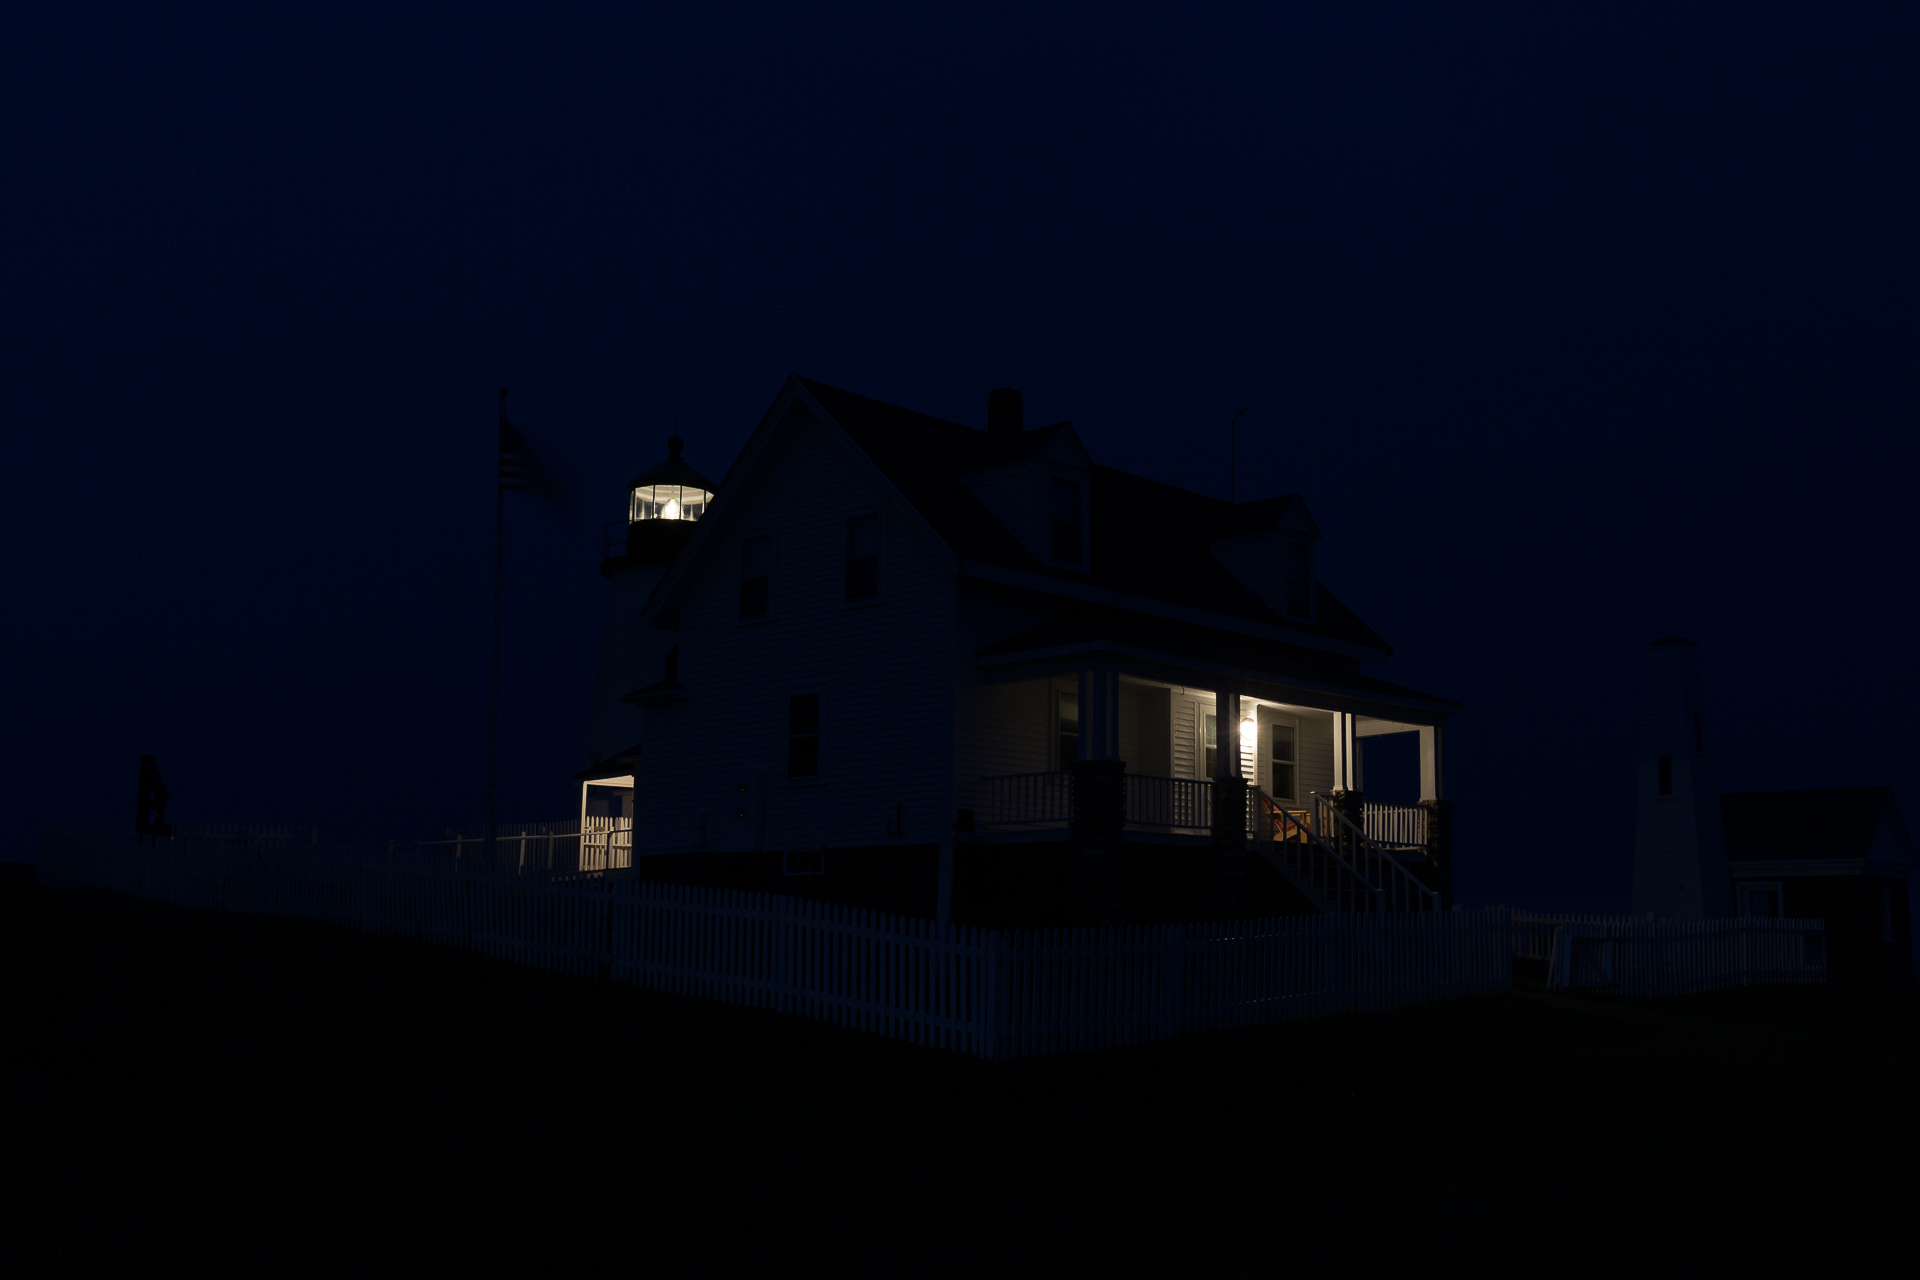
Here are two smaller versions of the photo from the very top of this post. If you’ve traveled to Maine, you might recognize the building. It’s the keeper’s house at the Pemaquid Point Lighthouse in Bristol, Maine.
I shot this during a weeklong class I took at the Maine Media Workshops a few years ago. We were on the road for the shoot at 2:30 a.m. The idea was to shoot the sunrise behind the lighthouse. Sadly, it turned out to be an overcast morning, so we missed the sunrise. 😩
However, being photographers, we still had a great time. This shot was a 30-second exposure, with my camera mounted to a tripod. Our instructor, Joe Baraban, used a powerful flashlight to paint the outside of the building and the white picket fence with light while we shot.
Another fun challenge:
If you enjoyed trying this out, here’s a post I wrote about playing around with bokeh. It’s another great way to get better at photography without having to leave home.


Leave a reply