Are your snow photos too dark? What happened?
It’s been quite a week in the U.S. Snow has fallen in places it rarely or never does. People have searched high and low for anything to ride as they slide down hills. Snowmen have sprouted up in front yards and snowballs have flown with abandon.
And that’s not all. Have you been on social media? Just imagine how many thousands and thousands of snow photos have been shared!
Why are my snow photos too dark?
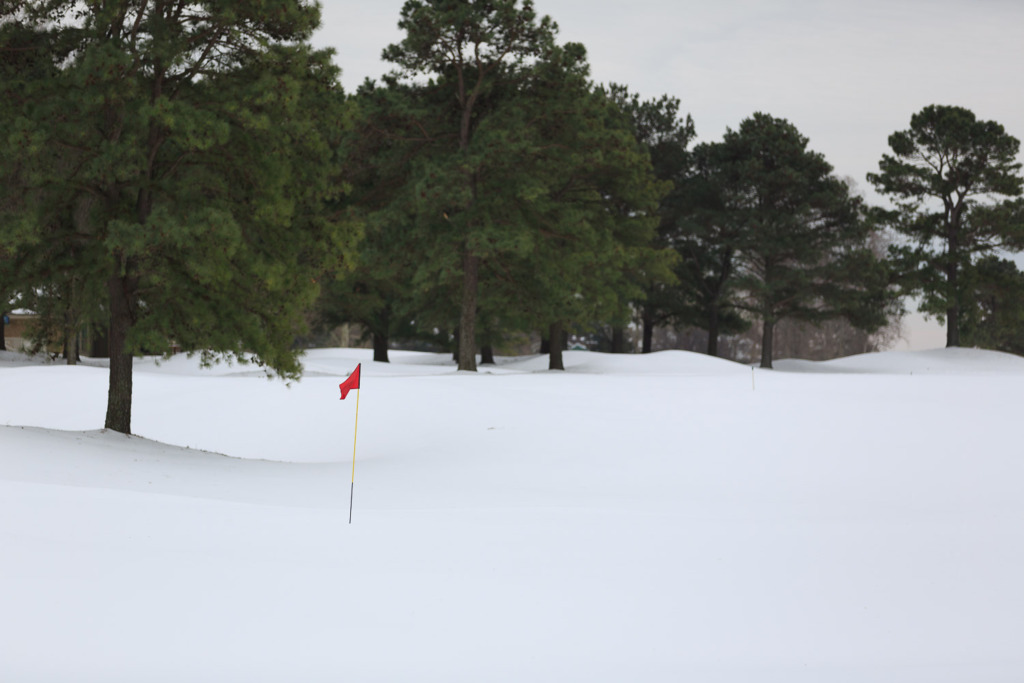
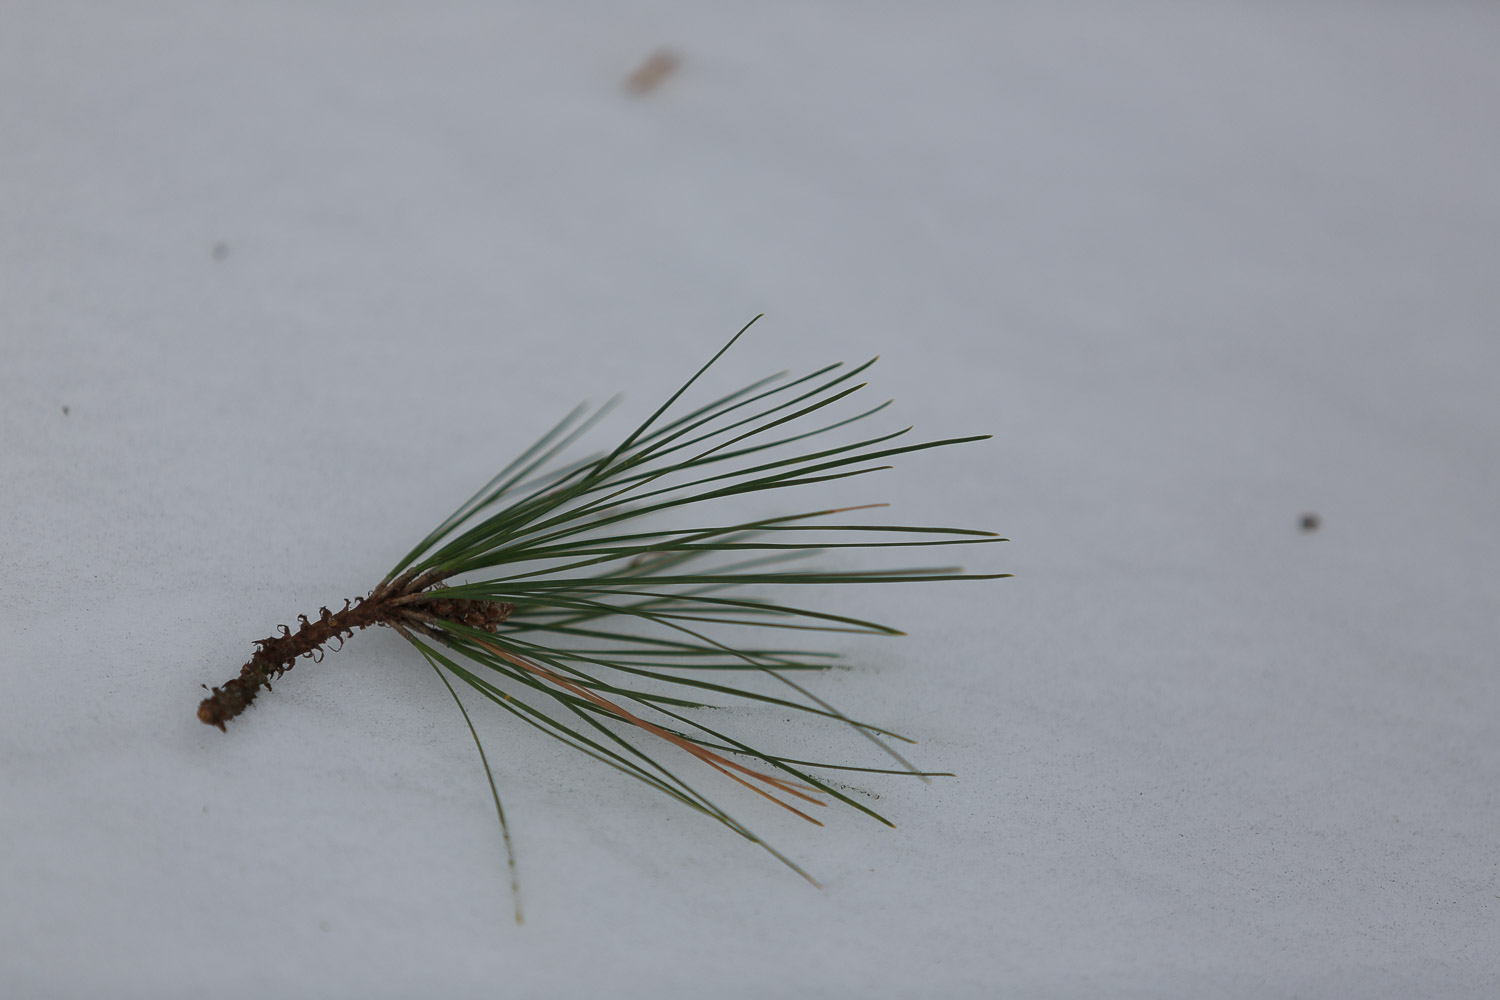
The inevitable question that comes up after a snowfall is why are my snow photos so dark? There is actually a reason that has to do with your camera or mobile phone’s light meter and mid-gray. Cameras, including iPhones, generally have a hard time with snow. Yawn!
What you really want is a solution before the snow melts, so here’s help for shooting with either your DSLR/mirrorless camera or your iPhone.
Brighten the snow with an iPhone
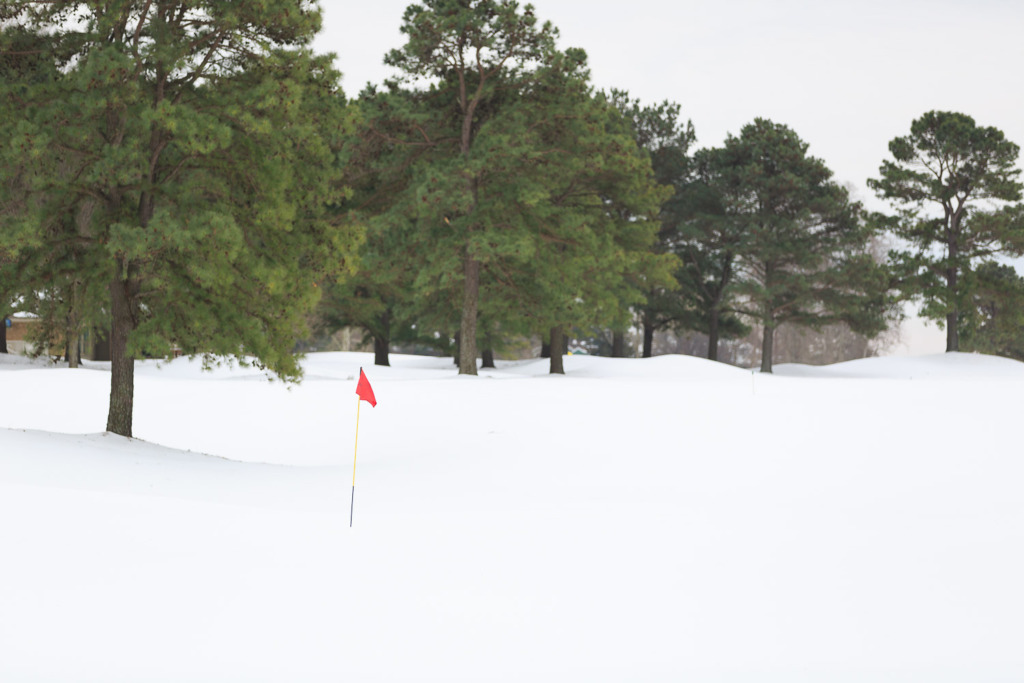
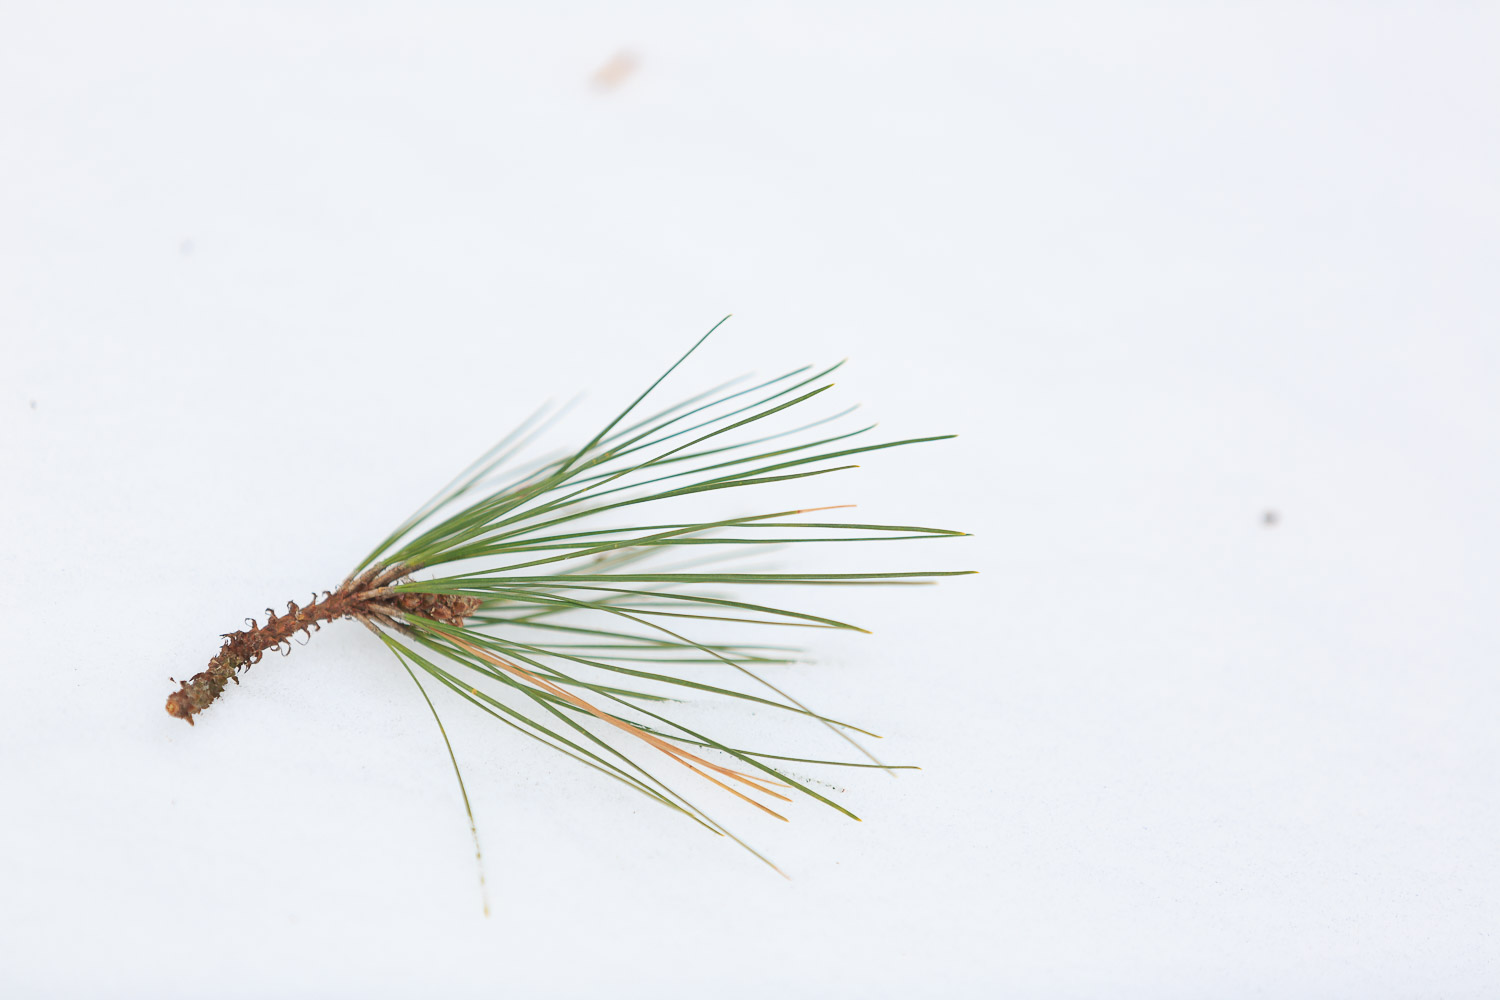
Doesn’t this photo look better? I added one stop of Exposure Compensation. (I shot it with my DSLR. Instructions for shooting and editing for cameras are coming later!)
Let’s tackle the camera you always have with you first.
Many of the newer iPhone models do a good job of brightening up the snow, so first take a photo and check it out. If your snow photo is too dark, here’s the solution.
When you take a photo with your iPhone, you can control the exposure.
As you hold up your iPhone to take the photo, tap and hold on your subject on the screen. A yellow box will appear and the words “AE/AF LOCK” will appear at the top of the screen. This means that you’ve locked focus and the exposure on your subject.
Now, gently slide your finger up on the screen. You’ll see the scene grow brighter. When it’s as bright as you want and your snow is white, take the photo. You’ve added Exposure Compensation.
Brighten the snow after you take your iPhone photo
What do you do with the fabulous but dark photos you’ve already taken with your iPhone this week? There’s an additional solution to snow photos that are too dark.
Go to the Photos app on your iPhone. It’s where you see the photos you’ve taken. Select your photo and click on Edit. On the bottom of the screen, under your photo, you’ll see some icons. Choose the icon with two circles with a plus and minus sign inside them. That’s exposure.
Now, slide your finger from right to left under the icons, along the row of upright lines. Stop when the photo is bright enough. Click on Done! You’ve just added Exposure Compensation after the fact.
Help! My DSLR/mirrorless camera snow photos are too dark!
Again, there are two solutions, one you do before you take the photo and one that you do afterward.
Just to mix things up, let’s start with the “afterward” solution.
How to edit dark snow photos taken with your DSLR/mirrorless camera.
If you own a Mac, it’s easy. You’ll follow the same app you would for an iPhone. In this case, I’ll take you through the steps to take on your computer.
Launch the Photos app and select your photo. On the upper right, you’ll find the Edit button. Click on it.
Click on the right-facing arrow next to Light to open the options. (If it’s facing down, you don’t need to click on it!)
Click on the right-facing arrow next to Option to see the options. (Again, if it’s facing down, you don’t need to click on it.)
Choose the second slider down, which is Exposure. Drag the blue line to the right until you feel like your photo is bright enough and your snow is white. This has added Exposure Compensation after the fact.
Click on Done at the top right.
DSLR/mirrorless camera snow photos too dark? It’s time to shoot like a pro.
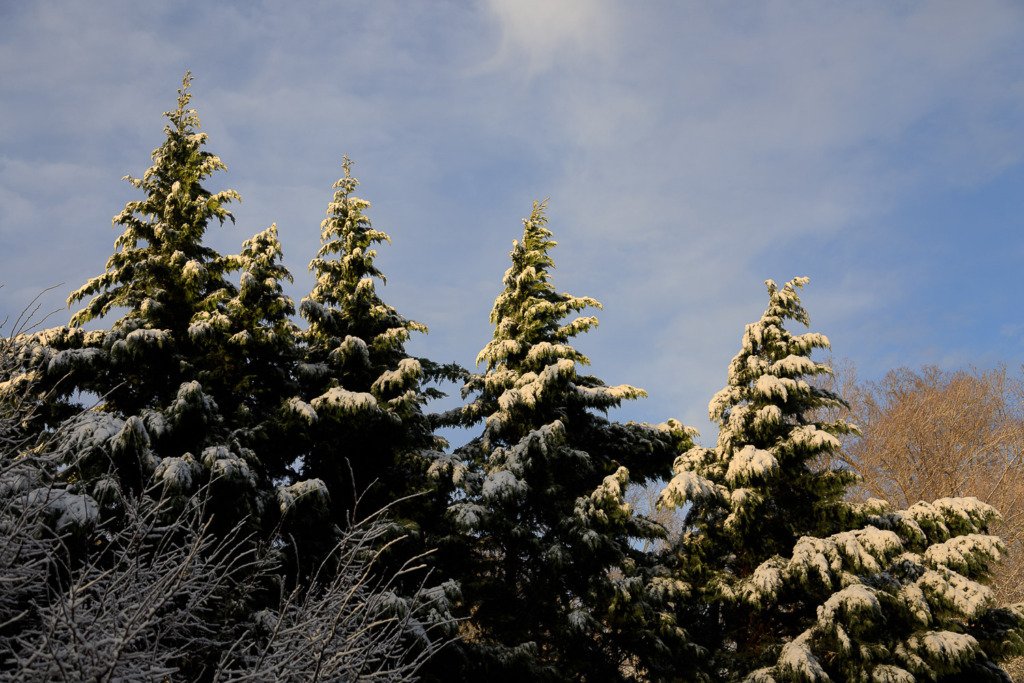
Do you want to shoot snow photos that aren’t too dark with your camera? Here’s the secret. (If you’ve only shot on Auto Mode or one of the scene modes on your camera, don’t worry. I’m going to give you a step-by-step solution!)
The secret is to apply Exposure Compensation before you take the photo. I described how to do it with an iPhone earlier. Now, let’s do it with your camera.
First of all, you’ll have to get off of Auto Mode, so turn your mode dial to “P” for Program Mode.
Now, the next step depends on your camera, but here are some general guidelines for brightening your dark snow photos before you shoot. Look on your camera for an icon that is a square with a plus and minus sign on it. It will also probably be divided in half diagonally, with a white half and a black half. That’s the button you’re going to either tap or tap-and-hold to change your exposure.
But you’re not finished yet. Next, you’re going to turn a dial somewhere on your camera. Turning it one way will reduce Exposure Compensation and turning it the other way will increase it. To shoot a brighter photo, you’ll increase it.
Some examples for different cameras
On the Sony a6000, you simply tap the Exposure Compensation button. Then, you turn the dial on the upper right back of the camera. Turn it so the positive numbers increase. Since this is a mirrorless camera, you’ll see the brightness increase on the screen.
On the Canon T5i, you have to tap-and-hold the button. Then, you turn the dial that’s right next to your shutter button. Since this is not a mirrorless camera, a good rule of thumb is to turn it to +1 and take a photo.
My Canon 5D Mark IV doesn’t have an Exposure Compensation button! Instead, I tap on the shutter button while I’m looking at my subject and turn the dial on the back of the camera. In the viewfinder, I can see the Exposure Compensation icon appear as I turn it.
Fair warning!
Exposure Compensation doesn’t change until you change it. That means you must turn it off (return the pointer to 0 on the meter in the viewfinder or on your LCD screen.) Turning your camera off doesn’t turn it off!
Now it’s your turn
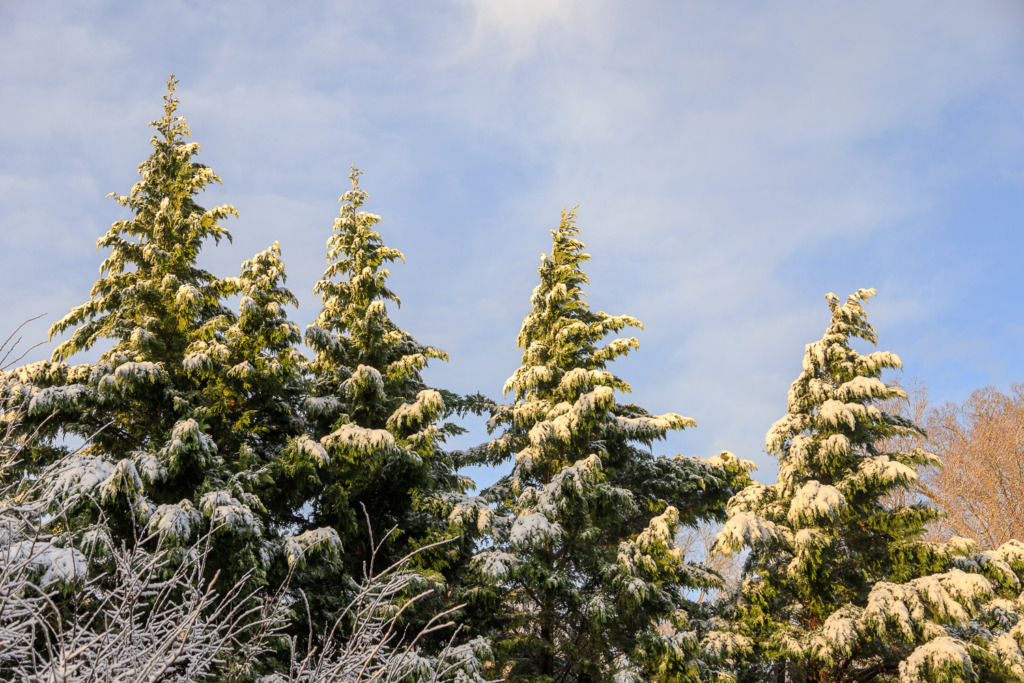
Now that you know how to do a simple edit in the Photos app, why not try out some of the other sliders to see what they do.
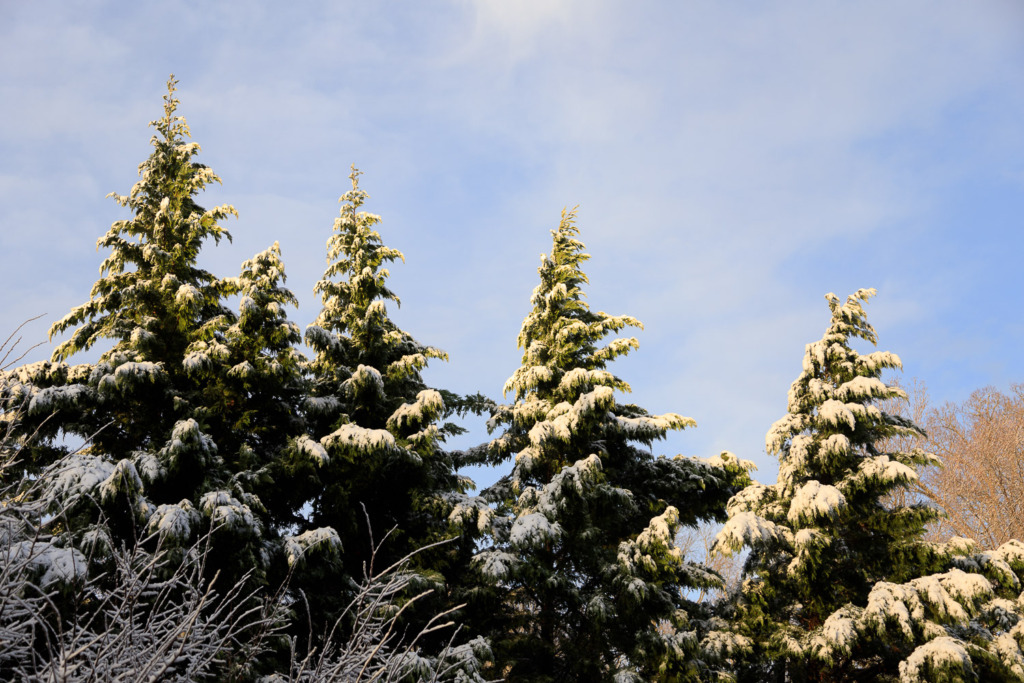
In the photo above, I took my too dark snow photo into Lightroom (an Adobe app that is similar to Photos) and played around. The primary thing I did was to raise the Shadows and reduce the Highlights. It brought back details in the darker parts of the trees and the sky.
Would you like to learn more about Exposure Compensation? Here’s a blog post I wrote about it.
And here’s an article from Digital Photography School about snow photography.



Leave a reply