I’m going to give you five steps to help you shoot better night photography. We’ll be concentrating on shots taken of buildings, bridges, or monuments.
Let’s keep it simple
You can make night photography really complex, and that is something you’ll want to explore if you fall in love with it. But, for now, let’s make it as simple as possible. That way, you can give it a try and see if I you want to go further.
The one thing you need to know before you even start:
You will need light. I know you’re shooting at night, but photography requires light. The word photography actually means “drawing with light.” So, you’ll need to shoot when the building or bridge lights are on. If you’re shooting a monument, the spotlights that illuminate it will need to be on. As you’ll find later in this post, this can be the most annoying part of the whole experience!
Step One: Assemble your gear
You’ll need a tripod or some way to brace your camera.
Night photography requires longer shutter speeds, so you’ll need some way to hold your camera still. A tripod is the obvious solution. If you’re not used to working with tripods, I’ll include a link to a post I’ve written about using tripods at the end of this article. I’ll also include a link to a post about bracing yourself if you don’t have a tripod yet.
Step Two: Planning ahead to shoot better night photography
When to shoot:
If the sky is going to be included in your photo, the best night shots happen when the sun has just set and the sky is still blue and not yet black. This period of time is called the “blue hour.” Definitely beware of this name! It rarely lasts an hour. Depending on where you are in relationship to the equator, the blue hour may last 15 minutes or even less.
I recommend that you start with just knowing the time of sunset and go from there. If you are at your location and all set up for your photo shoot before the sun sets, you’re ready to shoot in the blue hour! It’s really that simple. Just wait until the sun goes below the horizon and the ambient light starts to dim and then start shooting.
Here’s an important detail. The time immediately before and after the sun goes below the horizon is called the “golden hour.” It’s also a great time to shoot, so go ahead and take advantage of it. However, the building lights won’t be on yet. When they start coming on, it’s your cue to shoot blue hour photography.
If you are planning on capturing city street scenes without the sky, the blue hour isn’t that important.
Where to shoot:
The other planning you will need to do to shoot better night photography is choosing your shooting location. Do do this, look around for an interesting building, bridge, or monument that will be lit up at night. Then, figure out where you will stand. Since you will be concentrating on shooting, you need to decide if you need a friend to watch over you and your camera gear, for safety sake.
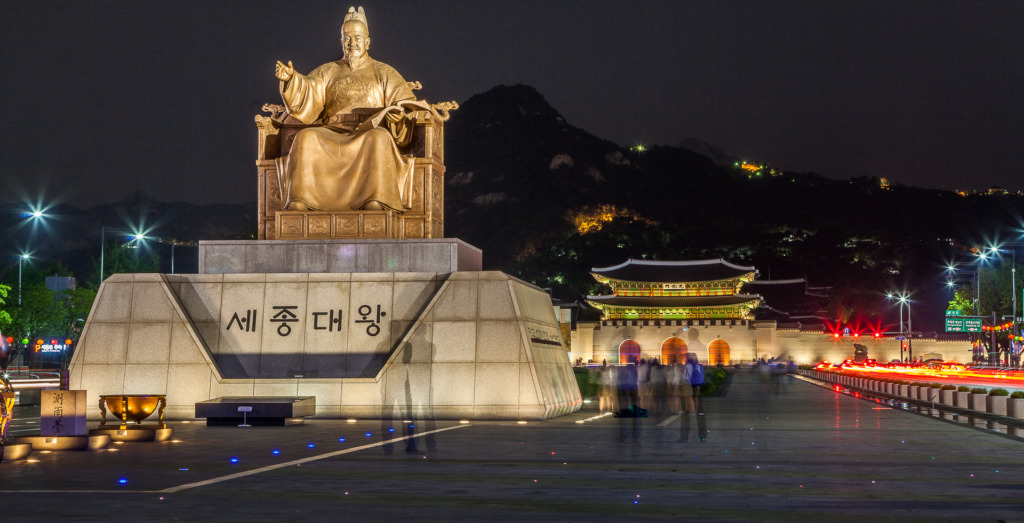
I shot the photo below by myself, because I was in Seoul, South Korea, and it’s a very safe city. I would not do the same in Quito, Ecuador. (Someone stole my camera off of me in broad daylight there, years ago. My husband chased the man down and got the camera back. Not recommended recreation on the first day of your vacation! 😬)
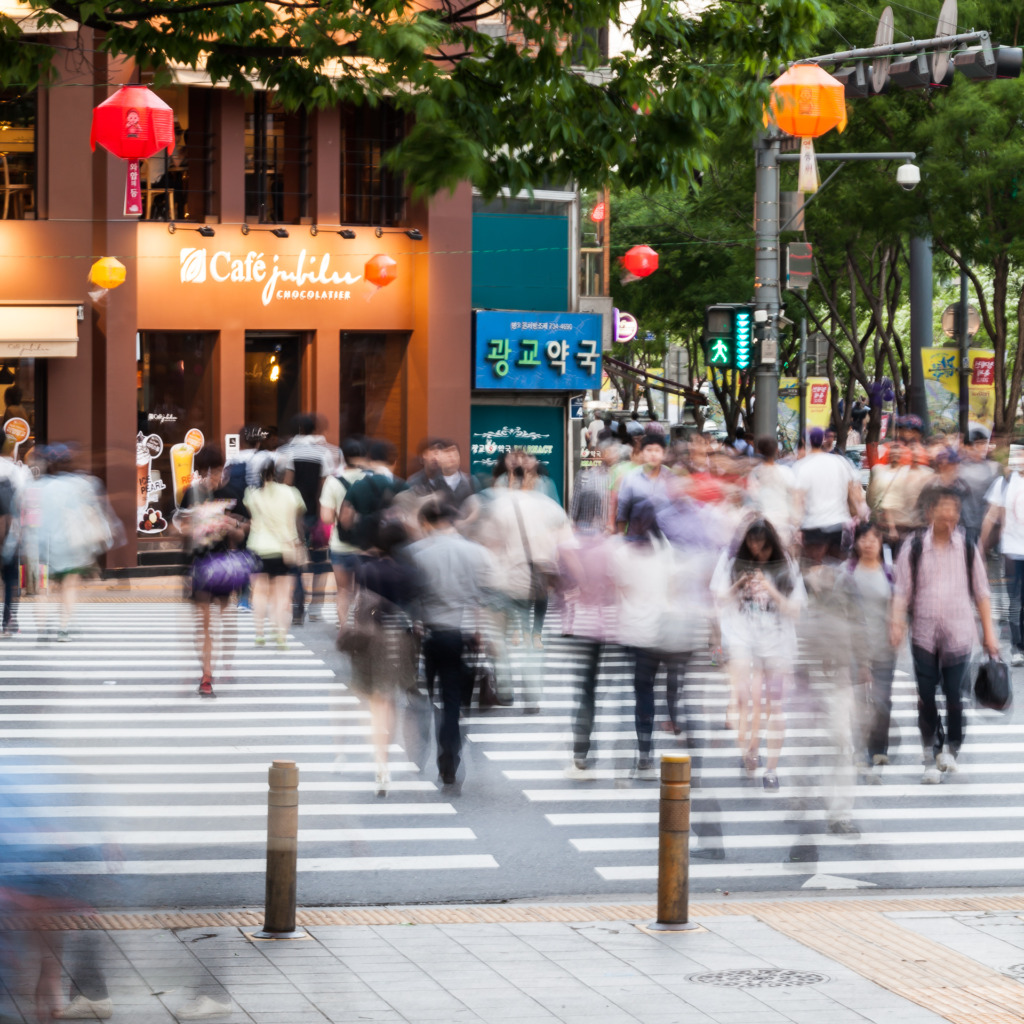
If you’re not into planning and just want to go for a walk and see what happens, that’s fine, too. You’re more likely to have success with city street scenes like the one below, full of lit or neon signs and building lights. You’ll still need your tripod!
Step Three: Setting up to shoot better night photography
Arrive at your location with plenty of time to attach your camera to the tripod and get set up. Be sure to view the location from a safety point of view. It goes without saying, but don’t set up where pedestrians could trip over the tripod or you could get hit by traffic. 😩
Here are some camera settings to get you started:
Mode: Manual (“M” on your mode dial)
ISO: 100, 200 or 400 to start (You do need to set this.)
Aperture: f/11- f/22 to reduce the light hitting your camera sensor and to allow a slow shutter speed. This may also cause some of the lights in the scene to create starbursts.
Shutter Speed: about 3-6 seconds or longer. (You’ll need to turn the dial or wheel on your camera to set the shutter speed and have the needle on 0 in your viewfinder for a good exposure.)
You will have to adjust these settings, depending on how dark or bright it is. To give you some idea, I’ve included the settings I used in each photo. As the sky gets darker, you may have to lengthen the shutter speed. Try to avoid high ISO settings, to avoid digital noise.
Step four: Shooting
This is one time when you definitely want to check your LCD screen after the first shot.
Magnify the picture to 100% on the LCD screen by tapping the magnifying glass button, while in playback mode, until the picture is as big as it will get. Look carefully to be sure that there is no blur caused by the camera shaking. (Be sure to read my blog post on setting up your camera to shoot on a tripod!) You may have to do some adjusting to your setup.
Then, look at the photo and decide if you like the exposure.
Step five: Keep shooting
If you have the time, stay around and keep shooting. As the sky darkens, you’ll get different looks. When you get home and check them out on your computer, you may find you prefer a photo taken later in the blue hour or even after it. Fair warning: You’ll have to keep adjusting the shutter speed as it gets darker. Check that LCD screen!
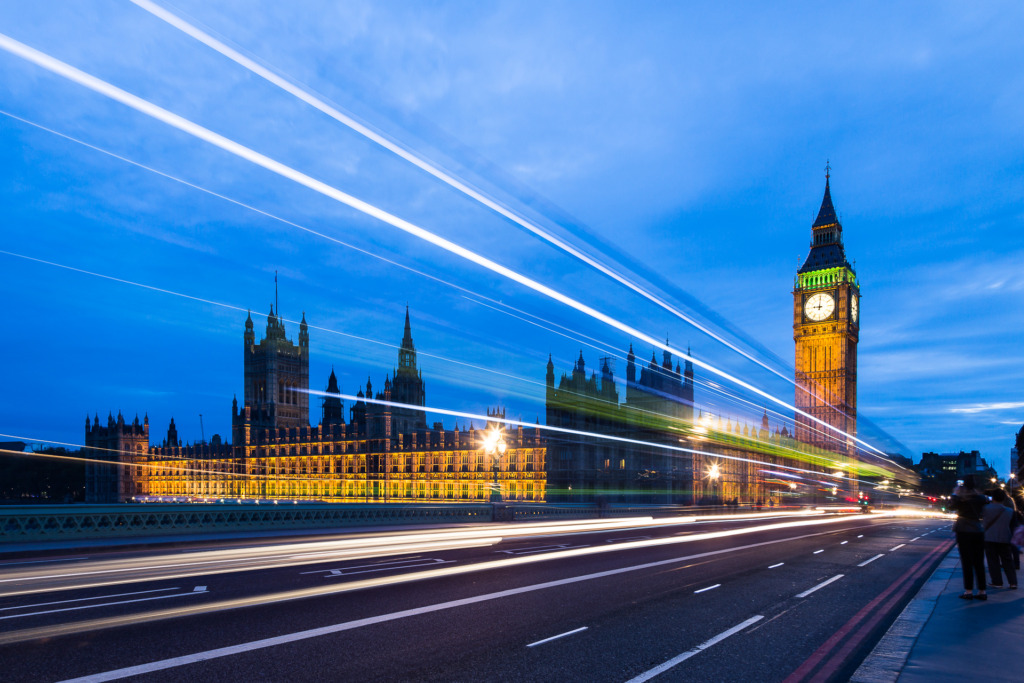
On the other hand, if the scene is disappointing, grab your gear and move around. The photo below, which is a full-sized version of the photo at the very top, is one of my all-time favorites. It was shot in the fifth place I tried to set up. At the previous four, I was told to move on with a comment of “No tripods” and a shake of the head from people nearby.
How can you practice shooting better night photography indoors?
A lot of us are stuck indoors where we live, due to the Corona Virus, or even snow (Hi there, Colorado and western Canada!) Here’s an exercise to try indoors.
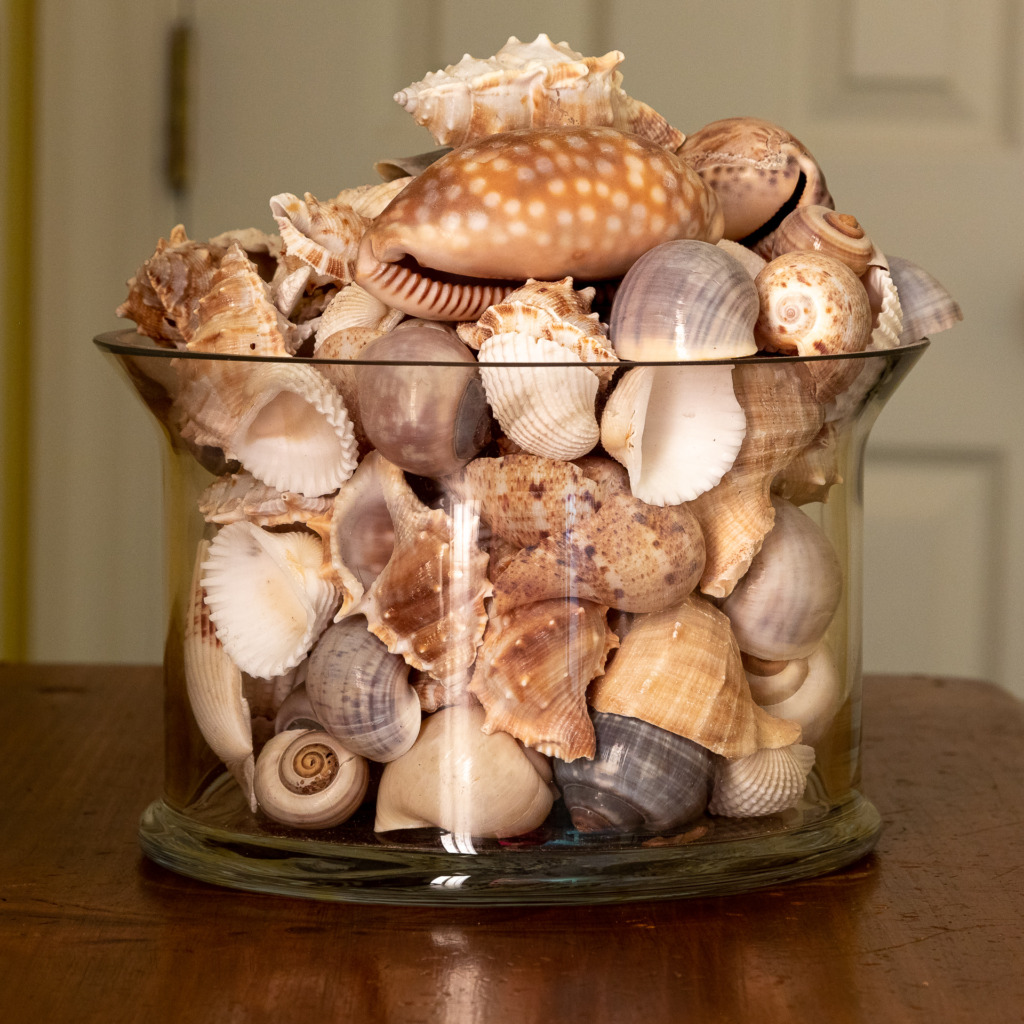
I shot this photo at around noon in a dark hallway with almost no natural light, to simulate nighttime. A bathroom was nearby and I turned on the light to bounce indirect light onto the shells. I set up my camera on a tripod and set it to Manual. You can see the settings I chose in the caption.
Then, I started to play around.
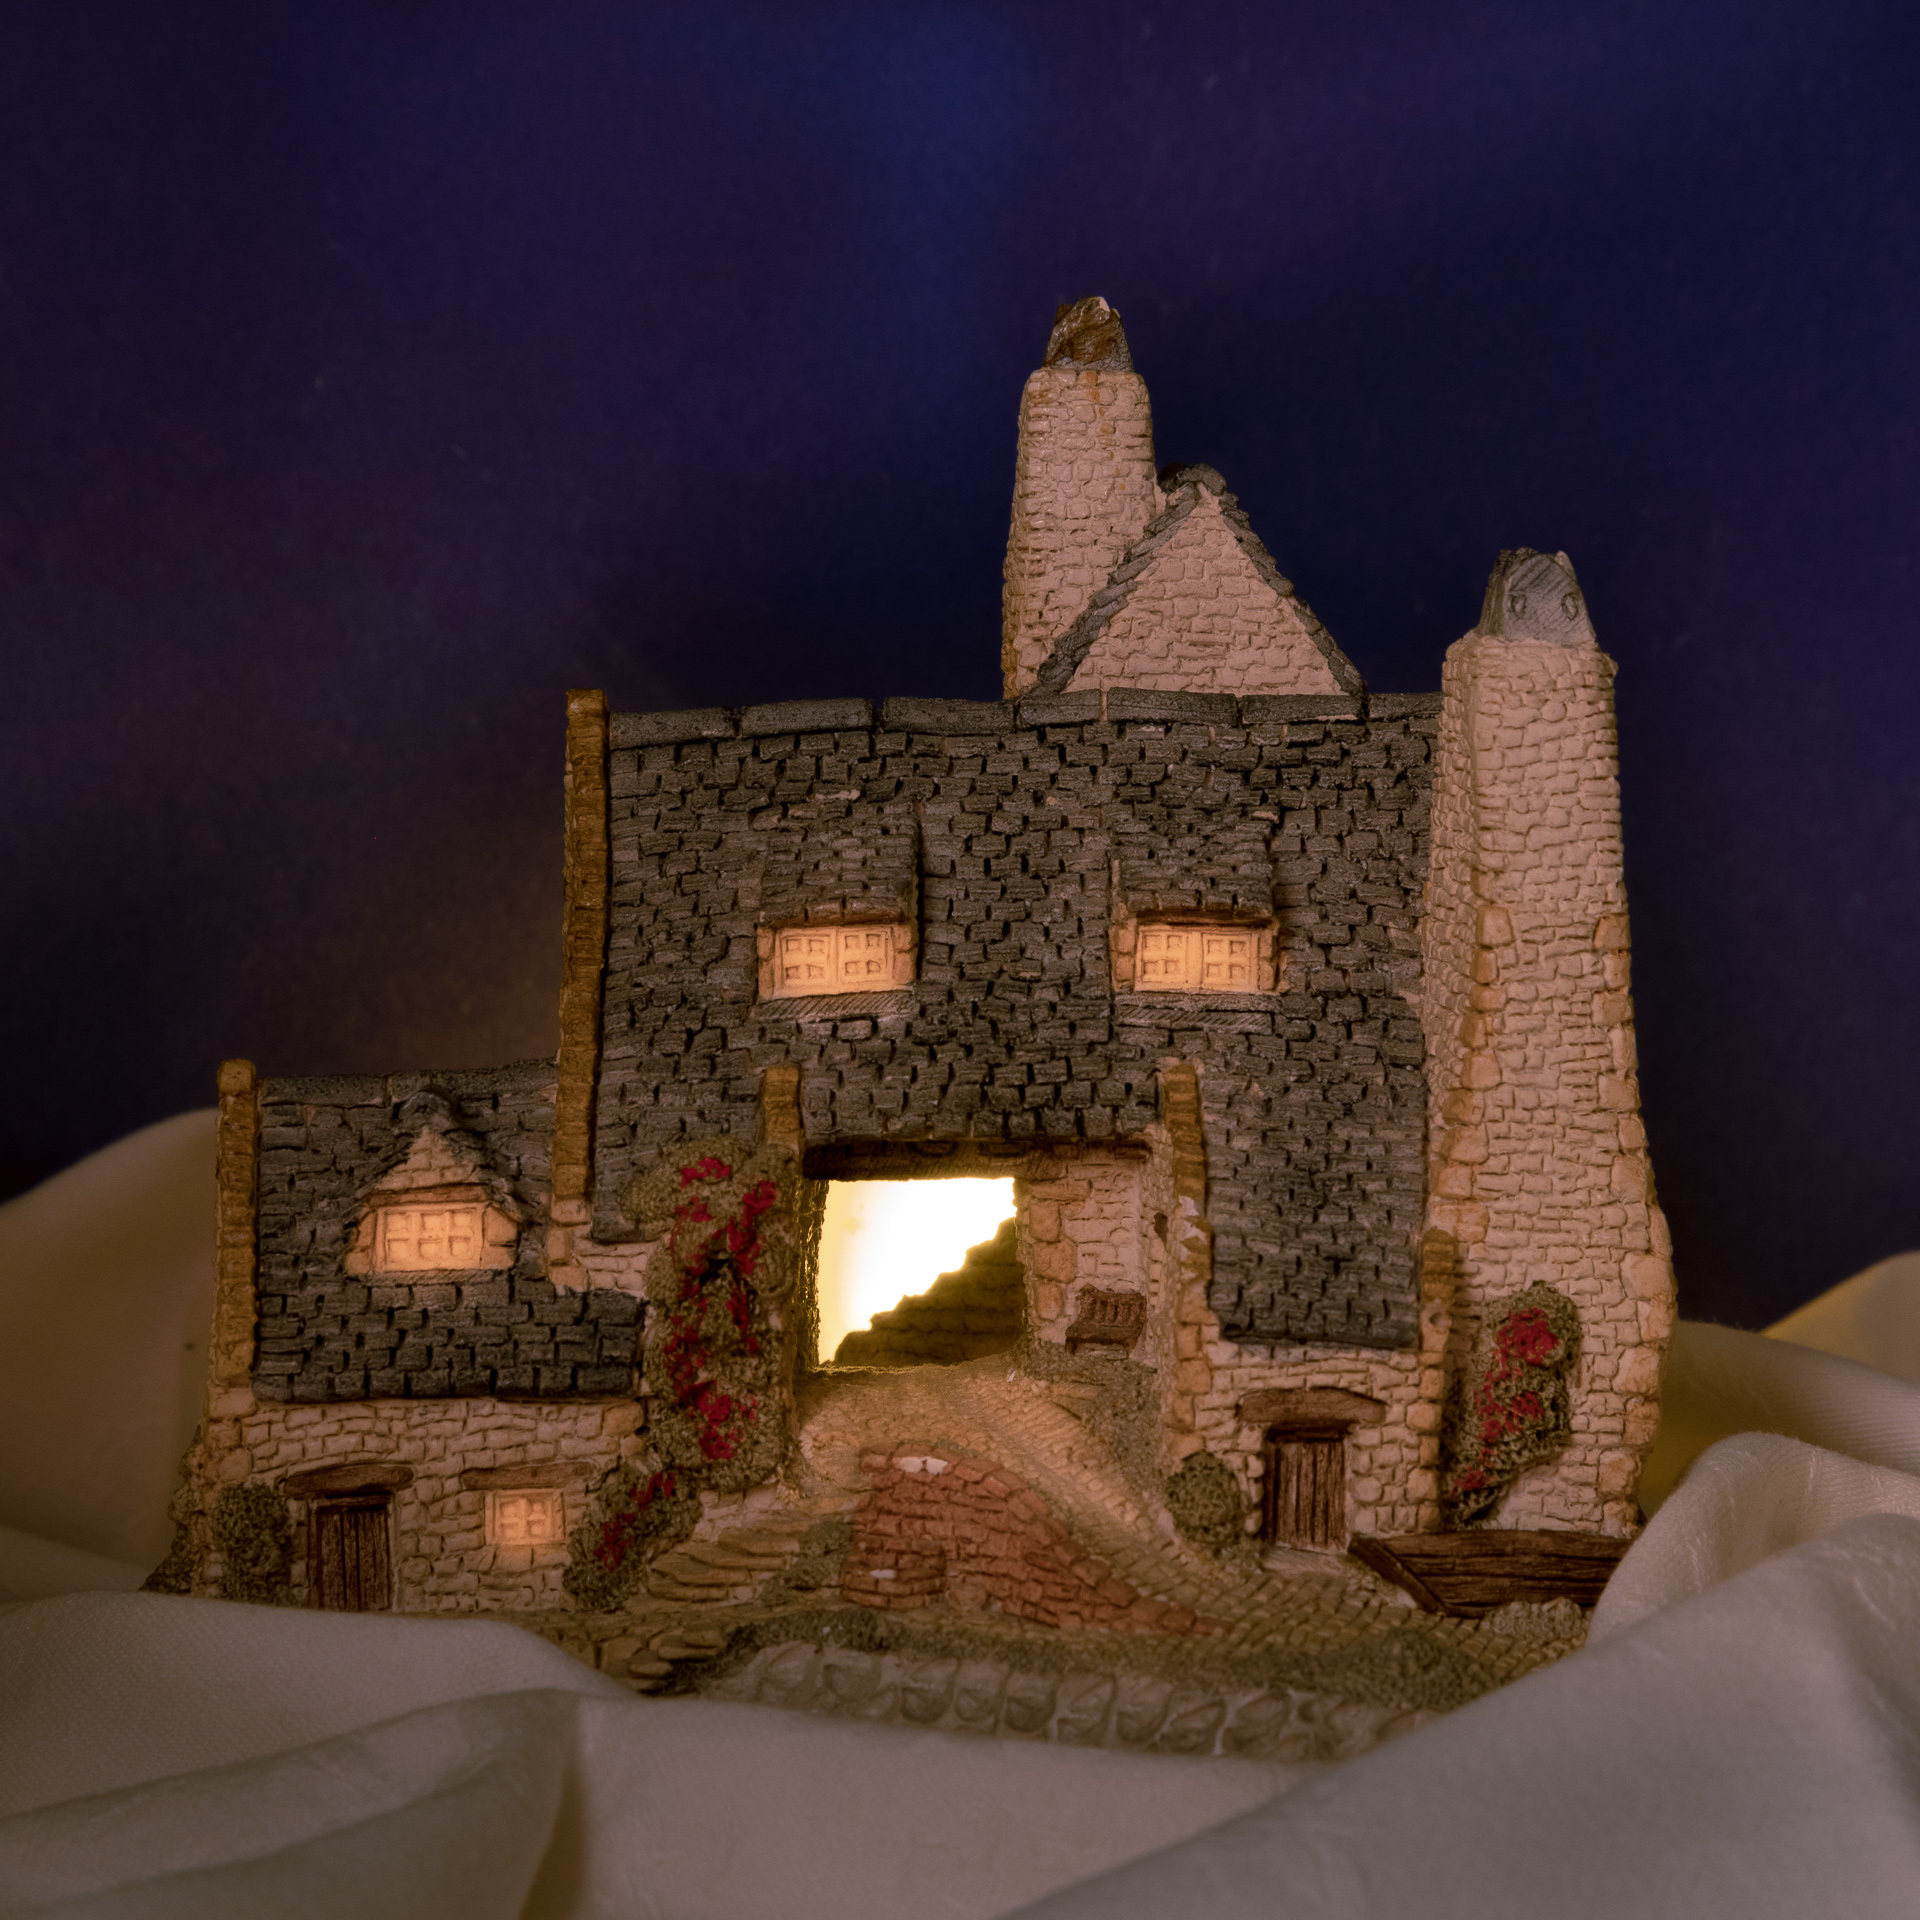
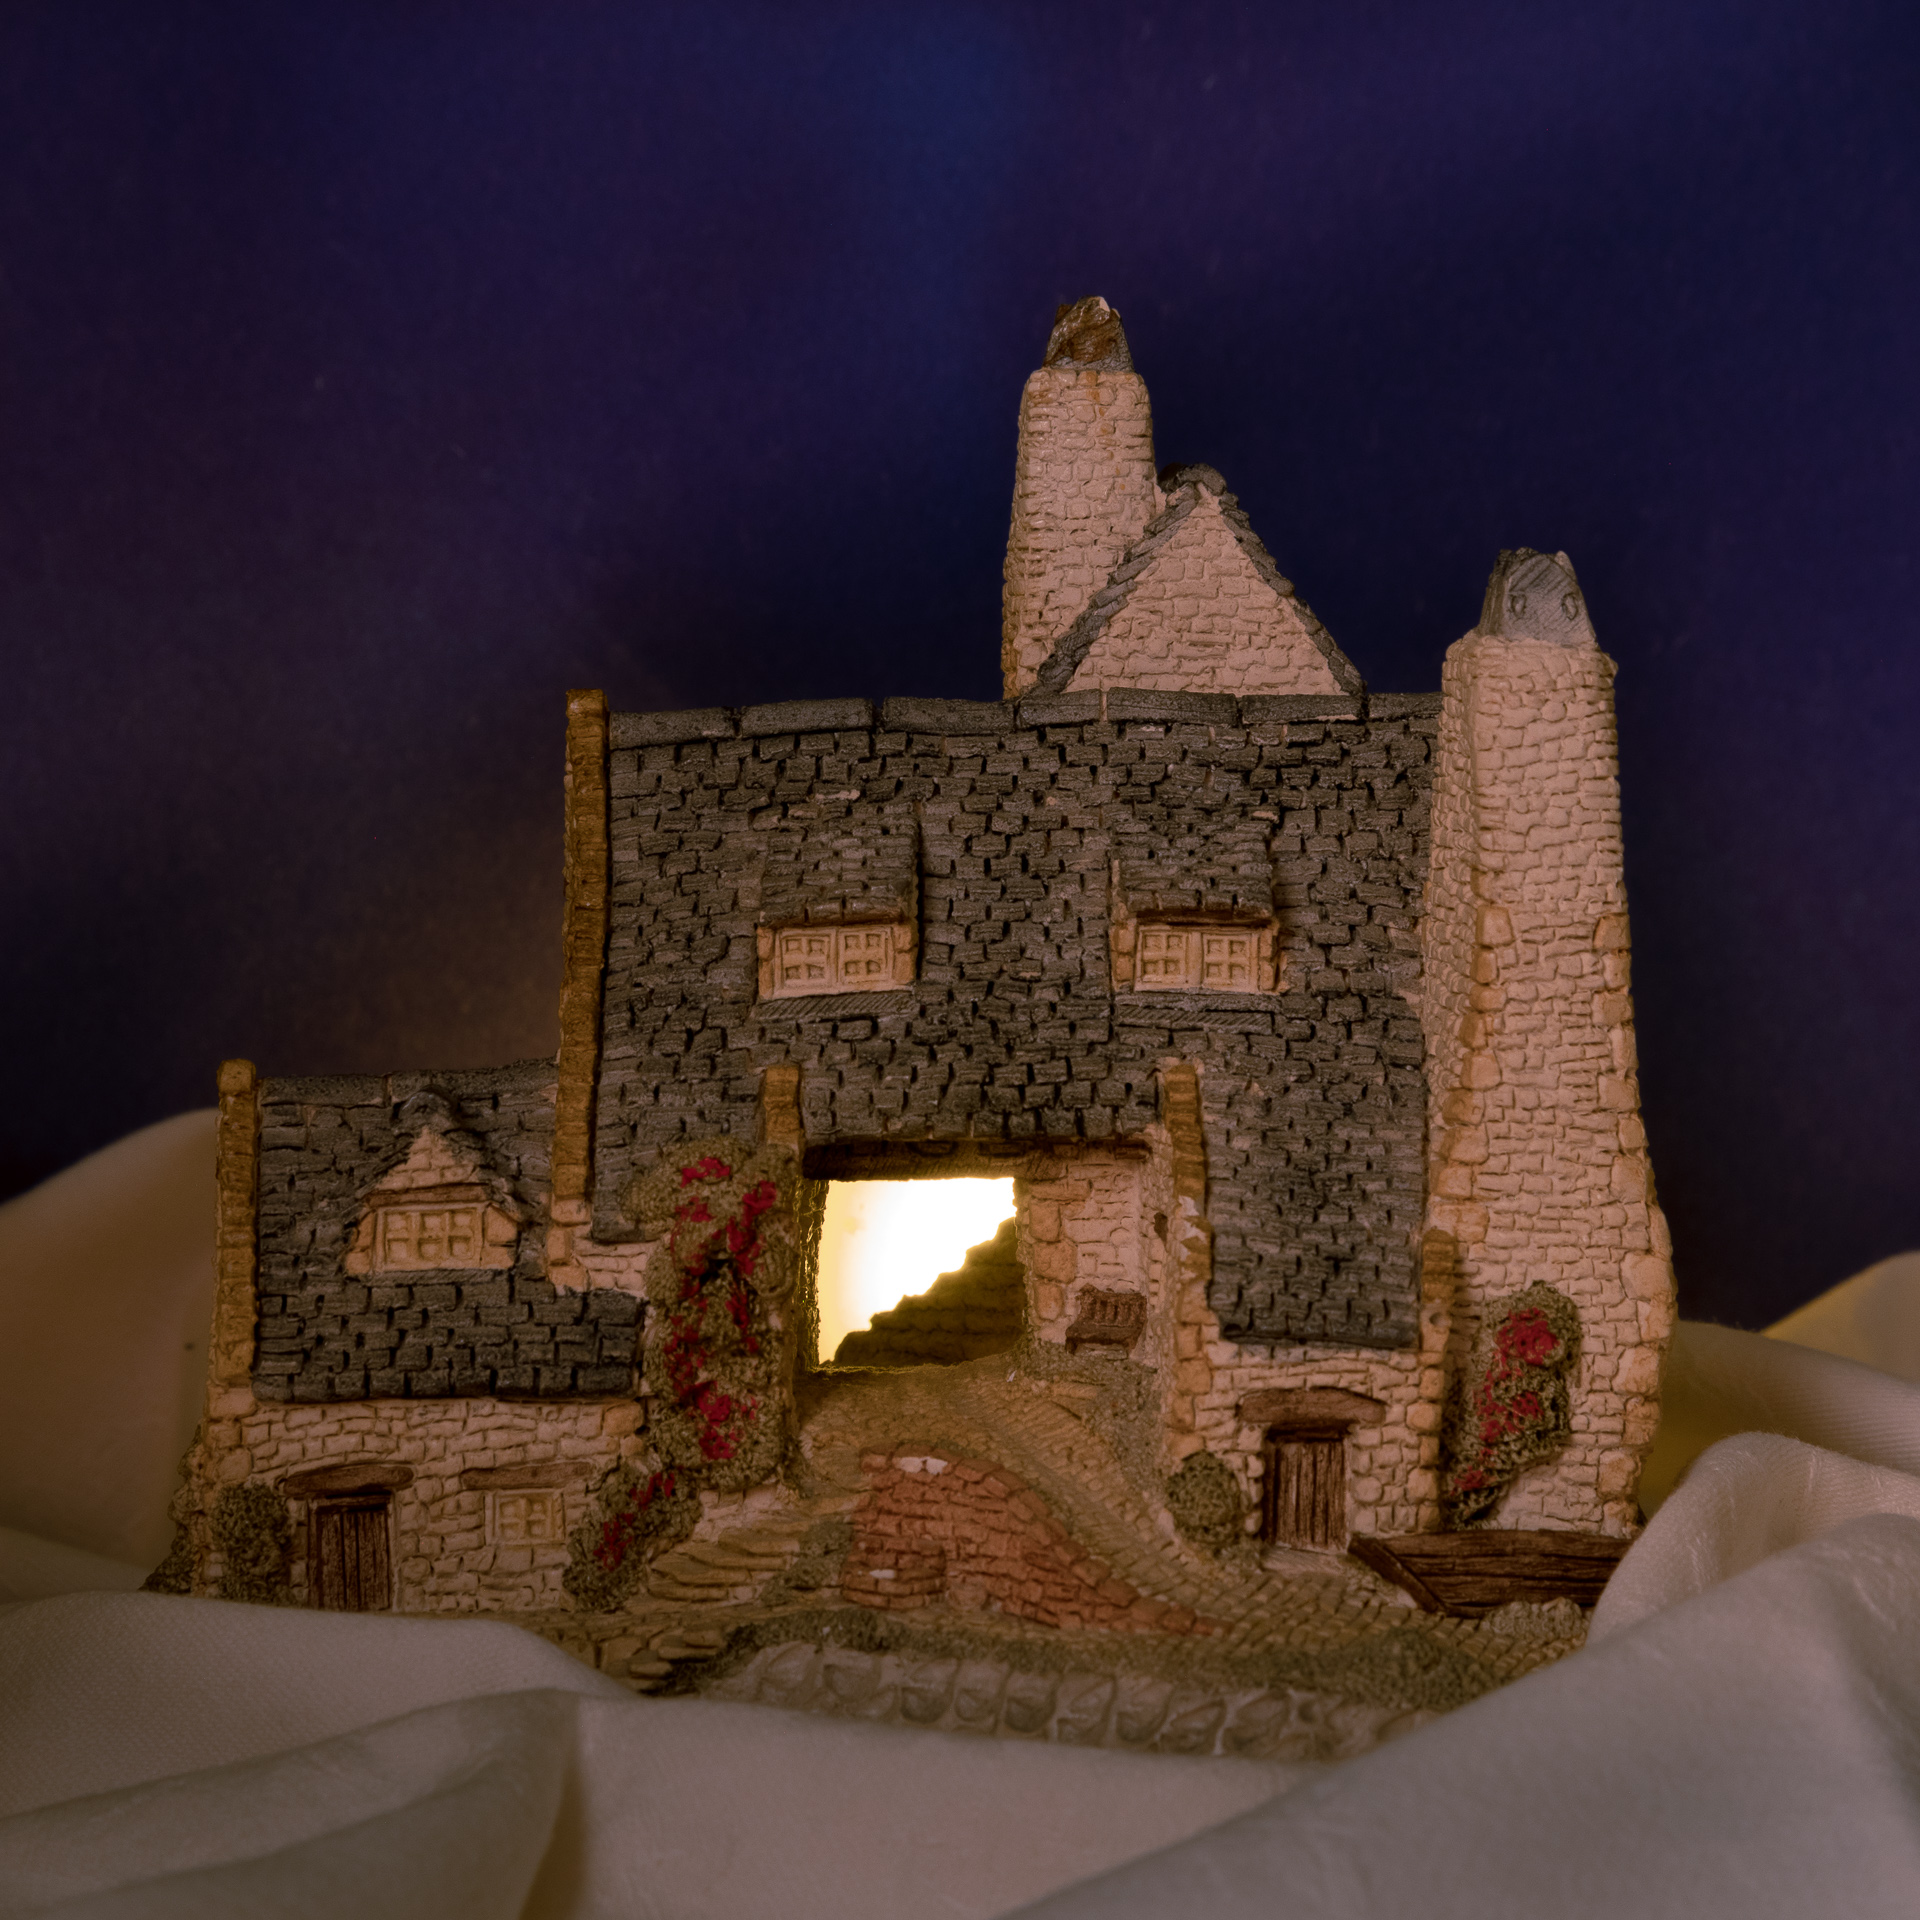
In the photo below, taken in the same location, I used a David Winter cottage. I lit it from the back with a battery-operated candle, so it looked like there was light coming out of the archway. I used two white cloth napkins, bunched up, to imitate snow. (After this summer, who could blame me for thinking snow looks refreshing?) I put a piece of blue paper behind the cottage to imitate the blue hour. If it were really night in a village, the street would be lit by street lights. That’s what I was trying to create. Finally, with my camera mounted on a tripod, I took this shot.
Since I shoot in RAW, I always import my photos to Lightroom Classic on my laptop to finish the processing. In this case, I had some more fun.
On the left, you’ll see the photo with basic processing done. On the right, I’ve added some light “coming out of the windows”, by painting on the windows with the Adjustment Brush. I used it to increase the warmth of the white balance and exposure.
Final thoughts and some links for you as you learn to shoot better night photography:
One of the big frustrations of night photography is that buildings and monuments often don’t turn on the interior and exterior lights until after sunset. This may leave you with only a minute or two of blue hour with the lights on. Don’t give up.
I shot the photo below in a drizzling rain, almost an hour after the blue hour was over. Skip and I had arrived on the causeway outside Mont St. Michel early to find a good place to set up. Then, we waited. The sky darkened. The drizzle began. The light faded to dark. Finally, the spotlights started to come on, but not all at once. Slowly, building by building. And, then the lights had to warm up, so their color temperature kept changing.
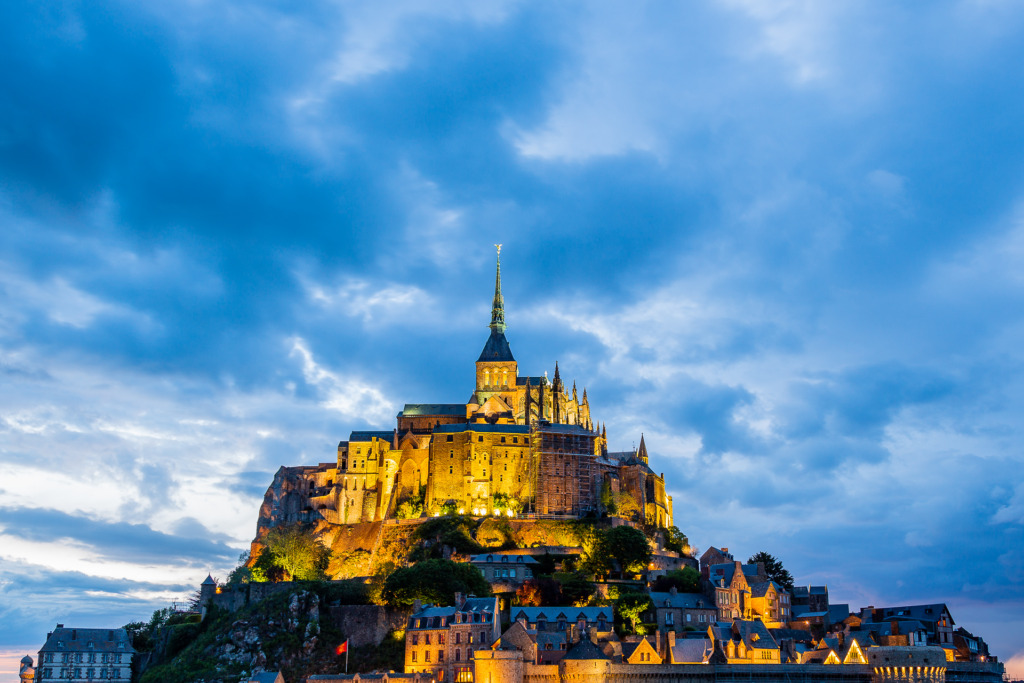
I really wondered if I would get a photo worth keeping. The sky looked black to my eyes. In the end, when all the lights were finished coming on and had warmed up, I started shooting with a slow shutter speed. The camera was able to pick up the afterglow of the sun which was reflected off of the clouds. I couldn’t see it! It is photos like this that really seem like magic!
Would sunrise work for night photography? Yes!
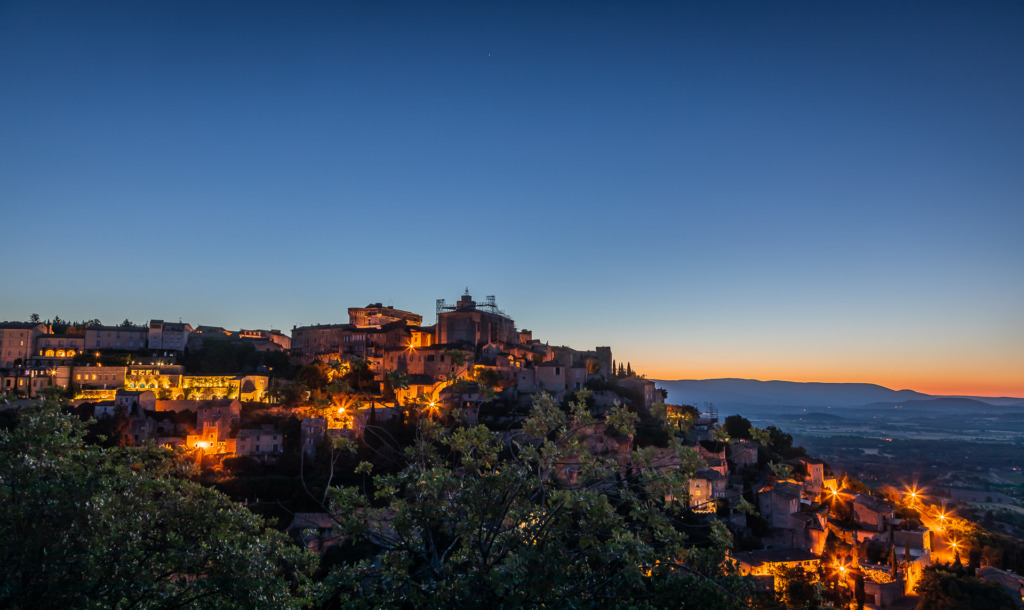
This photo of the village of Gordes, in Provence, France, was shot before the sunrise.
Further reading:
If you don’t have a tripod, I write about how to brace yourself in this post. This works but it will really limit you, because the best night photos are shot with longer shutter speeds than you can hold, even braced.
I write about how to use your tripod in this post.
And how to shoot a lantern festival at night in this post.
And how to light a building for a night shoot with a powerful flashlight in this post.
Gear and apps for shooting better night photography:
Since I love night photography, I have four different ways to steady my camera: a tripod, a Platypod, a mini tripod from Really Right Stuff and a monopod. If your camera is light, you can even use a GorillaPod. You can find all of these on Adorama or B&H’s websites.
There are a lot of apps out there that will tell you the time of sunset. I even have the Weather Channel app on my Apple Watch, and it tells the time of sunrise and sunset, plus it provides a countdown to how much time you have until sunset.
If you love apps like I do, you might want to check out PhotoPills. It does cost money, but it offers an incredible amount of information. You can even plan ahead for a future date and location. And, you can see where the moon will rise and where it will be in the sky when it is high enough to be seen above the trees or buildings (The moon doesn’t rise straight up. Depending on where you are on the planet, it rises diagonally!) To see the times for the golden hour, sunset, and the blue hour, click on the Sun tab. You can find PhotoPills on the App Store. Here’s a link to an article from their blog about the blue hour.
I’ve also used The Photographer’s Ephemeris for years. I have their IOS app, called TPE, on my iPhone and iPad. It’s really invaluable for planning night shots!
Happy shooting!

Leave a reply