When you take a photo with your iPhone camera, the camera is set to shoot a Live Photo. Here are five quick tips plus a bonus for using your Live Photos. You’ll be surprised by how much fun you can have with them!
- Tip #1: What is a Live Photo?
- Tips #2: Here’s how to share your Live Photo.
- Tip #3: You can create a GIF with a live photo.
- Tip #4: Take a waterfall or fountain shot and create a long exposure with your Live Photo.
- Tip #5: Choose and save different frames.
- Bonus Tip: Here’s a trick to create an artistic shot with the Long-Exposure setting.
- Now it’s your turn:
Tip #1: What is a Live Photo?
A Live Photo is a three-second video! But here’s the trick to getting Live Photos you can enjoy. When you turn on your Camera app and hold your phone steady, the iPhone assumes you plan to take a photo. It immediately tries to focus and be ready to shoot.
When you tap the shutter button to take the photo, the camera will record the next 1.5 seconds plus the previous 1.5 seconds. That’s right. It’s already been busy focusing and setting the exposure, so it has that Information stored and shares it with you.
The trick is to be ready and hold your iPhone steady before and after you shoot. It’s a great way to catch the action.

This still photo is one frame from a fun Live Photo I took of our fire pit when it was still cool outside. My feet are in the foreground. The only thing missing is a glass of wine! It’s not possible to show a Live Photo that you can press to watch in a blog post. But wait until you see what you can do with it! (That’s Tip #3.)
When is this helpful?
Have you ever missed the perfect shot? You were watching the hawk on the branch while holding your camera, ready to shoot. Suddenly the hawk took off, and you pressed the shutter button as fast as possible. If you were lucky, you still got a part of the hawk in the photo, but it was too fast for you. Well, with a Live Photo, you have a much better chance of capturing the moment the hawk took off!
You’ll see a still shot when you look at your Live Photo after you’ve taken it. It’s the frame that the iPhone thinks is the best. To see the video, just press and hold on the photo.
Tips #2: Here’s how to share your Live Photo.
When you’d like to share your photo, including the action, there are two ways to share. If you share with a fellow Apple owner (iPhone, iPad, or Mac), you can send them the photo in the Messages app on your devices. They can press and hold to see the action when they receive it. They can also save it to their Camera Roll.
But what about the people who don’t own an Apple product? Or the social media sites that don’t recognize Live Photos?
In this case, you can save your Live Photo as a video. It will be slightly shorter (a fraction of a second), but you can share it on Facebook and send it to your friends. Also, this is how you can include the action in an email.
How to save your Live Photo as a video:
First, be sure the photo has the “Live” label at the top left. This means it’s a Live Photo, and you haven’t added an effect. (More on those in Tip #3.) Now, tap the three dots at the top right and choose Save as Video in the drop-down menu. This will shorten it slightly and save it to the Camera Roll as a video.
Tip #3: You can create a GIF with a live photo.

Remember the photo of the fire pit in Tip #1? Here it is as a GIF, which is just a moving picture.
How can you turn your Live Photo into a GIF?
Many apps are available to do this, but my current favorite is Giphy. You’ll need to download the Giphy app from the App Store and set up an account to use it. The good news is that it’s free.
Next, go to Settings on your iPhone and scroll down to Privacy and Security. Choose the Camera settings and be sure that Giphy is turned on.
Now, with a live photo selected in the Photos app on the iPhone and set to Loop or Bounce, click on the share button (the square with an arrow) and choose Giphy in the second line.
But wait, what are Loop and Bounce?
Here’s Skip tossing a beach ball at an in-person iPhone class I taught recently.

One of the fun ways to play with your Live Photos is to change the settings on them. To do this, tap on the “Live” button at the top left of the photo. A window will open with five choices. You can leave it as a Live Photo, change it to a Loop or Bounce, make it into a Long Exposure, or turn Live Photo off so you don’t have the possibility of movement.
Try them all to see what they do. If you don’t like the result, you can easily reverse it.
For creating a GIF, you’ll want to choose Loop or Bounce. The Live photo above, of Skip and the beach ball, was set to Bounce before I sent it to Giphy to create the GIF.
Tip #4: Take a waterfall or fountain shot and create a long exposure with your Live Photo.

Creating a long exposure of moving water can be complicated with a DSLR/mirrorless camera. You’ll usually need a neutral density filter and a tripod. With an iPhone, you can hand-hold your shot in bright daylight and come away with a beautiful image!
One important tip is to hold the iPhone still throughout the entire three seconds. You want to create a video where the only moving thing is the water.

To create the long exposure, you choose that setting in the same way you chose Loop or Bounce in Tip #3.
Tip #5: Choose and save different frames.
Here’s Skip again! This is the original Live Photo I took. The iPhone chose this as the best frame.
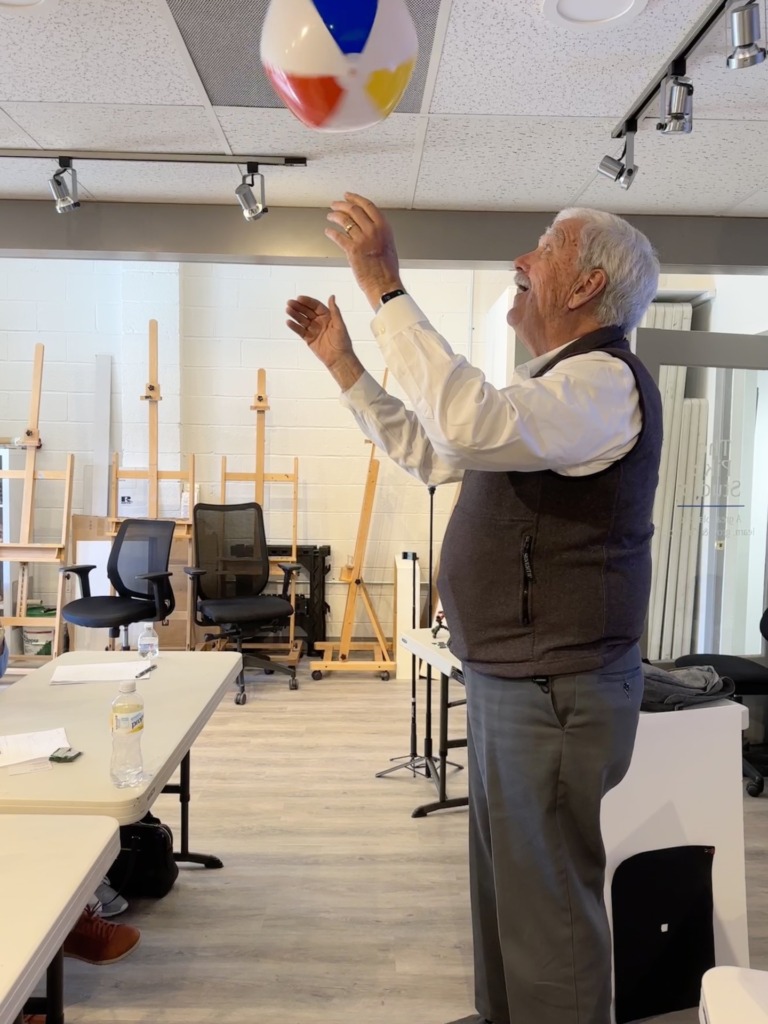
But what if you want a different frame? Or maybe even more than one frame? You can do it!
In the Photos app on your iPhone, choose the Live Photo and tap on Edit. On the screen that opens, tap on the Live Photo icon. (It’s the icon with concentric circles that look like a target.) A filmstrip will open, and you can slide your finger to the right or left on it while looking at the photo. When you find a different frame that you like better, click on Make Key Photo and then click Done.
How do you choose more than one frame?
Before you choose the frames, you’ll duplicate the Live Photo by tapping on the three dots in a circle at the top right and selecting Duplicate. Now you have two Live Photos to work on like you would with only one.
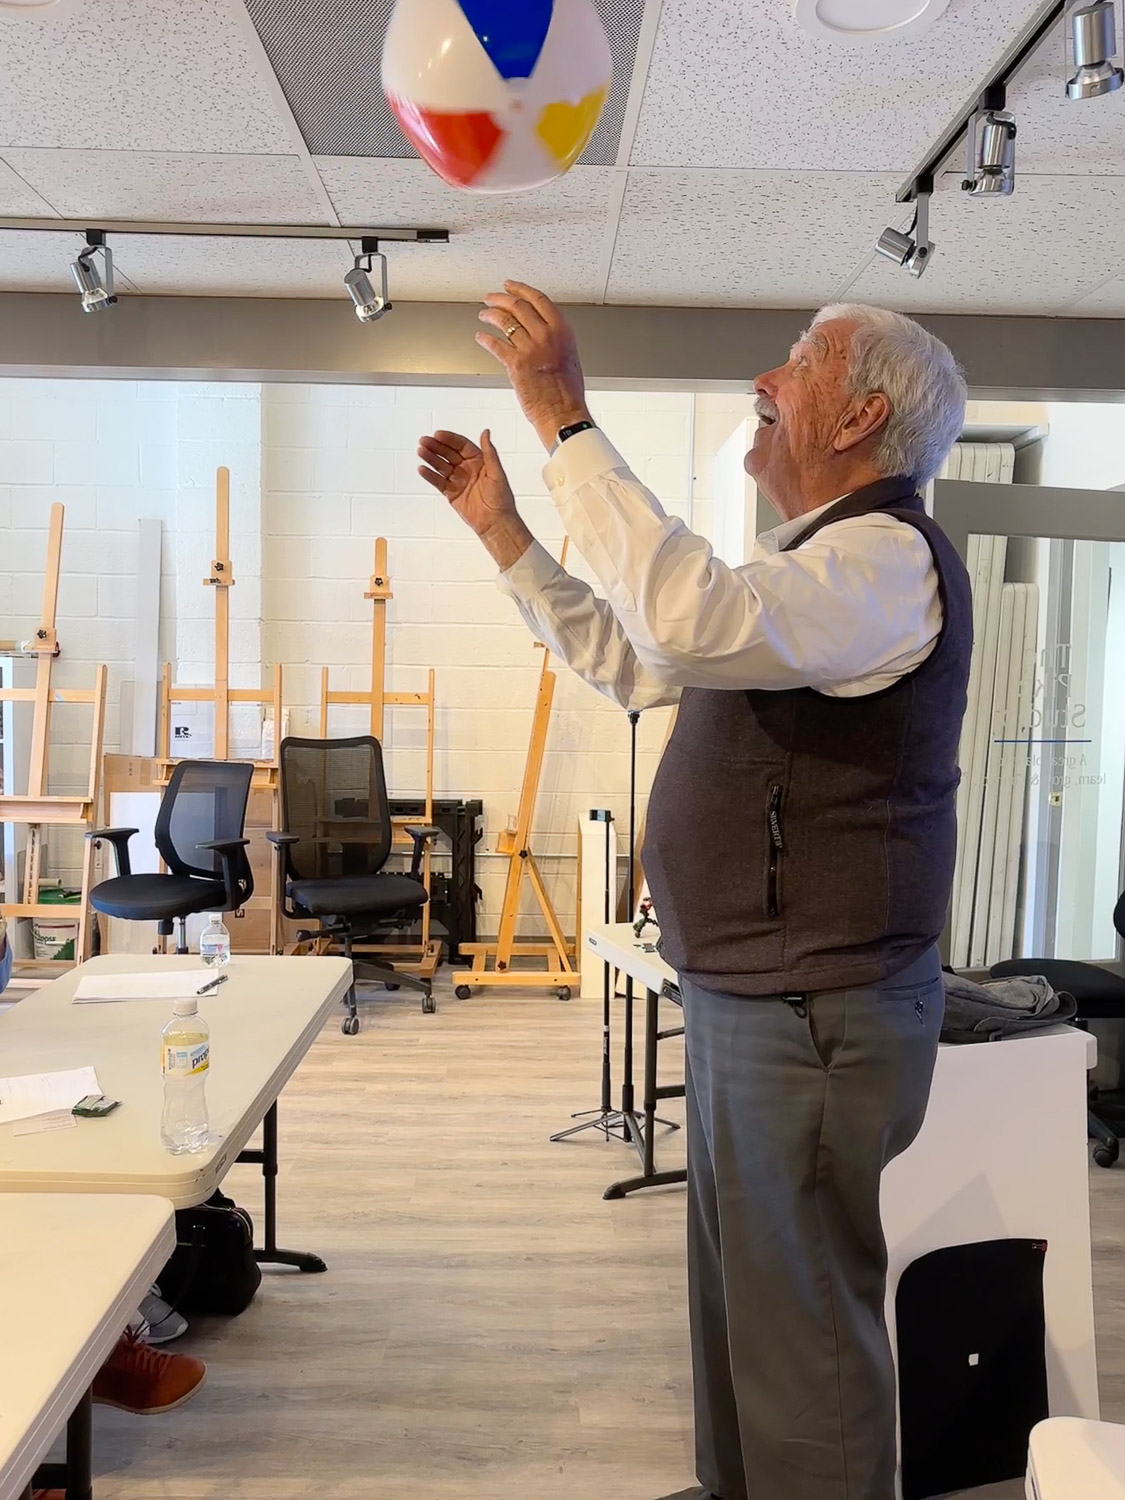
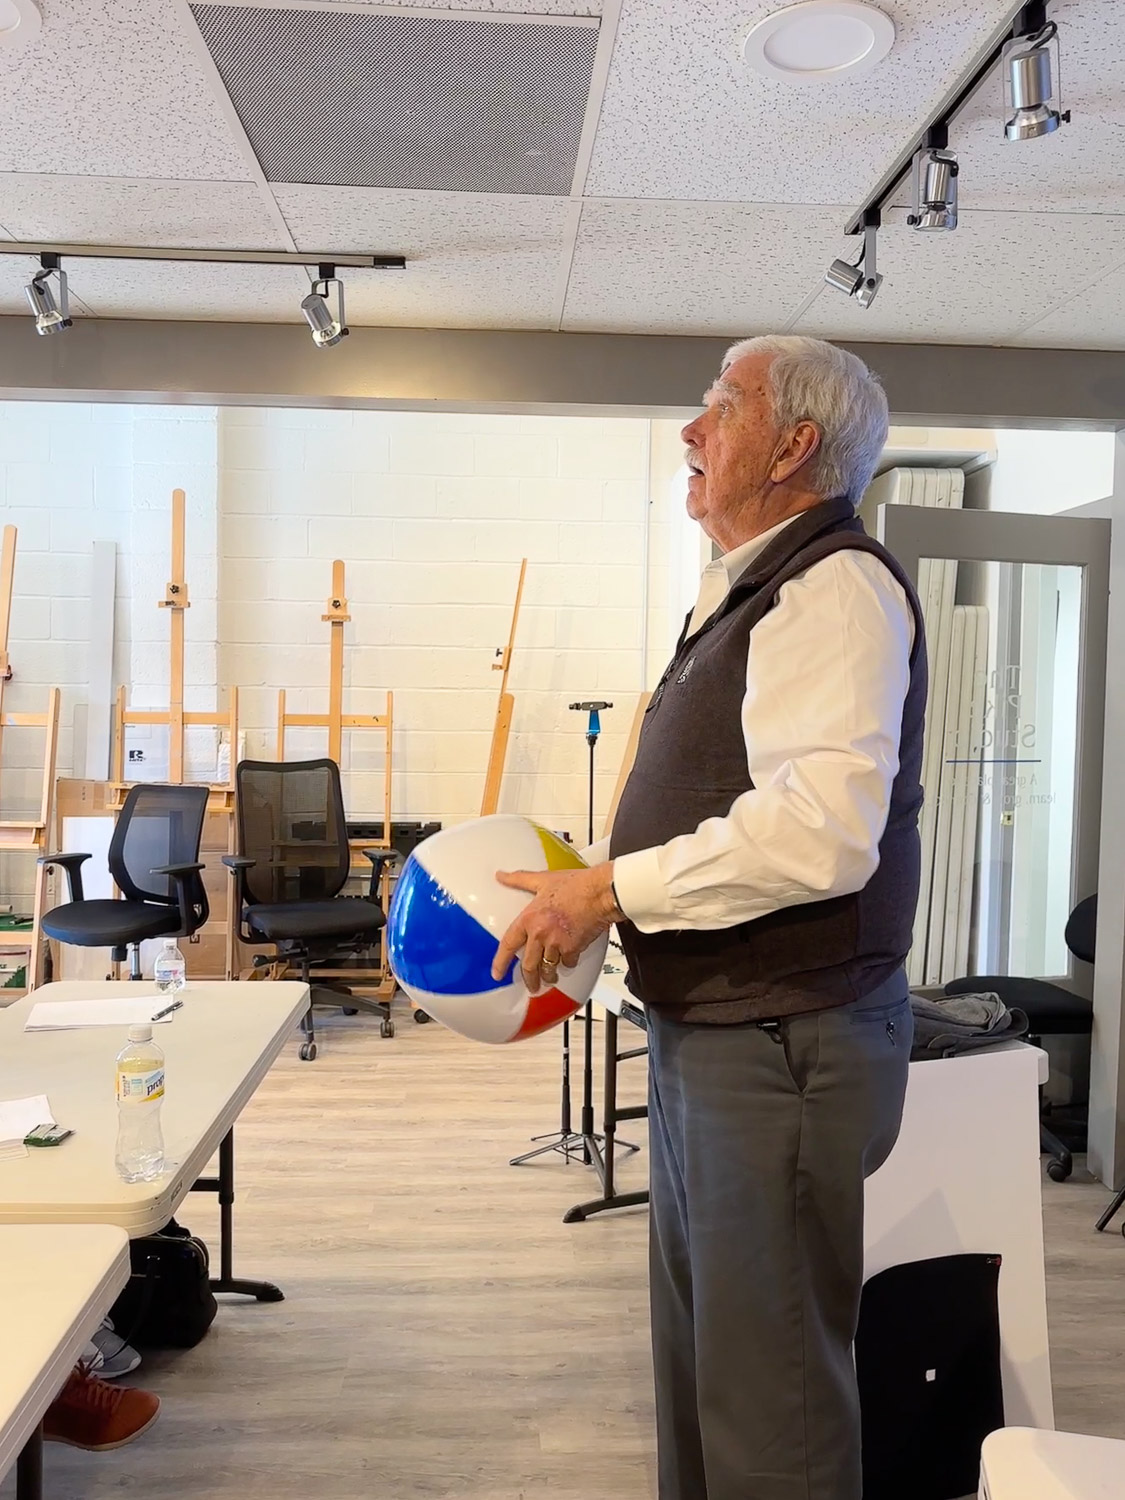
Here are two frames from Skip’s Live Photo.
Bonus Tip: Here’s a trick to create an artistic shot with the Long-Exposure setting.
Remember how I told you to stand still while you shot the live photo? For this trick, you’ll be breaking that rule. You’ll stand in one place and pan the scene. This means you’ll quickly twist your camera to pan from one side of the scene to the other while taking the shot. It will feel like taking a fast video. You’ll tap the shutter button in the middle of the movement and keep moving for another 1.5 seconds.
I count to do it. I start at one and quickly count to five. I start moving on one, tap the shutter button on three, and stop moving on five. It takes practice, and you may come up with a different technique that works better for you.
Then, you’ll have a Live Photo to convert to Long Exposure (see Tips Three and Four.)
Now it’s your turn:
I’d love to know what tricks you’ve figured out for playing with Live Photos on your iPhone! Please share in the comments!
I’ve written about shooting waterfalls with an iPhone before, and you can read that post here: https://www.carolinemaryan.com/shoot-waterfalls-with-live-photo-mode-on-your-iphone/.
The Giphy app in the App Store is called Giphy: The GIF Search Engine. When you use it, you can create your own GIFs and also search for other GIFs there, too. You can learn more about it and sign up for your account at https://giphy.com.
When you’re ready to take photos you love with your DSLR or mirrorless camera, check out my online class: https://www.carolinemaryan.com/camera-mechanics-workshops-info/




2 Comments
Thank you Caroline for a great tutorial. I had several waterfall photos I took earlier this month. I used the loop feature which made them look like they were flowing. Very cool!
Hi Courtney! I’m sorry to not answer this sooner! We were on vacation. I love your idea of using the Loop. On our vacation, I took some iPhone photos of Hector Falls, near Seneca Lake in NY State. I’d used the Long Exposure setting on one of them, but I had’t tried the Loop until I read your comment. It worked great! In fact, I just took it into Giphy and created a GIF out of it! Thanks so much for your suggestion!