This week’s blog post is a fun one in honor of Halloween. We’ll be creating a ghost with your camera.
Most of the time, I use this technique to make tourists disappear. This time, however, I’m hoping to create an apparition. I want to show the faint appearance of a person in the photo.
I hope you’ll follow along as I experiment with different moves and settings to create my ghost for Halloween.
The setup for creating a ghost
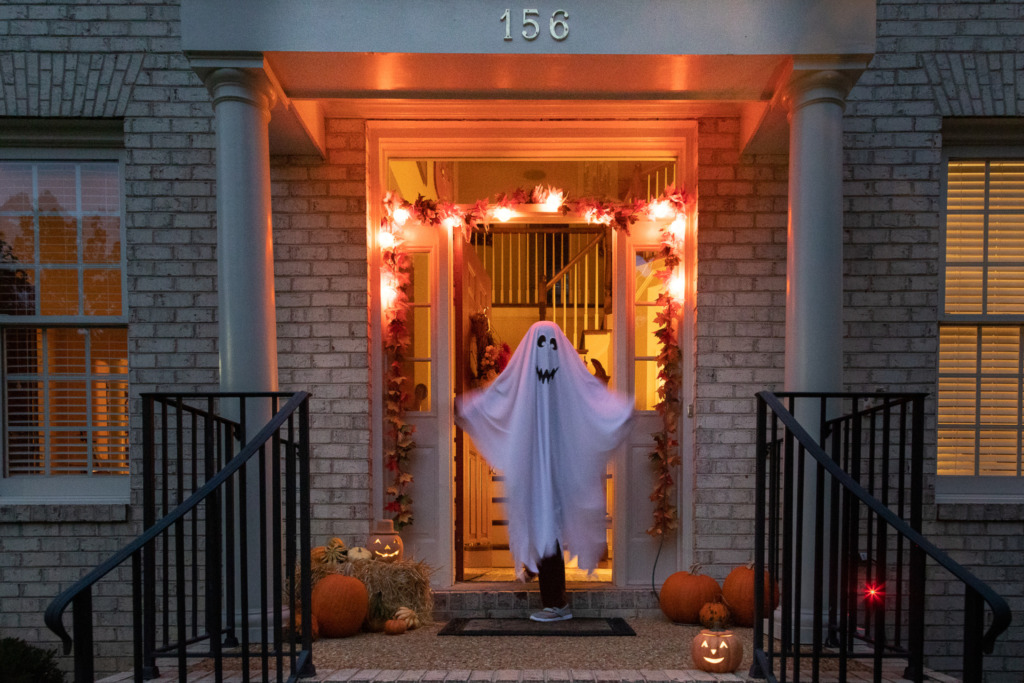
First, you’ll need your camera with a slow shutter speed. Since ghosts tend to appear in dim light, that shouldn’t be a problem. You’ll also need a tripod or some other way to hold your camera steady at a slow shutter speed.
Next, you’ll need a suitable costume for your ghost. At Halloween, the traditional ghost attire is easy to buy at a pop-up Halloween store, or you can simply create a ghost by fashioning an old sheet into a ghostly covering. I bought the costume that appears in the photo above. Since I couldn’t find an adult ghost costume at the store, I ended up with my legs showing in many of the photos. Between you and me, I consider that a failure of the costume department for this photoshoot. 😉
Finally, since it’s Halloween, a few pumpkins will come in handy. At other times of the year, no pumpkins are required. It doesn’t hurt to have some candles or lights as accents at any season.
Getting ready
If you’re creating a ghost outdoors or through an open door, it helps to prepare while it is still light out. Set up your tripod and attach your camera. Then, take a few test shots to see what you are including and what you may need to remove from the scene. You’ll want all these decisions made before the light fades, so you can concentrate on bringing out the best in your ghost.
Next, assemble the costume. As I mentioned above, when I shot these photos, I learned that it helps to have a long costume to cover your legs. An alternative would be to wear white pants and shoes to go with the costume.
While we’re at it, who will be your model? It’s certainly easier to be behind the camera and give directions to someone else. Do you have a willing friend, child, or spouse who is up to the challenge? Or maybe not?
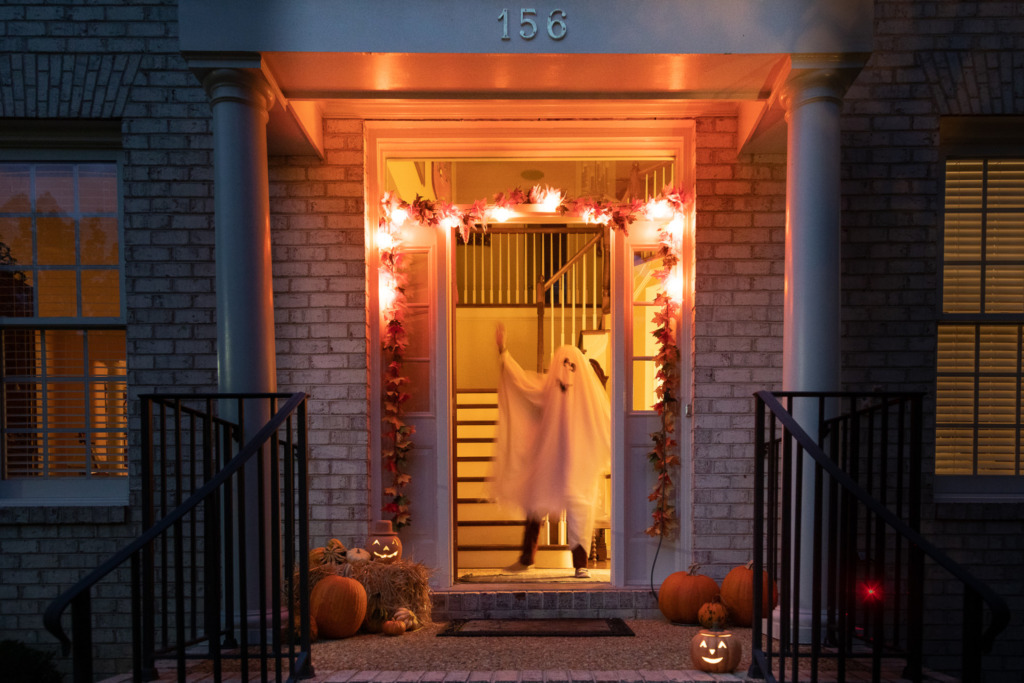
What if you are your own ghost? Translation: What if you are the only one silly enough to do this in your house??? I decided to raise my hand and take the challenge and found it to be a lot of fun. So, in the following directions, I’ll be coaching your to be both the photographer and the ghost.
The timeline for creating a ghost
You’re ready. You’ve assembled your camera and tripod. You have your costume. You’ve decided on the props to have around you. The light is fading. It’s time to create your ghost!
Some of your camera settings will depend on the available light around you, but you’re going to start by setting your camera to Manual Mode and your shutter speed to 2 seconds. Now, set your aperture to a low number like f/4.0. This will let in more light and help you avoid using a high ISO in the dim light.
What should you focus on when you’re creating a ghost? Choose something in the foreground, like the doorway the ghost will be standing in. Your ghost is going to be moving and isn’t meant to be in focus, but you do need something in the photo to be in focus! The contrast with the focused area helps define the ghost.
Now it’s time to set the ISO. You can set it to Auto ISO and take a shot to see if you like the exposure. For my photos, I didn’t use Auto ISO. Instead, I set it to 400. I liked the exposure this setting created.
By the way, at this point, there’s no need for the ghost to be present! You’re still setting the scene.
Whew, it’s time to cue the ghost.
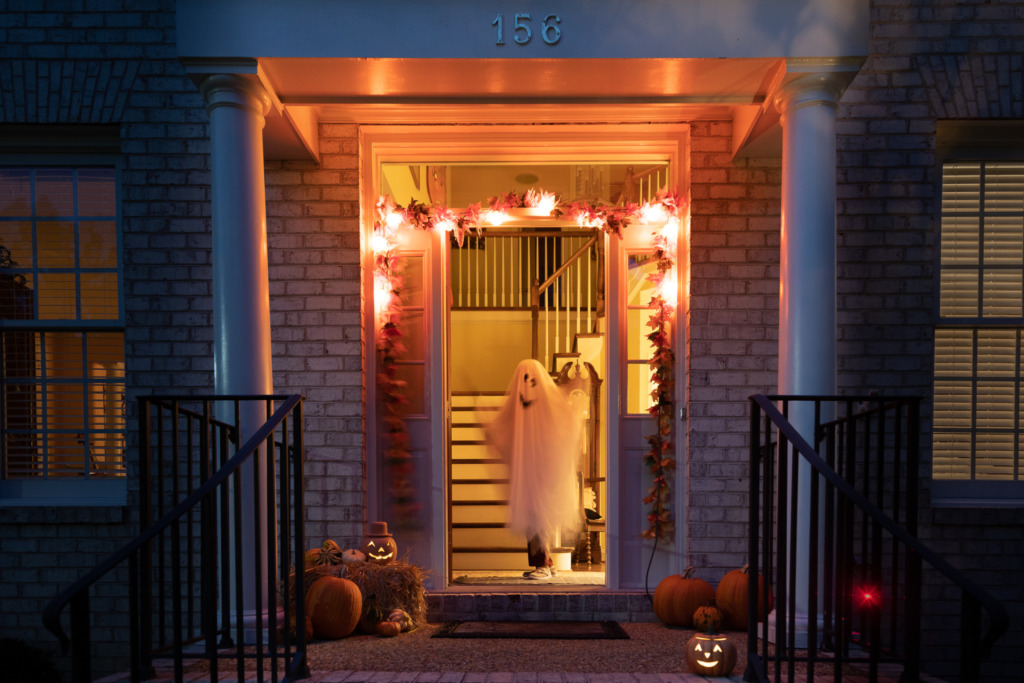
When you are creating your ghost, you’ll need to coach them (or yourself) on movement. Without movement, you just have a photo of a person in a costume. It’s the movement that blurs the costume and creates a ghostly image.
See how my slacks and feet just look normal? This is not good ghostly choreography! My arms and head are moving which is a step in the right direction 😬 but the feet and legs are a dead giveaway (the puns are getting worse!) that this is not a real ghost!
If you look at the arm in front of the stairs, though, you can see through it and make out the individual stair steps. That’s what I’m aiming for, that transparency.
Who is behind the camera while I’m creating a ghost?
That would be me, or you. If you are playing both the part of the photographer and the ghost, you’ll need to turn your camera’s timer on and set it to 10 seconds. You can play around with taking multiple shots when the timer goes off. I didn’t for these photos, but I might if I try this again.
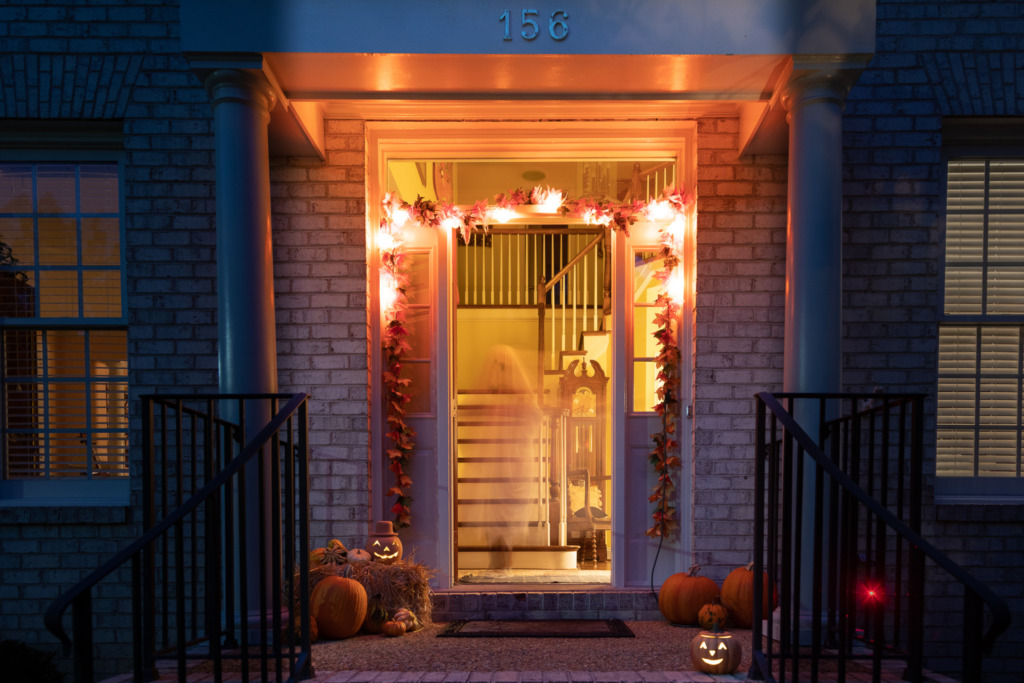
You press the shutter button to start the timer and then carefully run up the stairs and into the scene without killing yourself by tripping on the costume. As the 10 seconds count down, you try different moving poses to see which ones work best. It also helps to be moving sideways. That will create a better blur. Who knew that creating a ghost could be such a moving experience?
Deciding which moving pose you like best
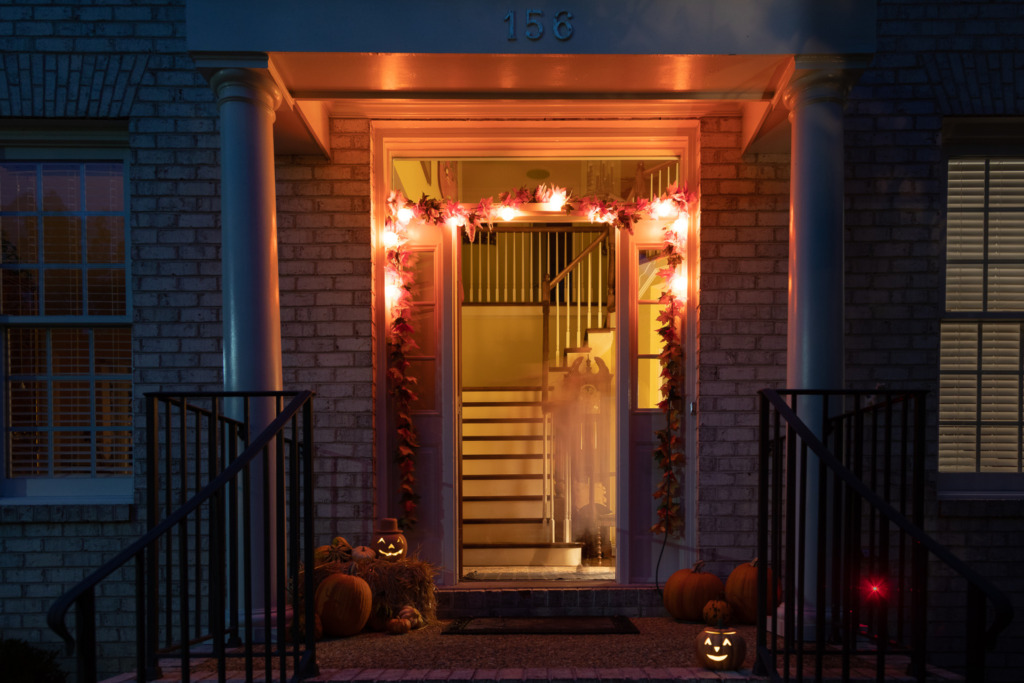
Now comes the hard part. You’ll need to choose your favorite from the photos you take. I’m not sure which of the last two photos in this post are the best. The really blurry and see-through one looks like a ghostly orb or presence, but I do think the previous one with a hint of black eyes is pretty cool, too. Let me know in the comments which one you prefer.
Now it’s your turn
Why would you learn to create a ghost? Understanding the concept comes in handy when you are surrounded by tourists and wish they would all disappear. You can read all about this use of the technique in my post about making people disappear.
If you’re into ghosts, a trip to Colonial Williamsburg should be on your travel list. Here’s a link to the official ghost tour company. There are also other ghost tours available from other tour companies. Why not make a weekend of it? They run year-round.



Leave a reply