I taught a quick iPhoneography class, earlier this month, at the Williamsburg Contemporary Art Center. Why was I teaching iPhoneography? Because photographer Chase Jarvis is right. The best camera really is the one you have with you. Whether you’re traveling or hanging around your home town, your mobile phone is usually with you, even when you’ve left your DSLR at home. So, it’s a really good idea to figure out how to use it!
One of the attendees quickly noticed that she was taking multiple photos instead of just one. She asked how to turn that feature off.
Since I’ve had the same problem in the past, I thought I’d write a quick post about Burst Mode: what it is, how to use it, how to avoid it, and what on earth to do when you find that your phone is full of multiple shots of the exact same scene.
First of all, what is Burst Mode and how do you use it?
On the iPhone, you don’t have to turn this on or off before using it. (Hint: If you have a DSLR, you do.) The way to use it is simply to hold down the shutter button (or the up or down volume buttons) while taking the photo. As long as you are continuously holding the button down, the camera will take photos. When you let go, the photos stop.
It’s really easy. Sometimes, too easy. I tend to shoot multiple photos when I have the Camera app turned on and am hunting for a good angle. I’ll touch and hold the volume buttons by mistake. I tend to keep my iPhone on silent, so I don’t hear the rapidly firing shutter sound. Instead, I can feel the iPhone faintly vibrating, and I know I’ve done it again! Don’t despair… I’ll tell you how to erase these unintentional photos below.
NOTE: With the iPhone 11 Pro and 11 Pro Max, the way you use this mode has changed. If you simply hold down the shutter button, you will be shooting a video! To shoot in Burst Mode, there’s a swipe involved. The easiest way to do the swipe is to VERY GENTLY touch the shutter button and quickly swipe to the left, if you are holding your phone vertically. You can touch more heavily, but then you have to swipe with force. Touching gently is much easier.
If you are holding your iPhone 11 Pro or Pro Max horizontally, you’ll be swiping down.
What happens if you swipe in the opposite direction? You’ll be shooting a video.
Sadly, you can no longer shoot in burst mode using the up and down volume buttons. That also will shoot a video.
But, first, why would you want to shoot in Burst Mode?
Capturing the peak of action:
If you have a DSLR, you’ve probably used this setting before, to capture the peak of action. Or to get one, just one, photo with everyone in a group looking at you with their eyes open. 🙄
What is the peak of action? In the photo at the top of this post, the interpreter in Colonial Williamsburg is playing a game with a ball and a stick. The peak of action is when the ball has climbed as high as it will go and is about to fall back down again. Shooting in Burst Mode has allowed me to freeze that moment. This shows that the man is really playing, not just posing.
So, capturing action is a great reason to use Burst Mode. Both of these photos were captured in the same second, so it would have been incredibly hard to time my capture if I weren’t shooting in Burst Mode! In total, I shot a series of 33 photos over three seconds. What did I do with the extra photos? I’ll explain later.
Capturing the perfect moment:
Another reason to use Burst Mode, that is related to the peak of action, is capturing the perfect moment if your subject is moving. The next photo is an example of this.
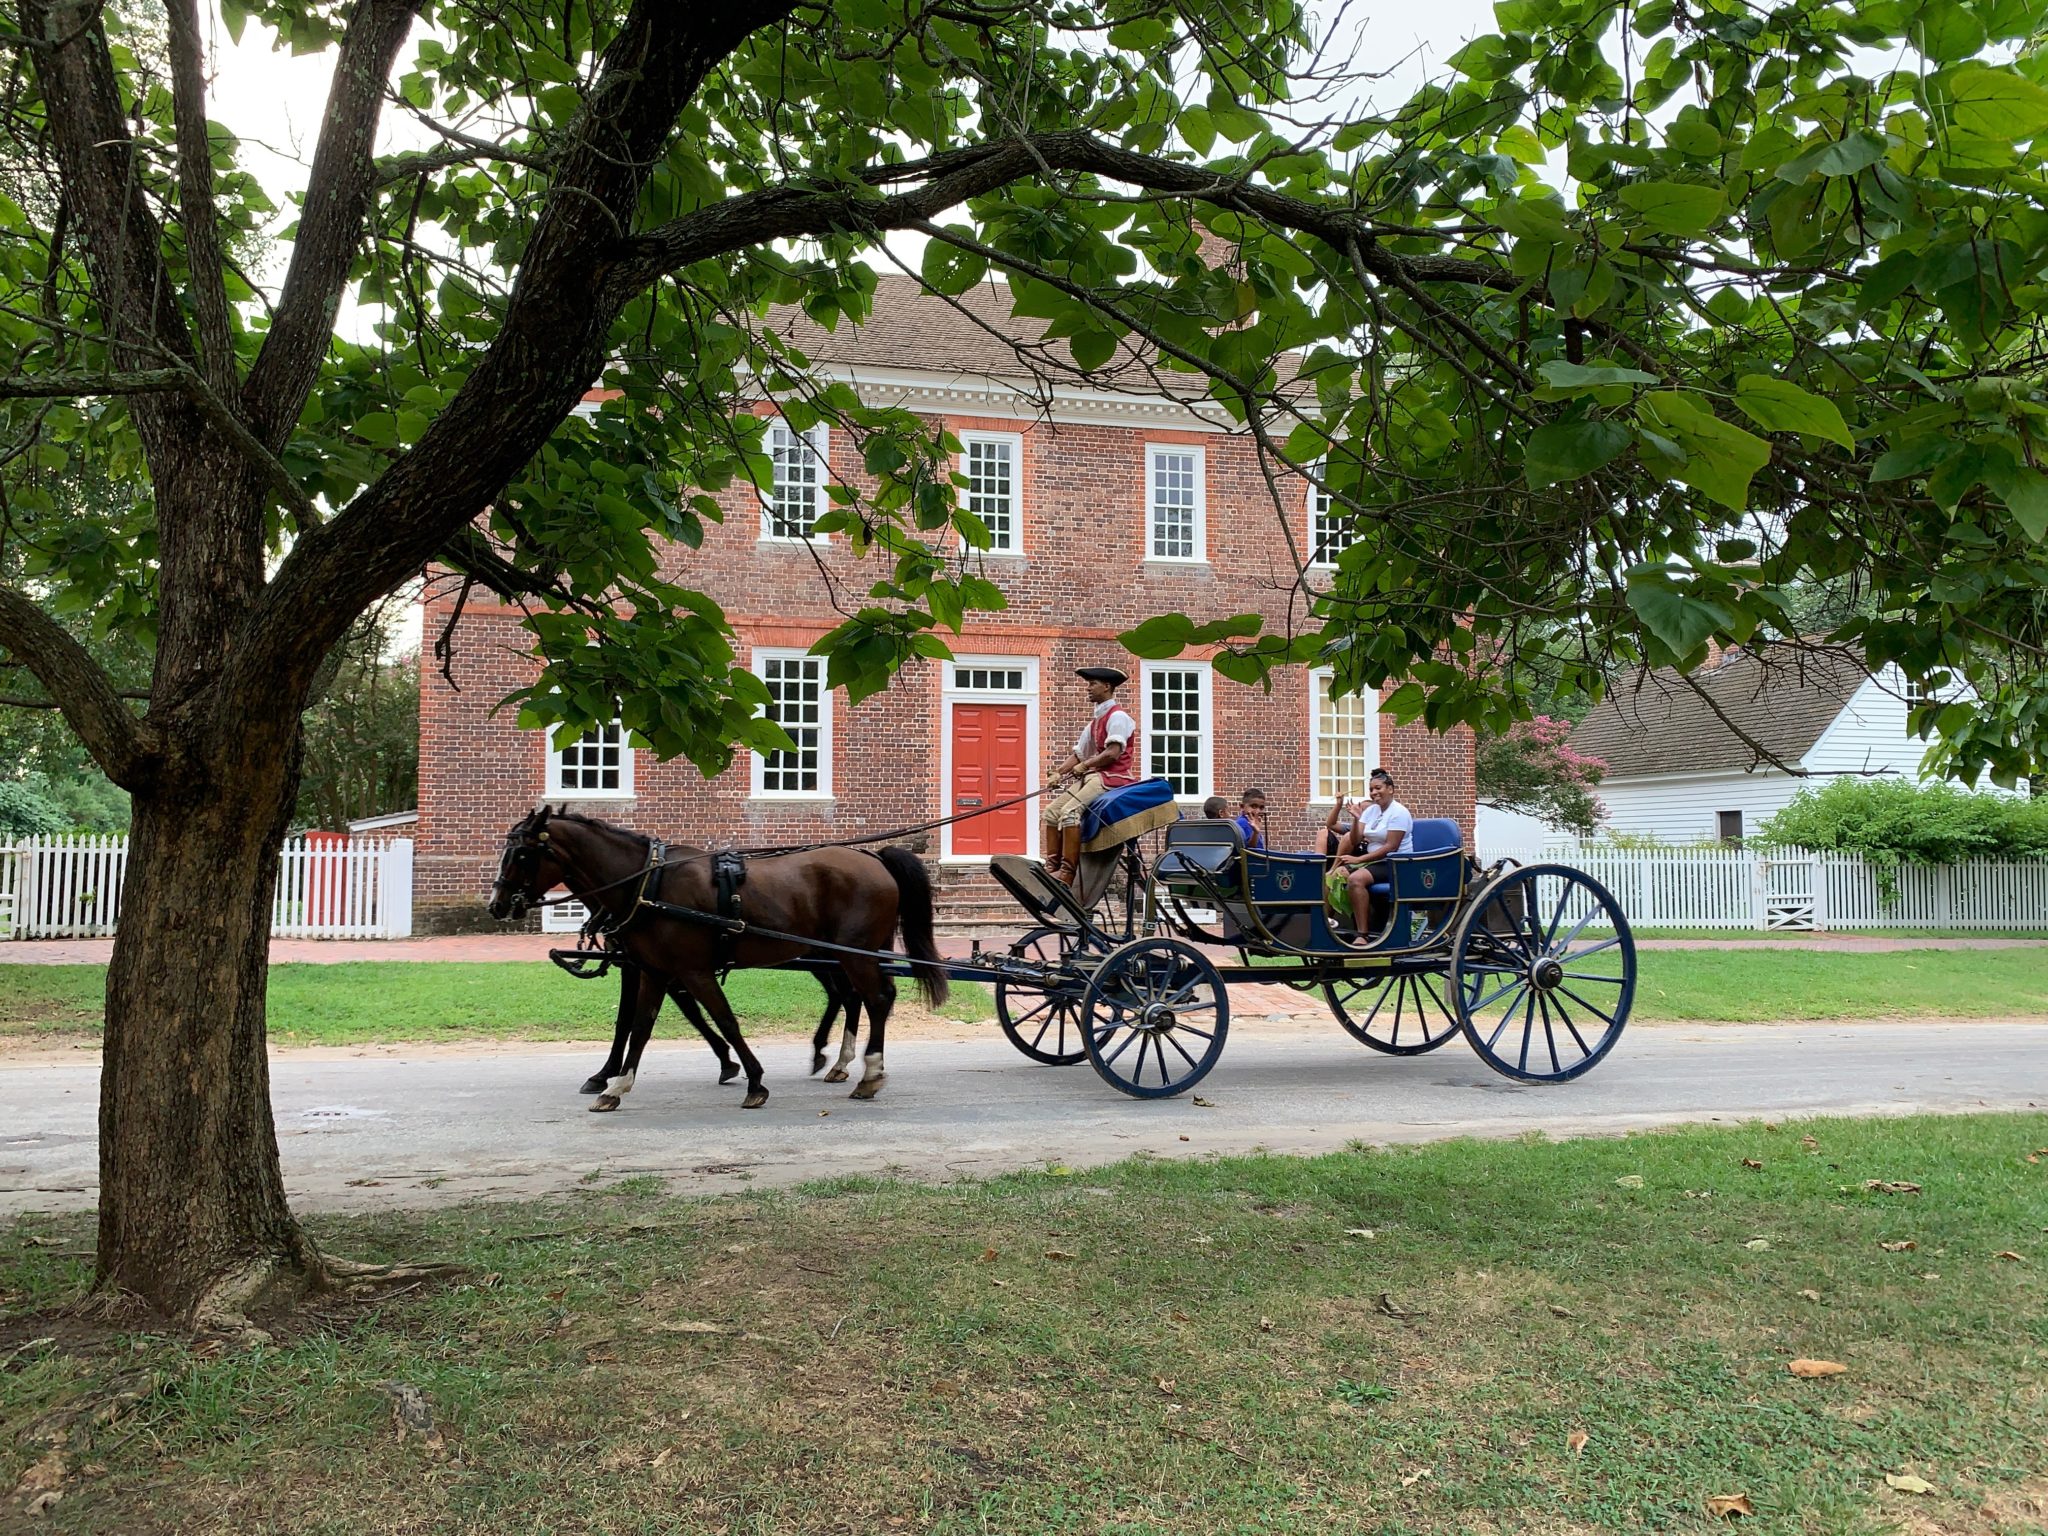
I was watching this carriage as it drove down the street, approaching the George Wythe House, in Colonial Williamsburg. If I waited until I saw the perfect scene, when the carriage was in the right spot and the horses’ legs were positioned just so, it would be over before I could press the shutter button.
Instead, I started shooting, using the Burst Mode, before the time was just right and then waited for it to happen.
These two shots were part of a long burst and were two seconds apart. In the first, we can’t see the top of the driver’s head. In the second, not only can we see his head, but he is perfectly framed against the brick wall, and the horses are moving in unison. (I actually like the horses legs in the first shot better, though. What do you think?)
Eliminating distractions:
A third reason to use Burst Mode is to eliminate distractions. Again, we are looking for the perfect moment.
In this photo, I shot a burst of photos as the carriage drove by. There were tourists on either side of the carriage, so I was looking for a moment when they would not be visible.
These photos were shot two seconds apart, but in the same burst. In the first, I was able to hide the two joggers on the right behind the rear wheel of the carriage. There was a group of tourists approaching from the left, so I couldn’t wait for the joggers to walk out of the scene. In the second photo, you see both the tourists on the left and the joggers on the right. I think the first photo is a lot better!
Capturing a steady shot:
A fourth reason to use Burst Mode is to capture a steady shot when you are having trouble holding the iPhone still.
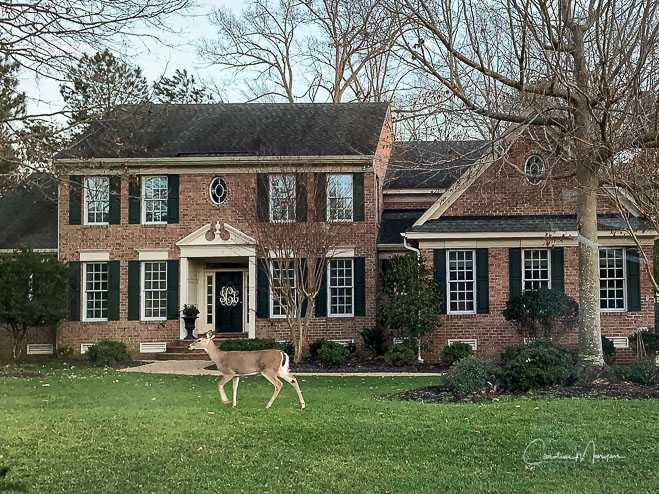
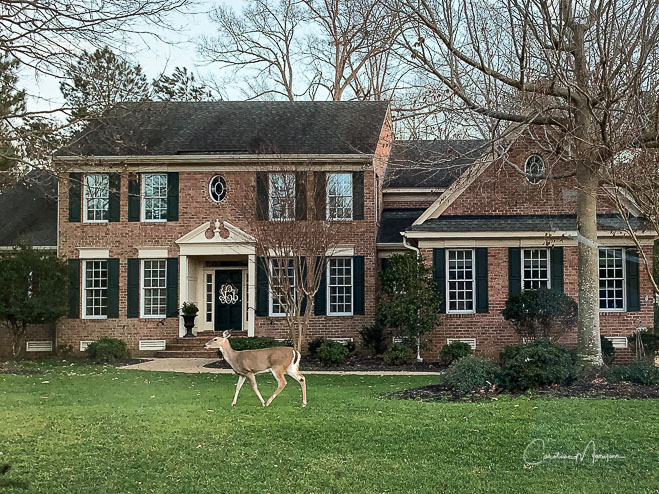
I shot this photo during an evening drive down our street. It was dark enough that the shutter speed would be really slow. I was also sitting in my car, with the engine running, which introduced more vibration.
By holding down the volume button, I was able to quickly shoot a set of photos. Usually, one of the middle ones will be a keeper, since your hands aren’t moving to push or release the button.
Of course, the deer moved, so capturing him in a good stride position was also a goal. These were both shot within the same second.
This comes in handy when you’re trying to shoot in an unsteady environment, like on a boat or moving vehicle of some sort.
Shooting people:
And, don’t forget to use it when shooting a group of people. Or a child or pet doing something adorable. You’re much more likely to get a keeper this way!
Shooting selfies:
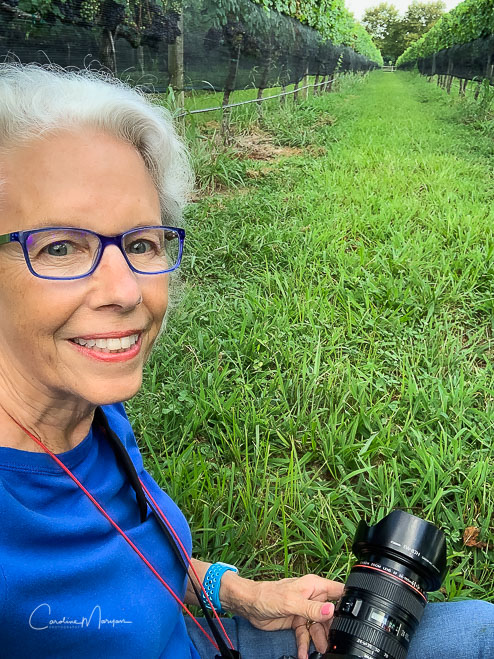
Selfies? Do you take them? Sometimes, it’s the only way for me to have a photo of myself in a new place. But, I hate how I look in them. So, I’ve started using Burst Mode. I’ll never be a natural, but I’m often able to find at least one that doesn’t make me look like I’m hanging on a poster of the FBI’s Most Wanted…
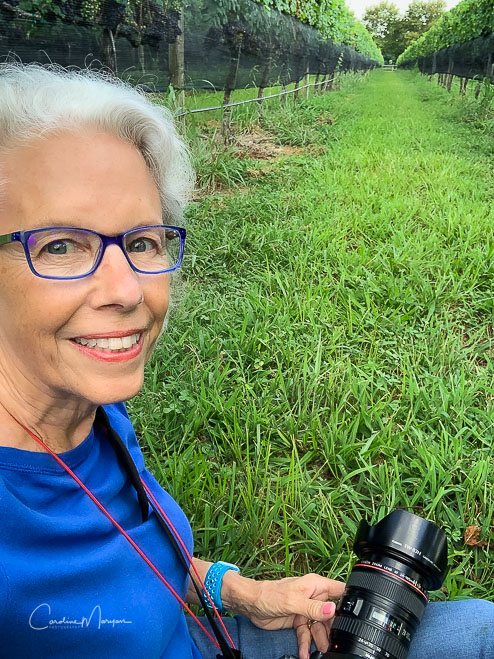
Why was I taking a selfie, while sitting on the ground in a vineyard? I was waiting for the sun to come back out and shine through the grapes. Since the sun wasn’t in a hurry, it was the perfect time to practice selfies. You’ll notice that I’m looking at the iPhone lens in one of them and at myself on the iPhone screen in the other. I definitely need more practice! Thank goodness for Burst Mode!
So, what do you do if you’ve taken a burst and want to choose the best and discard the rest?
You’ll only see one of the photos in the burst when you tap on the small photo at the bottom of the camera screen. (Did you know that tapping on that small photo will bring you into the Photos app? To get back to your camera app, just tap on the “<“ at the top of the screen.) You’ll know it’s a burst, because a small file icon followed by the word “Burst (__ photos)” will appear above the photo when you tap on it. It will tell you how many shots are in the burst.
How do you see all of them? Tap on the “Select…” button at the bottom of the screen. Now, you can scroll through the photos and choose the best one, by tapping on it. (If you tap on one you don’t like, by mistake, just tap again to unselect it.) You can select as many as you like.
Having trouble deciding? The iPhone has already chosen it’s favorites. You can find them in the string of photos at the bottom of the screen. They have a small gray dot underneath them.
Once you’ve decided, tap on the “Done” button at the top of the screen. Now, you have a choice. You can keep all of the photos or only the ones you’ve selected and discard the rest.
What if you never intended to take the burst in the first place? Instead of tapping on the “Select…” button, tap on the Trash can at the bottom of the screen. Now, you will have the option to delete all of them in one step!
Which photos in the burst can you edit?
You can’t edit the burst photos during the selection process. However, you can edit the thumbnail photo that the iPhone has chosen for that burst set. Of course, you can edit the photos you have chosen from the burst during the selection process, too.
What if you can’t make up your mind?
Here’s another possibility that can happen while you are deciding. Let’s say that you make your selection and then worry about discarding the rest right away, so you choose to keep them all. At this point, you’ll find that your chosen photos have been saved as independent shots. You can edit them.
They will appear next to the burst set in the All Photos album, but not in the Bursts album. You’ll also find that all of the photos, including the chosen ones, are still saved in the burst.
Now, if you decide to go through the selection process again, change your mind and unselect one of the photos you have already chosen, the independent shot of it will be automatically deleted.
However, it will still be visible in the burst group, along with any edits you performed on it when it was an independent shot. You still have a chance to reselect it later and re-edit it. (There’s lots of room for indecision here! 😉)
And, to add to the choices you have, you can also start by deleting the independent shot first. The process is in a different order, but the results are the same. It will unselect the photo in the burst set, but leave it there with its edits.
What if you can make up your mind?
What happens when you are confident with your choice and want to delete the rest? Remember, the photos you’ve already selected in the past, from that burst, are now in two places. They are independent photos, and they also exist in the burst.
To delete the unwanted photos from the burst, you simply tap on the trash can (not in the select screen). The choice screen will appear. You’ll notice that the message asks if you want to “Keep __ favorite photos and delete __ photos from one burst?”
You can choose to delete, in which case, your chosen photos will remain as independent shots, but the burst version of them, along with the unselected photos, will be deleted. If you’re just not sure, you can always choose Cancel!
I really hope that isn’t too confusing! The real take-away is that you can have a lot of chances to change your mind if you want.
My iPhone is full of bursts that I didn’t mean to take!
Finally, now that you know how to delete burst shots quickly, what about all the ones filling up the memory on your iPhone that you don’t even remember taking? There’s a quick way to find them!
Tap on the Photos app. Tap on Albums. Scroll down to Media Types. Towards the bottom of that list, you’ll find “Bursts”, followed by the number of them on your iPhone. Tap on it.
Here, you’ll find all of the bursts that you have shot in the past. (Hint: If you’ve already made a selection and discarded the rest, those bursts will not show up here.) Now, you can go through the selection process with them and clean up some of your storage woes on your iPhone!
Some iPhone models save an extra photo:
One last note: On the iPhone Xs, an extra photo is taken at the very beginning and saved. This means that I have the burst mode photos plus one single one. If I want to delete all of them, it will take an extra step to delete that single one. This doesn’t happen on my husband’s iPhone 6 or on my new iPhone 11 Pro. Does it happen on yours? Please let me know in the comments. I plan to ask about this the next time I visit the Genius Bar at the Apple Store!
Do you have any other great reasons to shoot in Burst Mode?
Share in the comments!
What’s next?
Did you know that there’s another great mode for shooting action and selfies? It’s available on the iPhone 6s and later. It’s called Live Mode and you can read more about it in this post!








Leave a reply