After a fresh snowfall, shooting snow photos is an adventure that can get you outdoors quickly. Whether you want to share on social media or create beautiful art, taking photos in the snow can be rewarding. However, with the bright white backdrop and varying light conditions, capturing the perfect shot can sometimes feel daunting. Don’t worry! These tips and tricks will help you take fantastic snow photos in no time.
- Why are my snow photos so dark?
- The key to getting well-exposed snow photos:
- A quick way to brighten your photo:
- Locating and Using the Exposure Compensation Button:
- Does Exposure Compensation work in all camera modes?
- Shooting Photos Against a White Sky: A Similar Technique to Snow Photography
- Beach Photography: Drawing Parallels with Snow Photography
- Now it's your turn.
Why are my snow photos so dark?

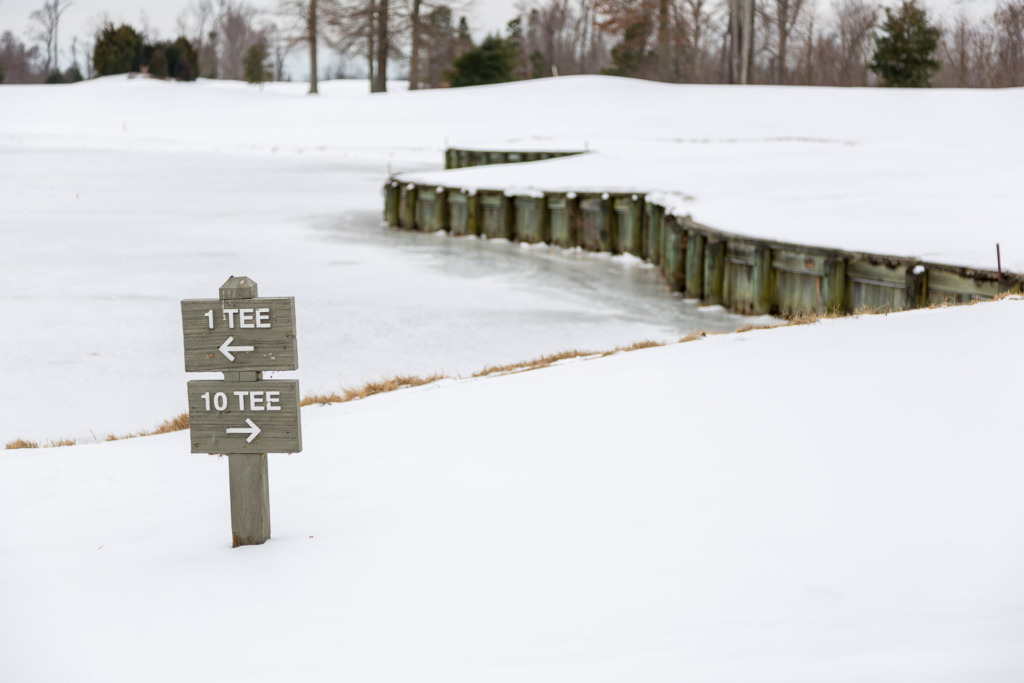
This photo of a sign was taken at 10:53 AM on a snow-covered golf course, but you’d never guess it. It looks dark and hard to see, doesn’t it? That’s because my camera’s light meter was trying to average the light in the scene and make it look like midday. However, my photo looked too dark with all that white snow reflecting sunlight.
The key to getting well-exposed snow photos:
The first thing to remember when shooting snow photos is that your pictures will probably be too dark. This is because cameras are designed to expose for mid-tones and neutral colors, so when they see all the bright white snow, they assume it’s overexposed and try to darken the photo. To combat this, you’ll have to adjust your camera settings to compensate for this brightness.
A quick way to brighten your photo:
Here’s a brighter version of the sign, shot with +2 Exposure Compensation.
Most cameras have an exposure compensation feature that allows you to manually adjust the exposure to make your photo lighter or darker. Using Exposure Compensation, you’ll be able to see the difference while you’re still outdoors.
If you’re shooting with a DSLR, you’ll need to take a photo to see how dark it is and then add the exposure compensation you need. When you take another picture, you’ll see if you need to adjust again.
If you’re shooting with a mirrorless camera, you’ll see the change on the LCD screen as you make the adjustment.
If you’re shooting with an iPhone, you’ll adjust the exposure on the screen by tapping to lock the exposure. Then, you’ll slide your finger up the screen to make it brighter.
Locating and Using the Exposure Compensation Button:
The Exposure Compensation button on most cameras is usually a small black and white button with a symbol that looks like a plus/minus (+/-) sign. Depending on your model, this button may be found at the top or back of your camera.
You’ll need to press and hold the Exposure Compensation button to use it. While continuing to hold down the button, turn the dial (this could be a thumb dial, front dial or rear dial, depending on your camera model) to adjust the exposure. Turning it to the right, towards the “+” sign increases the exposure, making your snow photo brighter. Turning it to the left, toward the “-” sign decreases the exposure, darkening your image. Remember, when you’re shooting snow photos, you’ll likely need to turn the dial towards the “+” sign to brighten your images.
One quick caveat. If you own an older Nikon camera, the right and left sides may be reversed. Just remember to turn toward the “+” sign for a brighter photo and “-” for a darker photo.
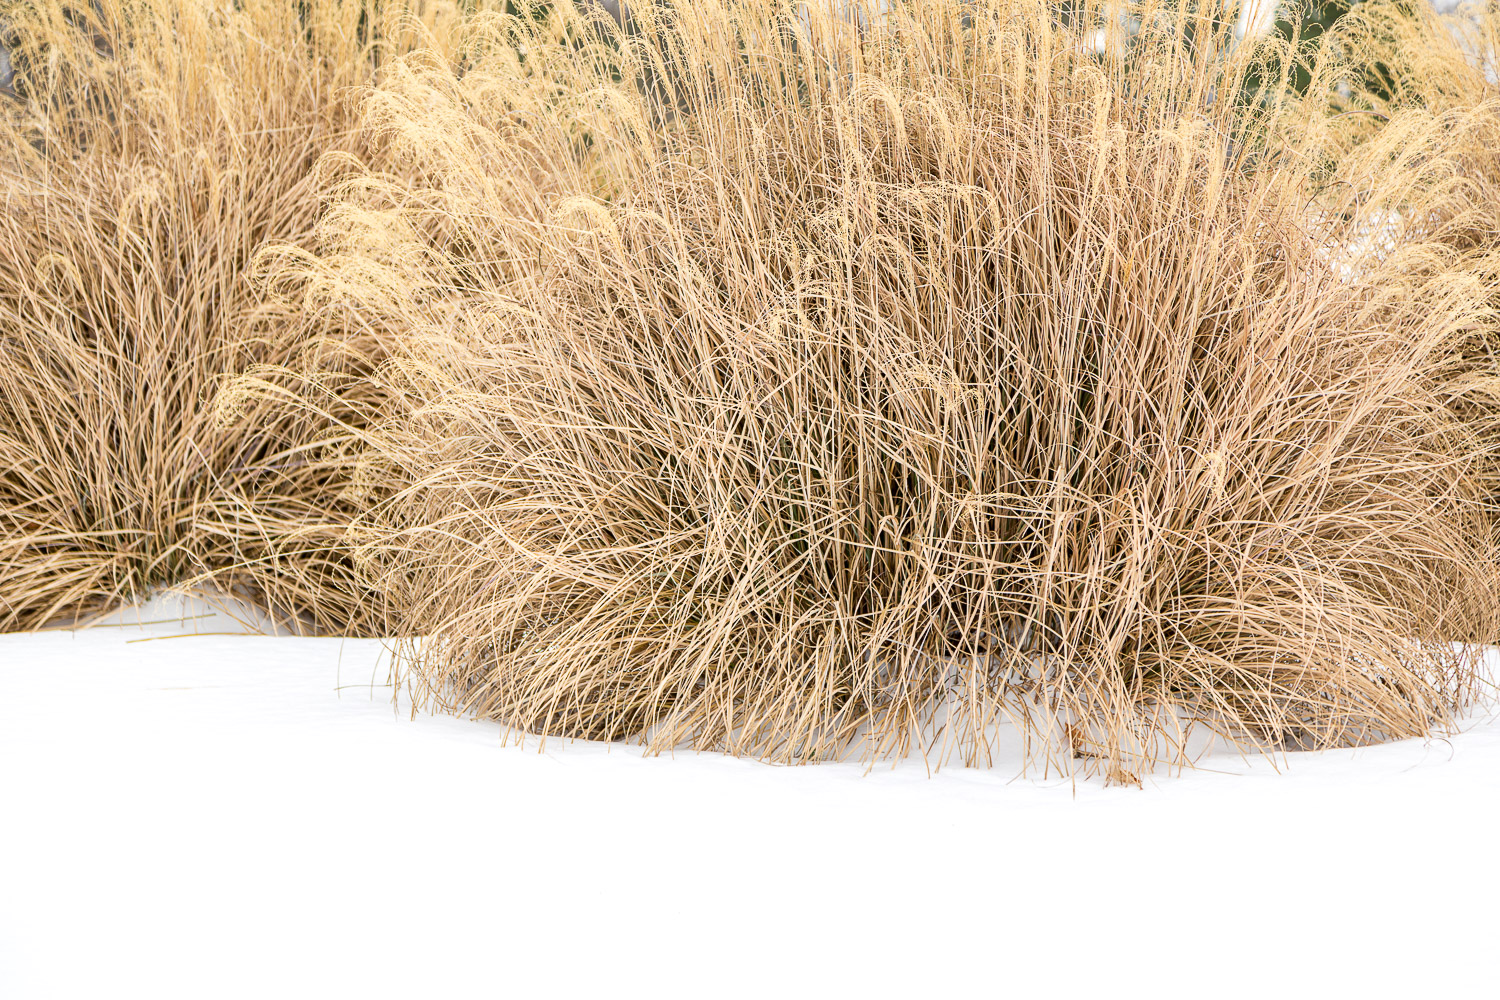
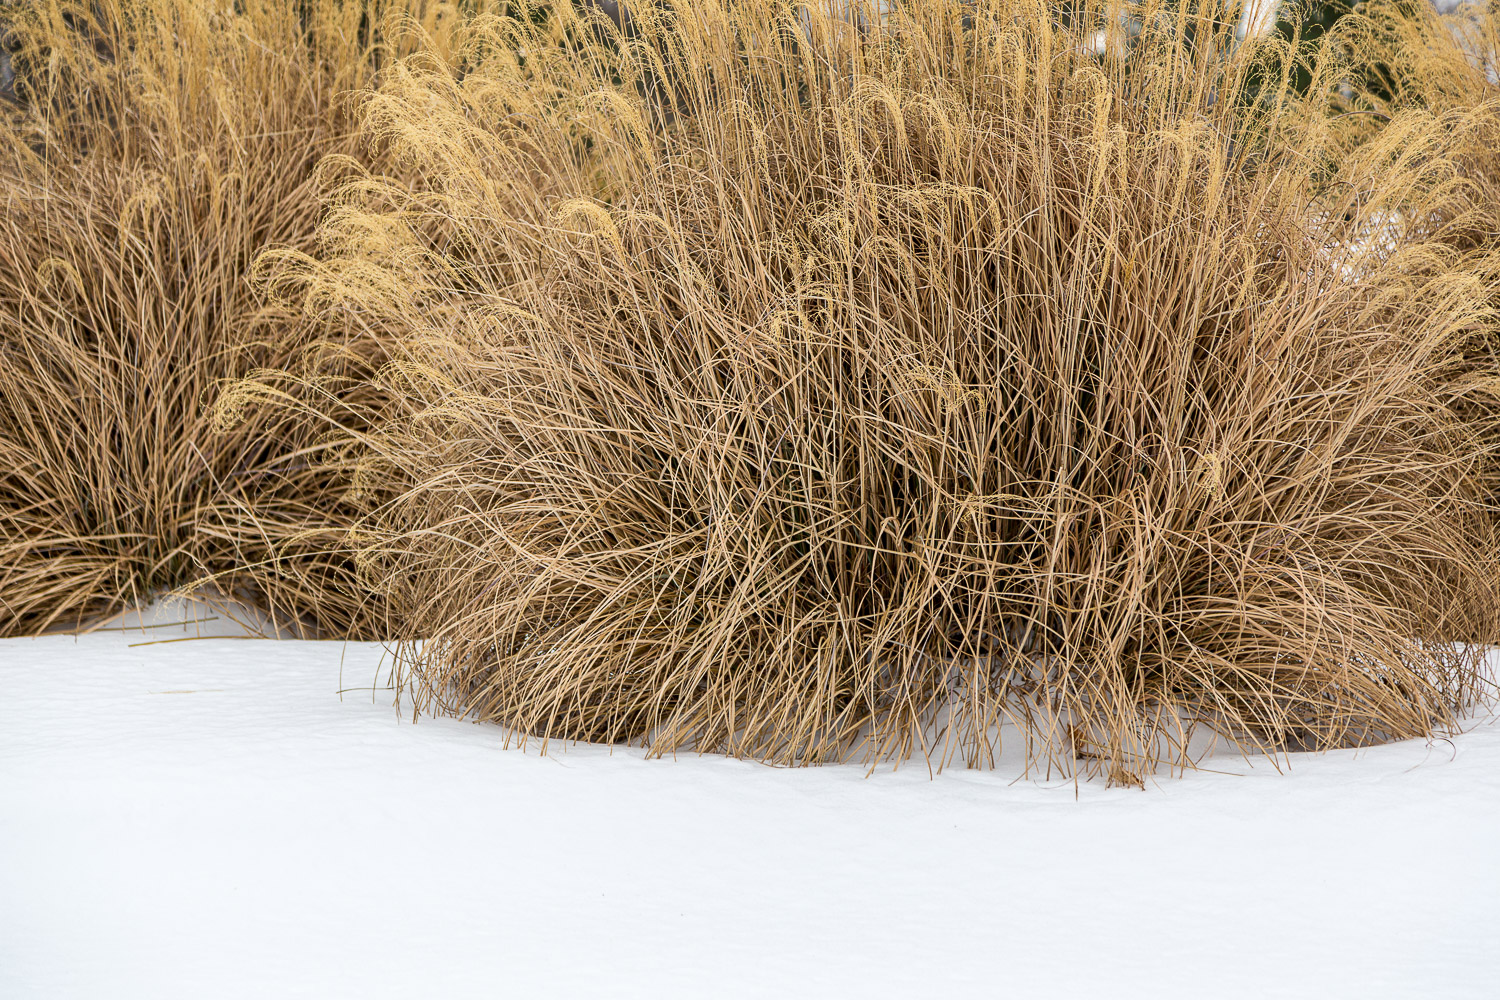
These photos of ornamental grass on the golf course were taken in Aperture Mode at 11 am. I added 1 stop of Exposure Compensation to the one on the right to brighten it.
Does Exposure Compensation work in all camera modes?
No! There is no Exposure Compensation in any of the auto modes. You’ll need to be in Program, Aperture, Shutter or Manual Mode. (In Manual Mode, you won’t need the Exposure Compensation button. You simply balance the settings until the pointer on the light meter is on the right side of the “0”.)
Shooting Photos Against a White Sky: A Similar Technique to Snow Photography
Just like with snow photography, shooting images against a white sky can often confuse your camera’s light meter, causing your images to appear darker than intended. The white sky acts as a large, bright light source that can easily lead to underexposure. But don’t worry. You can effectively combat this issue using a similar approach to snow photography: manipulating your Exposure Compensation.
The idea is to trick your camera into thinking that the scene is brighter than the light meter thinks, to counteract the tendency for underexposure. By increasing the exposure (turning the dial towards the “+” sign), you can brighten your photo, preventing the white sky from appearing gray and dull in your image. As always, remember to check your camera’s LCD screen and make necessary adjustments until you’re satisfied with the exposure.
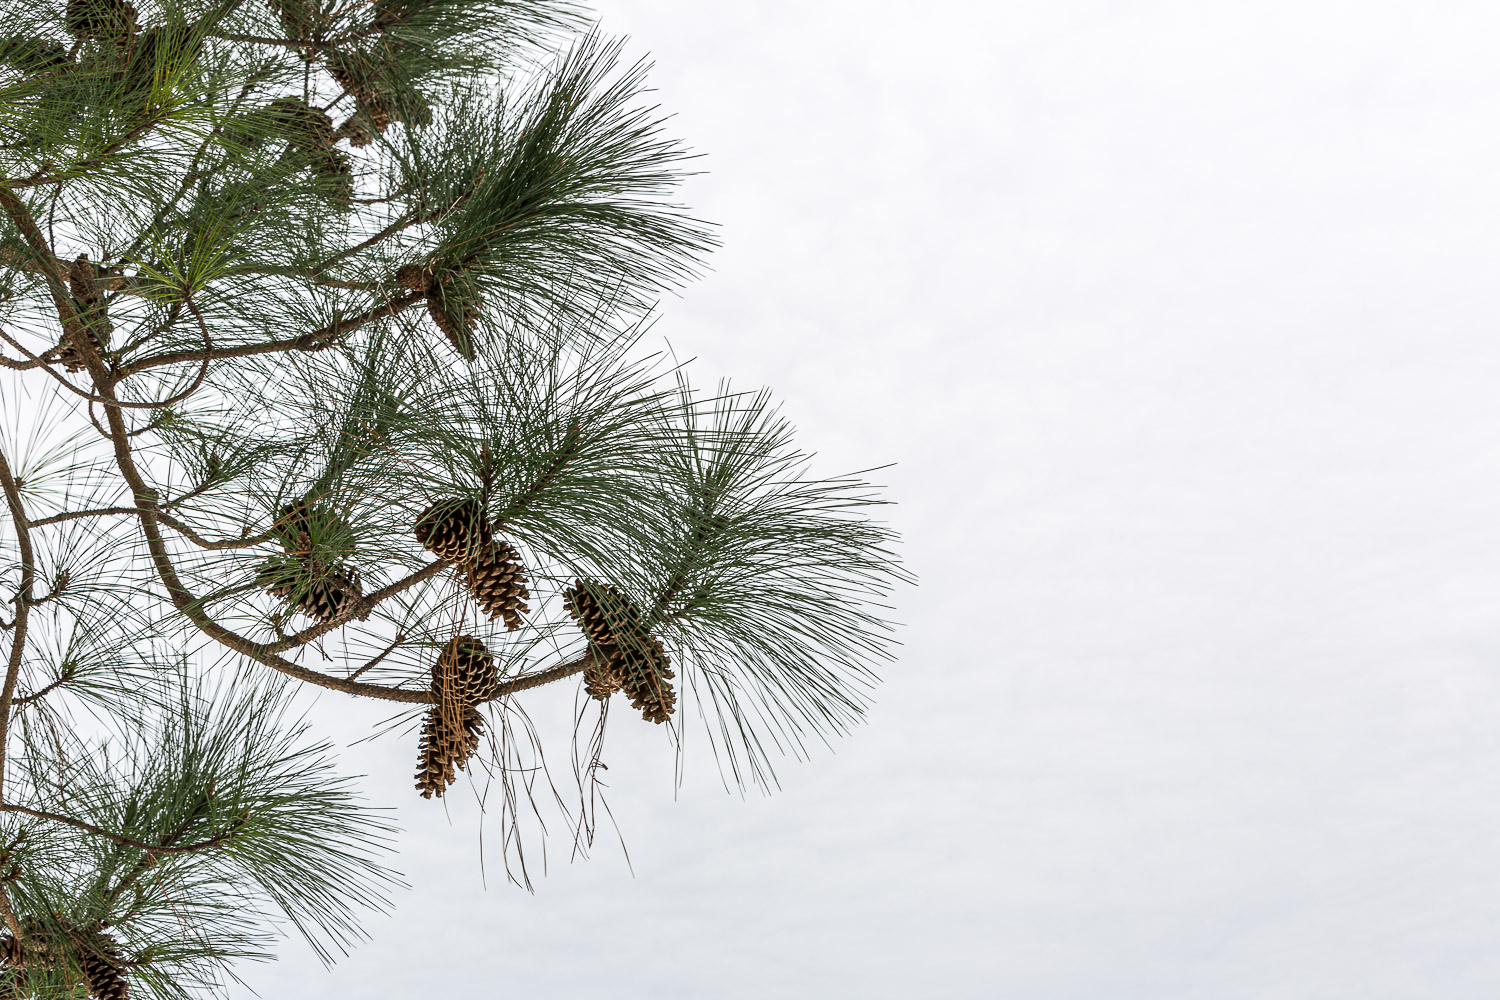
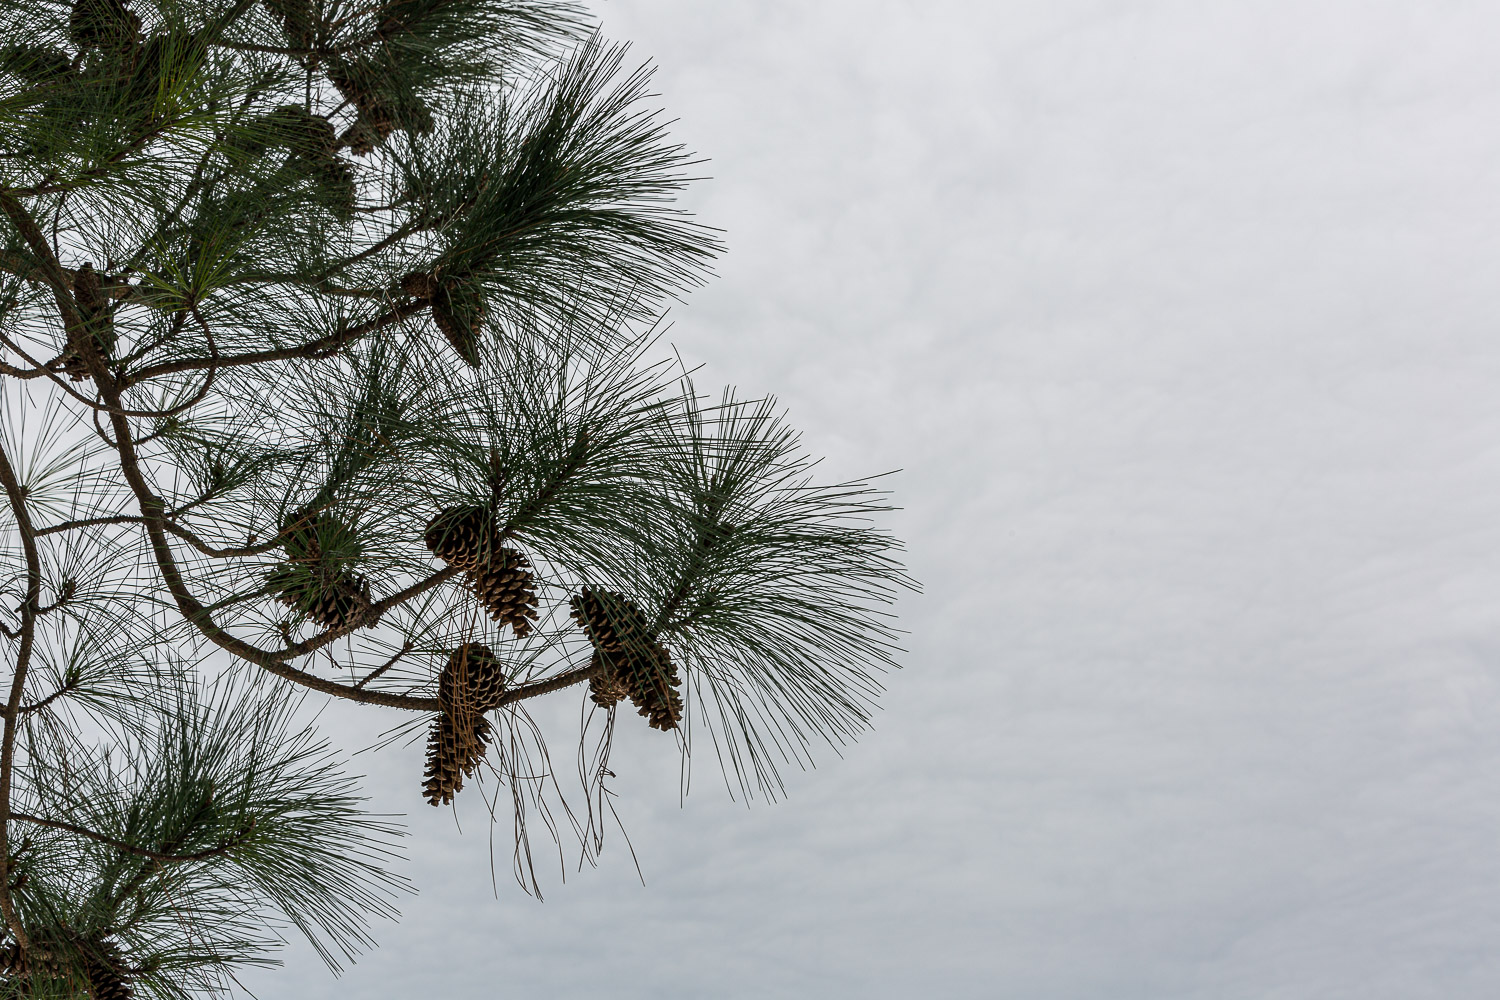
These two photos of pine branches were taken at 11:31 am. The brighter one has +1 Exposure Compensation. Can you see how much brighter the branches also look?
Just like in snow photography, this technique requires you to be out of auto mode. So make sure you’re in Program, Aperture, Shutter, or Manual Mode before you start adjusting your settings.
Beach Photography: Drawing Parallels with Snow Photography
Just as snow photos can trick a camera’s light meter, scenes at the beach can create similar challenges. The vast expanse of sand, especially under bright sunlight, acts much like a snowscape, reflecting light and often leading to underexposed subjects. Using Exposure Compensation techniques similar to those used in snow photography can be just as effective here. Increase the exposure by nudging the dial towards the “+” sign until your beach photos have the right brightness and contrast. Remember, your camera may perceive the scene as being brighter than it is, so you’ll have to trick it into letting more light reach the sensor. Always ensure you’re out of auto mode and in Program, Aperture, Shutter, or Manual Mode to have control over these adjustments. Experiment and adjust until you capture the perfect sun-soaked beach shot!

This beach photo of my friend Clare was shot at 7:41 am. in Aperture Mode. The sun was rising on the left side. To brighten the sand and properly expose her face, I added +1.33 Exposure Compensation.
Now it’s your turn.
I love teaching busy camera owners how to set their cameras to take photos they love. If you’d like to know more about setting your camera, check out my online classes here.
And here’s a link to an article about snow photography for beginners.



Leave a reply