Here’s a fun photography challenge for you. It’s a way to practice your people photography and you may even make a high school senior’s day! Today, I’m talking about shooting senior photos.
Fortunately, natural light senior photography is very popular today, which helps during these times of social distancing. You’ll be able to practice quick portrait photography outdoors, using the sun as your light source.
What are senior photos?
According to Wikipedia (I’ll include a link below), senior photos date back to at least the 1880s. I was able to find my father’s senior yearbook from Broadway High School in Seattle, Washington. The photo below was his senior photo, taken in 1916. (Yes, I did have an older father…)
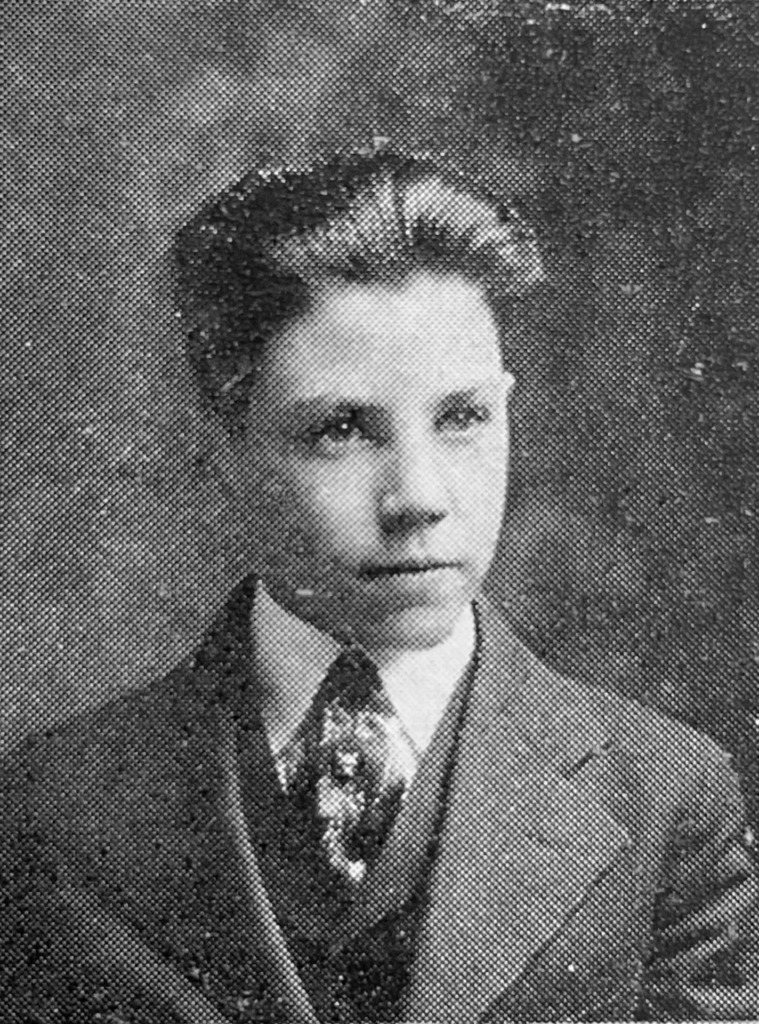
Over the years, the styles of photos have changed, with the students dressed in “cap and gown” at one point and in tuxedos and pearls a few years later.
The photos I’m suggesting you practice are the more casual life-style type.
How are they used?
There are some obvious uses of these shots and it will help if you keep them in mind when you try shooting senior photos. First of all, many high schools allow the students to submit their own photos for the yearbook. Also, many families include one of the photos in the graduation announcements they send to friends and family. Of course, printing and framing these shots is a wonderful way to remember this time of change in the student’s life.
Below, I’m going to give you some tips on shooting, including settings and ideas for capturing photos that the senior will be able to use. I asked my neighbor, Sarah, and her mom to help me shoot this post.
Headshots
One of the most important photos you will take is the headshot.
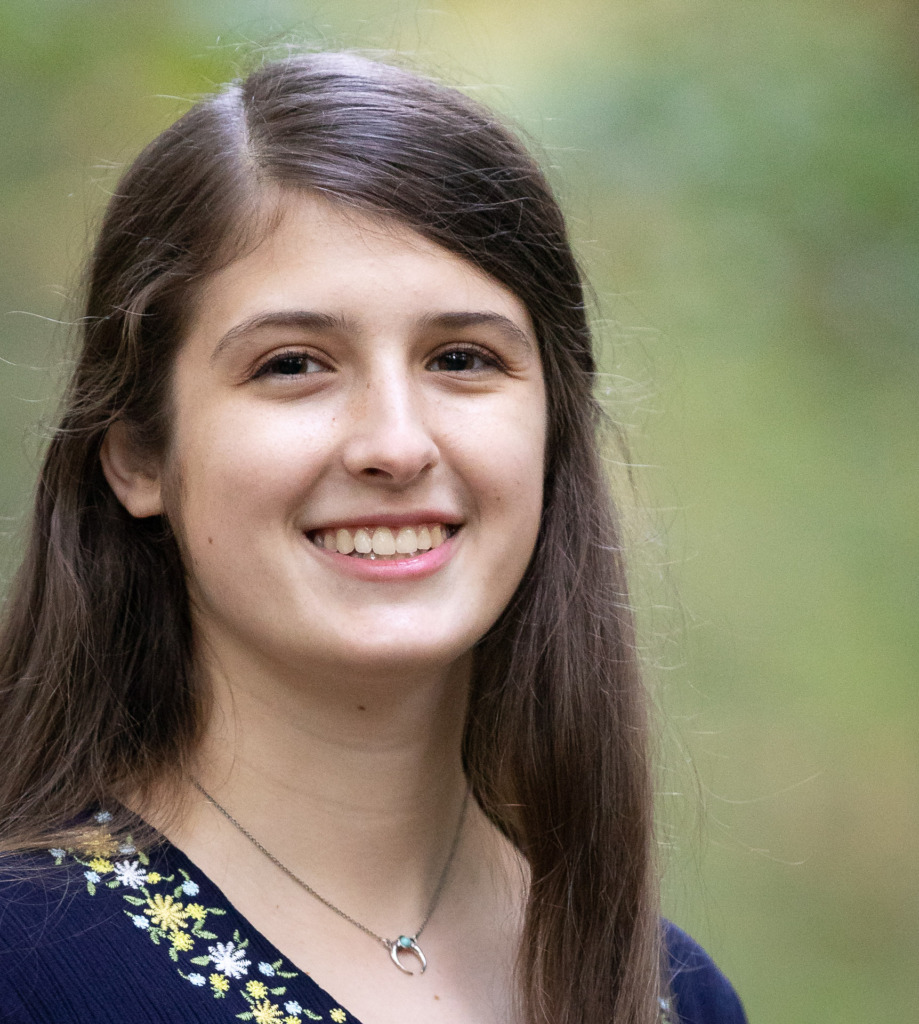
This photo can be used in the yearbook if personal photos are allowed. Also, it may come in handy for job applications. Many colleges ask for headshot photos to include in freshmen directories.
One of the hallmarks of a professional headshot is an out-of-focus background. To achieve this, you need to set your camera to either Aperture or Manual Mode and choose a low aperture number, like f/2.8 or f/4. Zooming in also helps. If your lens switches to f/5.6 when zoomed in, just place your student far away from the background and much closer to you.
Another tip when you are shooting senior photos is to place your student in the shade or with the sun behind them. You want to avoid having harsh light on their face!
Showcase their talent
Is your student a dancer or athlete? Do they have a special talent? Or a hobby they really enjoy? Be sure to take a few shots that showcase that talent if you can.
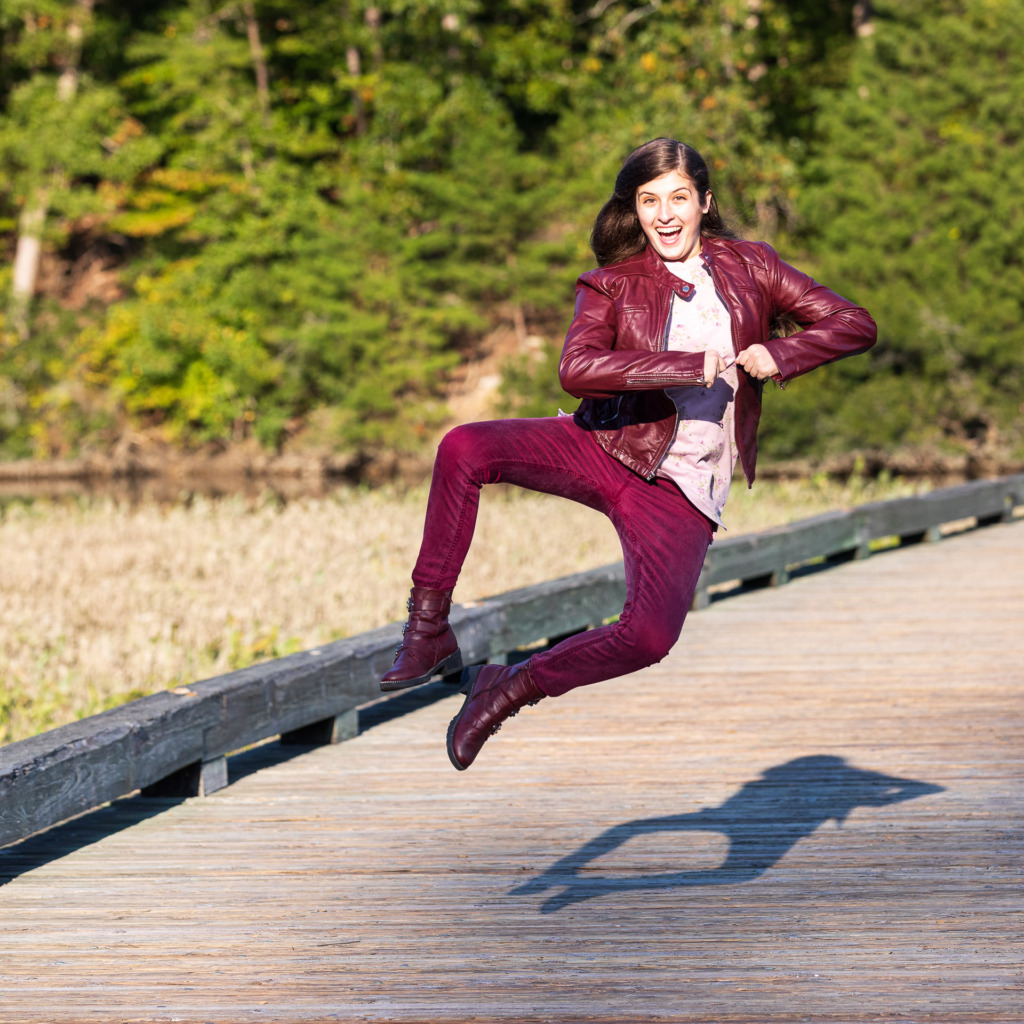
Sarah is a dancer, so we decided to get a photo of her jumping. You might expect that I would set my camera to Shutter Mode for this, but I have a different approach to getting the quick shutter speed I need.
Something that sets professional photos apart is the shallow depth of field that makes the subject really stand out. I don’t want to lose that look, so I’ve remained in Aperture Mode, with the aperture set to f/4.0. Now, it’s simply a matter of seeing what shutter speed the camera will set. If it’s not fast enough, I can simply raise the ISO. For this photo of Sarah jumping, I set the ISO to 400. You’ll notice that she is in the late afternoon sun. I needed that light to be able to freeze her in the air, without having to resort to a higher ISO.
I also used Continuous Shooting Mode (also called Burst Mode) and took many photos in quick succession. That way, I would be more likely to catch her in a good position.
An additional fun gift to give your subject if you’re shooting senior photos is a GIF of them taken during the shoot. I created one of Sarah jumping that she could share on social media.
Highlight special elements
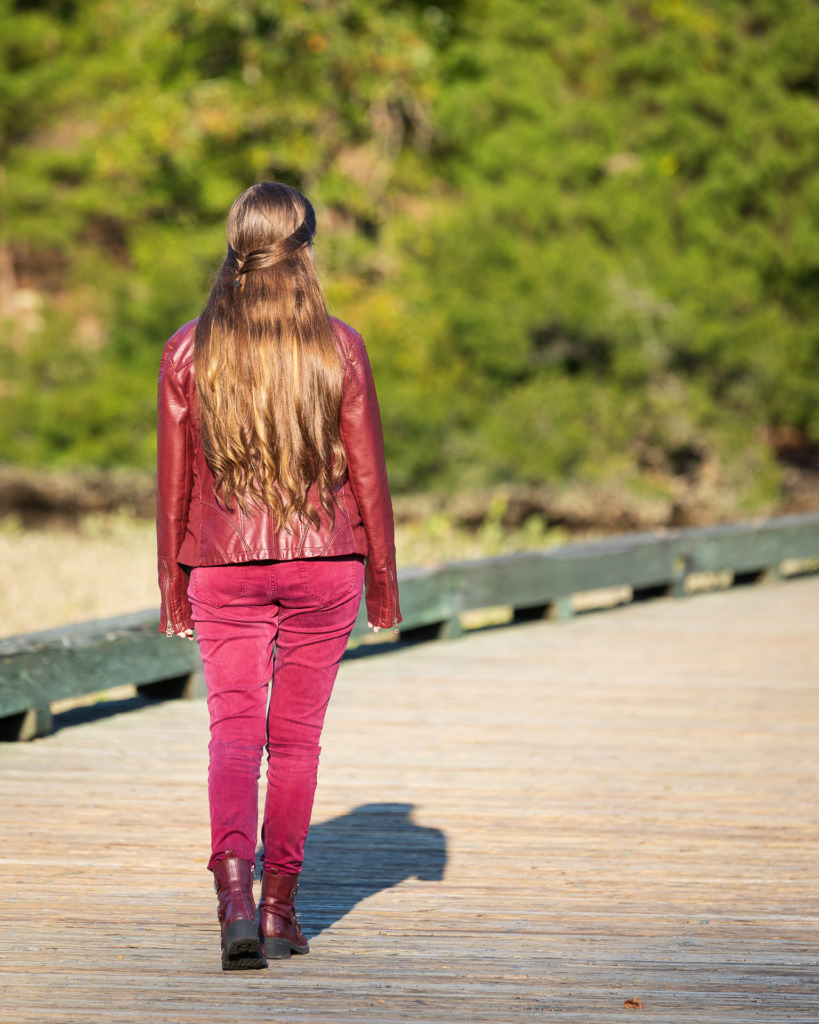
In Sarah’s case, I knew that she and her mother had spent some time preparing for the shoot, so I wanted to show her beautiful long hair. I took this photo of her walking away across a wooden bridge, towards her future. (That’s my interpretation, anyway! 😉) This is the same shot as the panorama at the top of this post.
The bridge also had significance. She had ridden her bike along this trail many times as a child.
Watch the color of the light when you are shooting senior photos
We shot these photos in the fall, when the leaves were a bright yellow. It was amazing how different the color looked if the warm sunlight was falling on them.
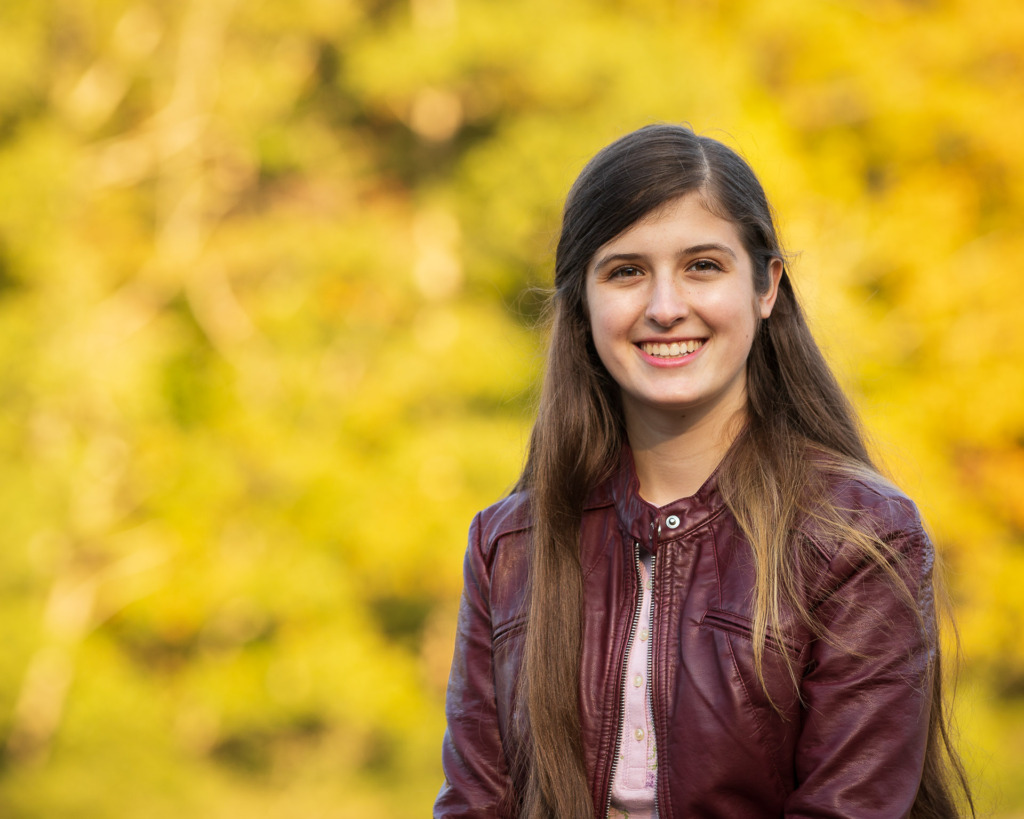
I shot both of these photos on the wooden bridge. In the first one, Sarah is in the shade, but the sun is shining onto the leaves in the background. In the second, she and I have traded places. I’ve positioned her with the sun behind her and to her right, so her face is in the shade. The trees in the background are not getting direct sunlight.
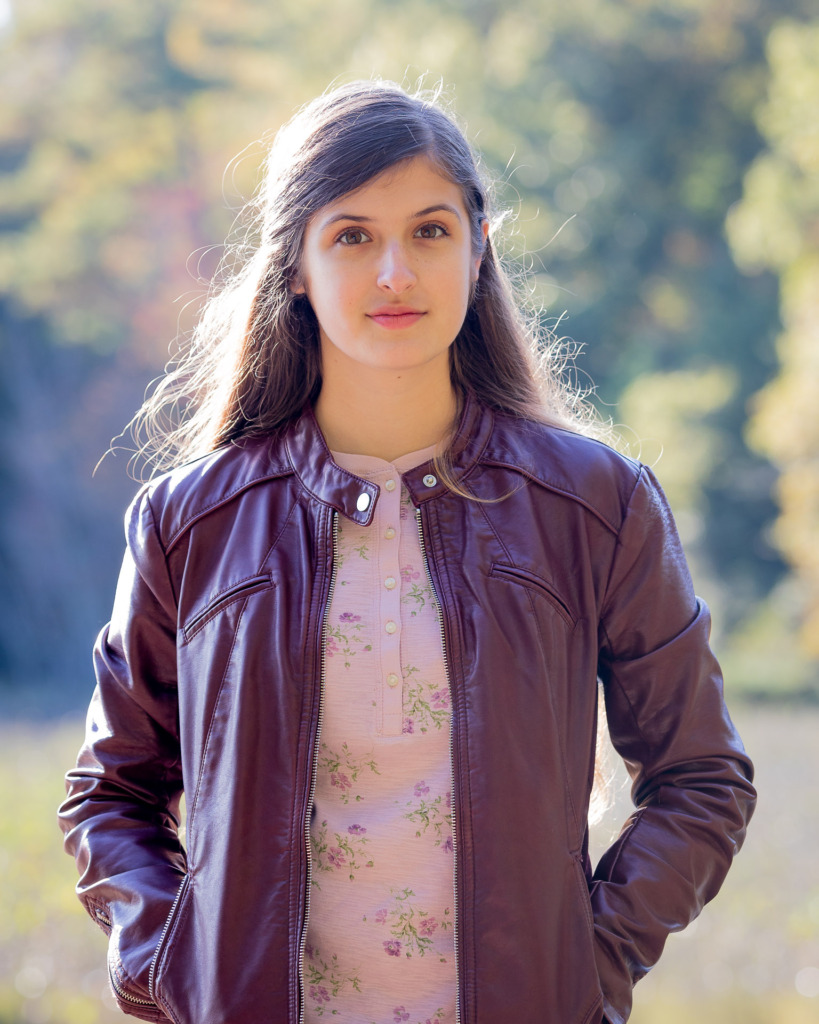
The two photos have completely different looks because of the direction of the sun.
Change your position for different looks
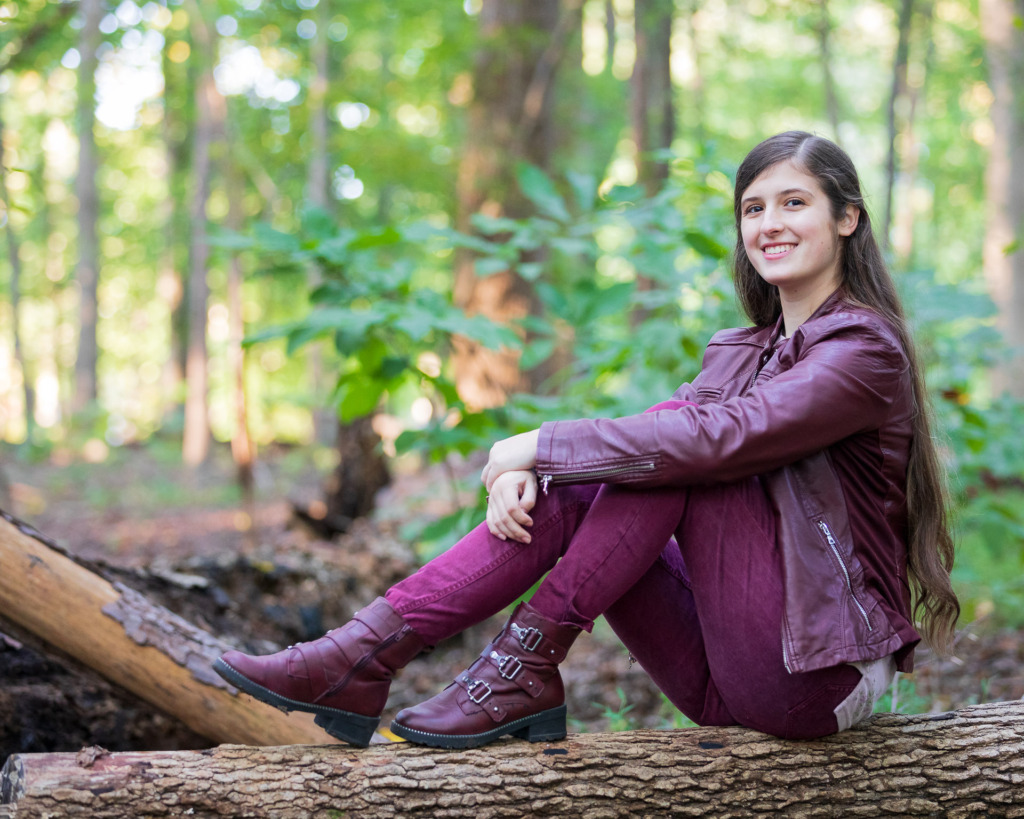
For this photo of Sarah on a log in the woods, I got down on the ground and shot slightly up at her. A wide aperture of f/2.8 helped blur the background. The different angle makes her look confident and ready to graduate.
Mix it up
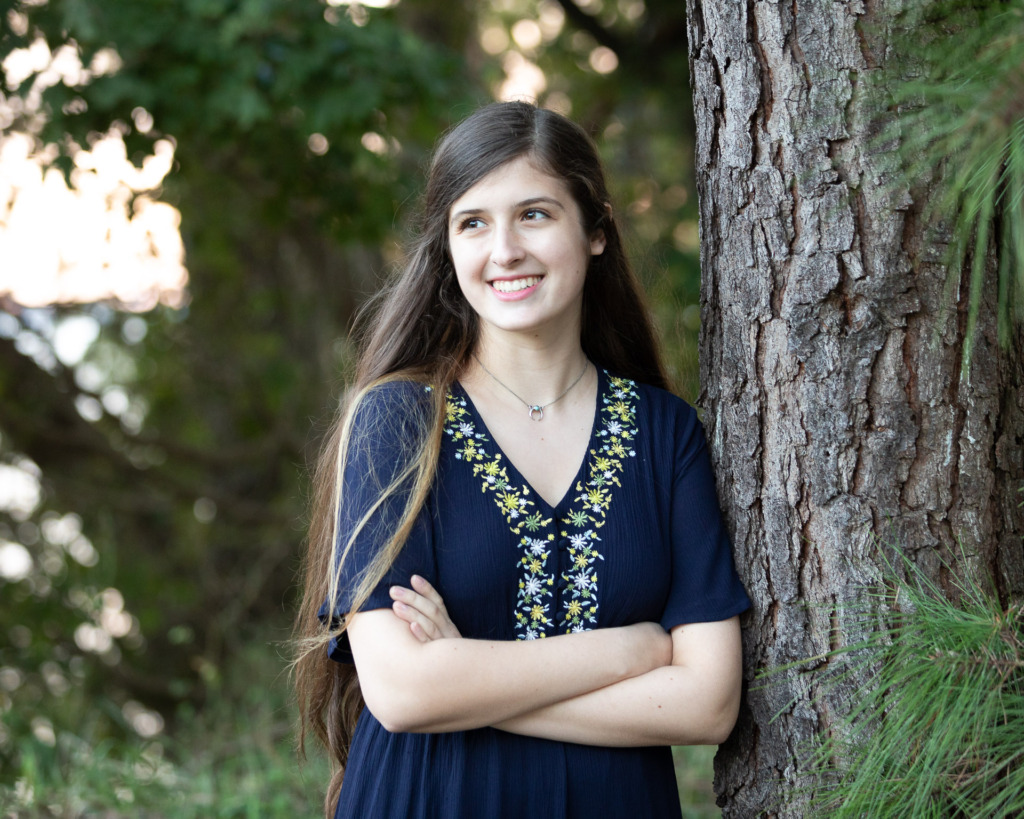
Finally, be sure to get some smiling shots and also some more serious ones. Have your subject look directly at you for some and away from you for others. When you are shooting senior photos, this will give you and your subject some choices.
And be sure to have some fun!
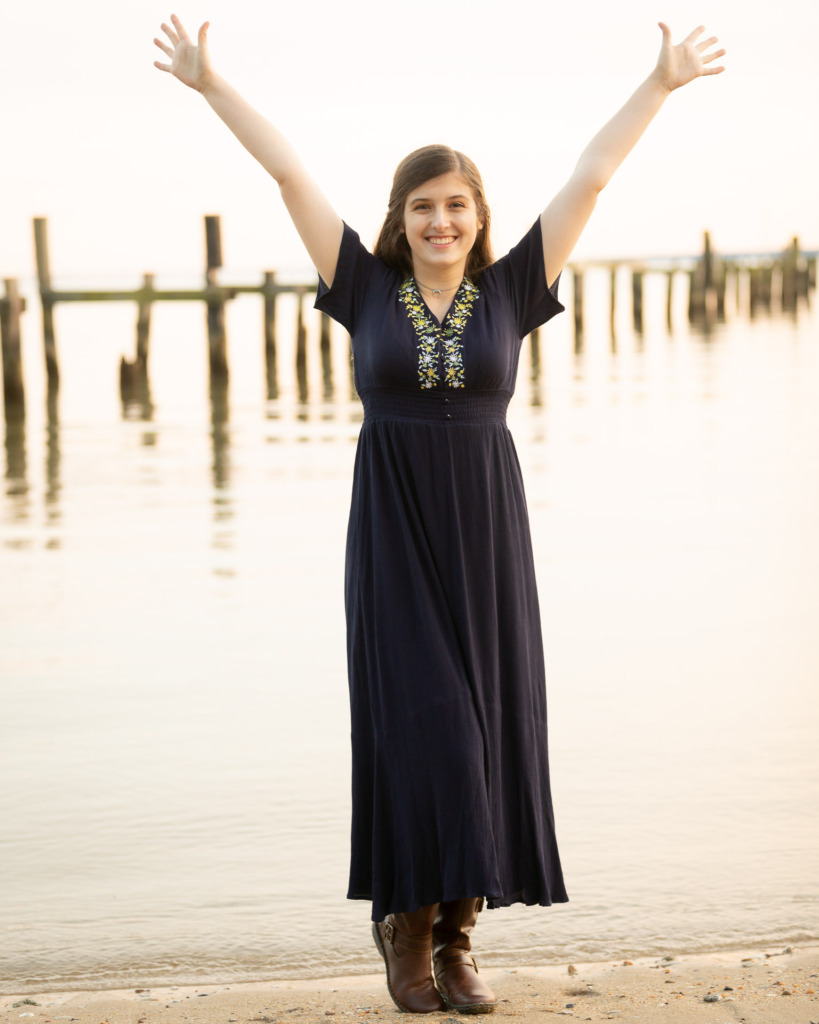
Now it’s your turn
To recap, here are some quick tips for a senior shoot.
- Discuss some possible places to shoot with your subject ahead of time. The light changes quickly! Will there be a change of clothing? Where can you do this?
- Bring along an assistant. The student’s mother or sister may be a great choice.
- Shoot late in the day for softer light.
- Try to highlight your subject’s talents and personality.
- Be prepared with settings before you start to shoot. If possible, stick to one lens to keep things moving. There is nothing worse than a slow and boring photo shoot. It will show in your subject’s eyes.
- Be sure to leave a little room around your subject for cropping. Check the link below to read about shooting photos so you can print them!
- Get at least one vertical headshot.
- Have fun!
- Within a few days of the shoot, be sure to give copies of your best shots to your subject. But don’t just give them everything! Choose the very best.
There are some wonderful professional photographers who specialize in senior photography, and I count several as friends. I want to emphasize that by taking these photos, you’re not trying to compete with them. Instead, you’re just trying to learn and get better at people photography. If you happen to give a teenager an afternoon of fun, all the better. Finally, many families can’t afford professional photos right now, so your “practice” may be a gift they will remember forever.
More reading
Here’s an article about the history of senior photos from Wikipedia. Do you have any really old senior photos? I have a family album of photos from the 1800s. I wish I knew who the people in the album were!
Here’s a link to a post I wrote about shooting for printing. Be sure to leave a little extra room around your subject! Printing at 8×10 or 11×14 can really be difficult if you don’t leave the room!


Leave a reply