Tonight, if the sky is clear, you’ll be able to see the Harvest Moon. Since it’s Friday the 13th, a full moon seems sort of appropriate, but it turns out that it is rare. The last full moon on this date occurred in 2000 and the next one won’t happen for another 30 years!
If you plan to watch it rise, camera in hand, here is a quick tutorial on exposing for it.
First of all, while it might seem that you will need a tripod, you probably won’t. That’s because you need to greatly underexpose the shot. This means that your exposure will be much faster than you would expect.
The best mode for shooting it is Manual. No need to panic! Here’s a good starting point:
Set your ISO to 100, or the lowest native ISO for your camera.
Set your aperture to f/4 or higher, if you want a faster shutter speed for hand-holding your camera.
Set your shutter speed to 1/100 second. Take a shot and look at your LCD screen. If you don’t have a really long zoom lens, you’ll need to tap on the magnifying glass on your camera to see the moon larger and judge if it is bright or dark enough.
If the moon is too bright and you can’t see the details on its surface, increase the shutter speed.
If the moon isn’t bright enough, slow the shutter speed down.
One of the things you will notice is that your foreground is really dark, or maybe completely black. That’s why you see so many full moon shots with a silhouette in front of it! Why not get someone to hold up a cutout black cat to hold in front of it for you? The perfect Halloween shot!
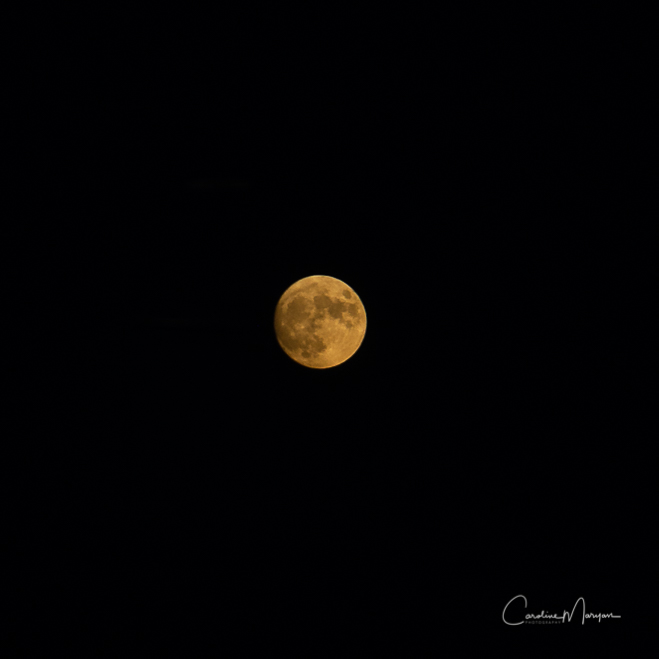
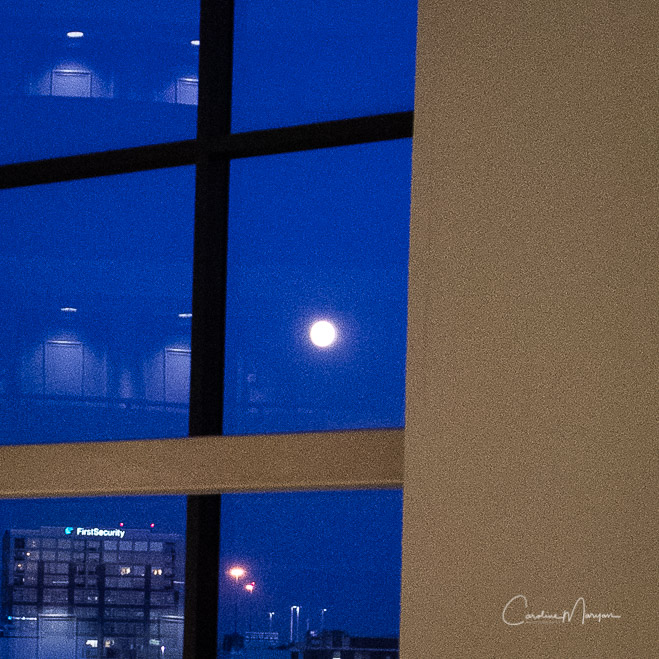
I’ve included two versions of my moon shot, which I shot through a window of the Little Rock Marriott last night. The window was far from me, across the open atrium of the lobby. I was on the fourth floor. Both shots are greatly cropped since I was shooting with a 105mm lens.
In the first one, I shot it in Aperture mode, properly exposed for the room I was in. The moon is way too bright, with no details on its surface. Because the proper exposure for the room is slow, my camera bumped the auto ISO to 6400. This caused a lot of digital noise. The other settings were f/4 and 1/40 second.
In the second shot, I set the camera to Manual mode. I left the aperture at f/4. I set my ISO to 100. Then, I played around with the shutter speed. In the end, the best shot was 1/60 sec.
Because I shot it in RAW, I took it into Lightroom Classic, to finish the processing. If you shoot in JPG, you may not need to do this. To make the details stand out, I reduced the Exposure by .35 and increased the Highlights by 16. I also added Contrast (+17), Texture (+18), Clarity (+10) and Vibrance (+5). Finally, I sharpened it, increasing the Amount to 75 and the Masking to 85.
As you can see, the window frame and reflections have turned completely black. If you want to have a bright foreground, you’ll need to take two shots, exposed differently, and blend them. You can read more about doing this in this post.
I’d love to hear how this works for you!


Leave a reply