Timing is everything in photography, and you don’t want to be caught flat-footed. So, before you turn off your camera, be sure to check your camera settings!
Setting Tip #1: Timer
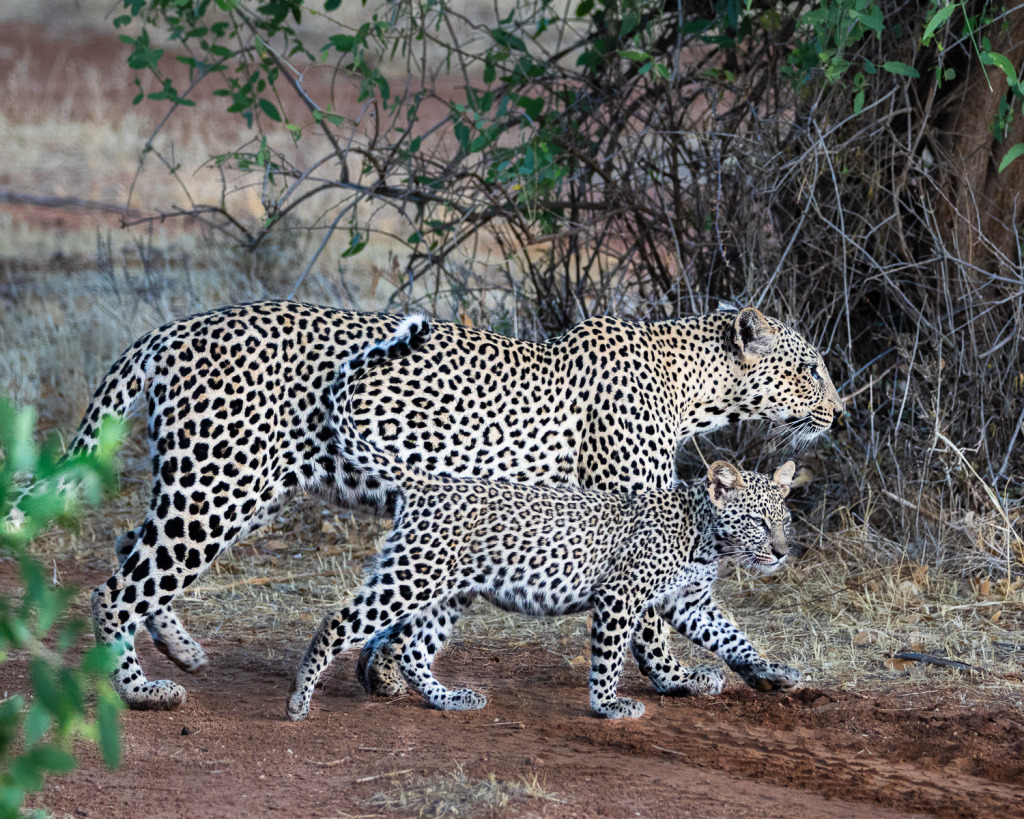
Is your timer set? Most cameras offer the option of a 10-second timer along with either a two or three-second one. These timers offer solutions to a multitude of photography problems.
If you want to be in the photo, the 10-second timer allows you to press the shutter button and then join the scene. If you’re worried about camera shake, the 2-second timer provides enough time for the camera to become steady after you press the shutter button.
You’re going to want to check this setting before you turn off the camera though.
Problems if you forget to check your camera settings and turn off the timer:

A photographer will often see an opportunity for a great shot and jump into action, grabbing a camera, turning it on, and shooting away. This is not the time to discover that you’ve left the timer on! There’s nothing worse than pressing the shutter button to capture a fabulous moment and hearing the timer start to count down.
Timers are one of the settings that remain on until you turn them off on your camera.
Setting Tip #2: Exposure Compensation
Exposure compensation is another setting you are going to want to check. On cameras, it remains on until you turn it off. This can come in very handy since you may be taking a series of photos with the same lighting.
I found another use for this, too. I kept needing to brighten the photos taken with one of my cameras. Finally, I increased the Exposure Compensation by 1/3 stop and left it there. My problem with dark photos was gone.
In general, though, I use Exposure Compensation to correct the camera’s light meter when I don’t like the results. I’m able to override the setting and get the exposure I want. I use it all the time.
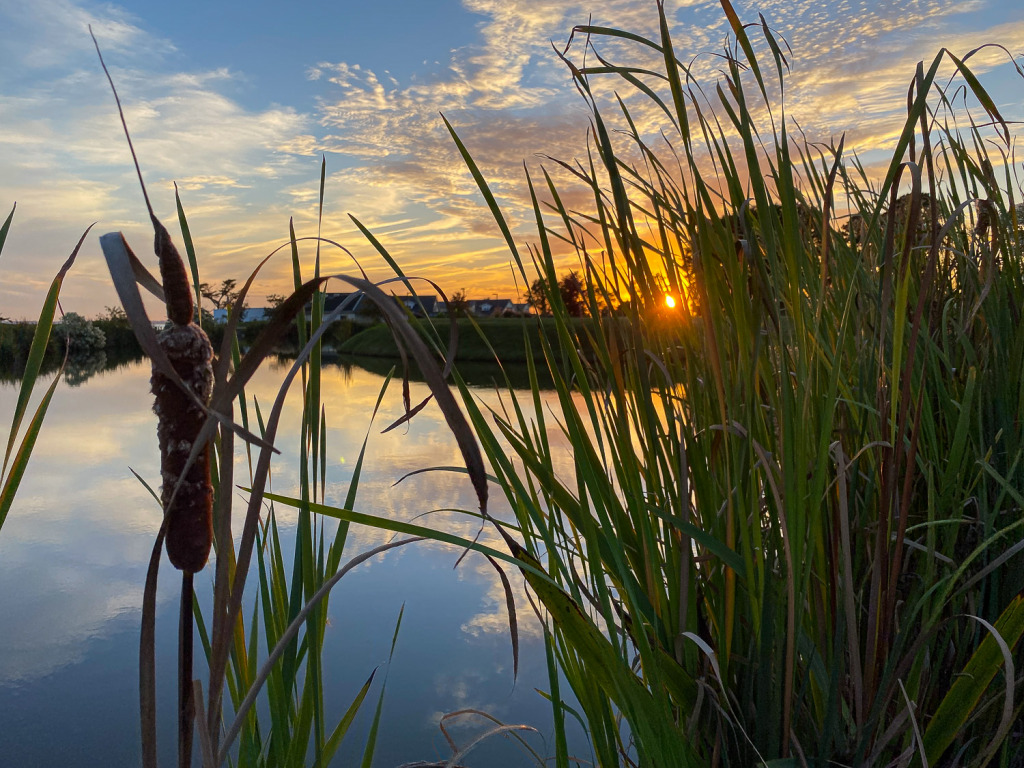
However, if I forget to check this setting and bring it back to zero before I turn my camera off, I get a bad surprise when I take my next photo.
Problems if Exposure Compensation is left on:
The sunset photo above needed a dark exposure to preserve the rich colors in the sky and the reflection. My camera metered for it perfectly. However, if I’d left +1 of Exposure Compensation set in my camera from the previous shoot, I would have lost the detail in the sky. Luckily, I’d checking this setting before I turned my camera off.
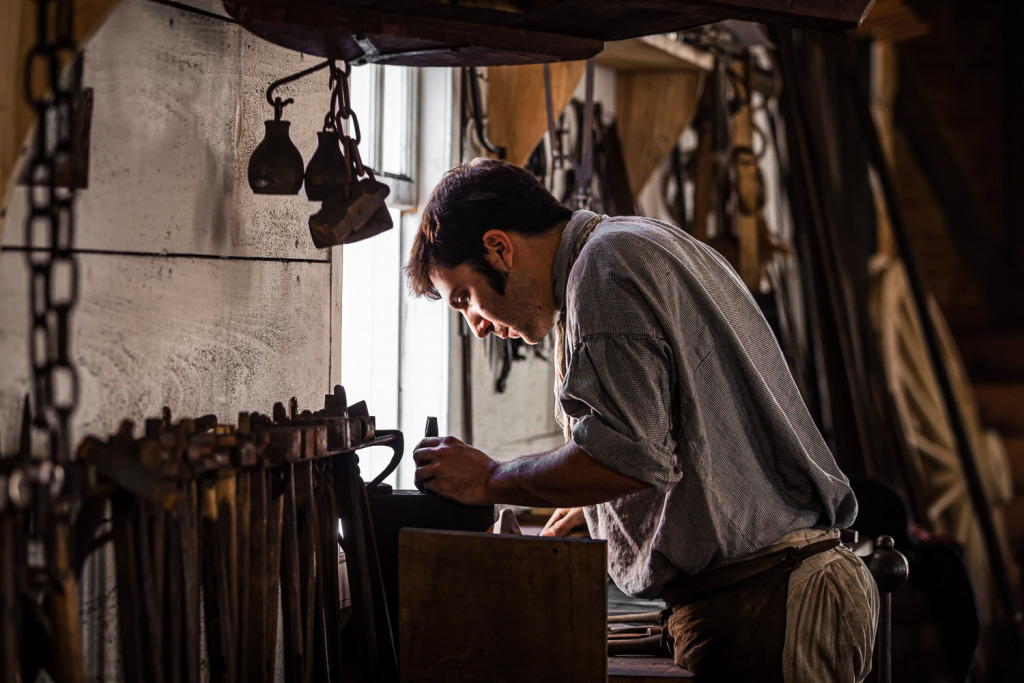
The photo of the blacksmith is another example. I’d been shooting indoors in the various buildings in Colonial Williamsburg. I’d used Exposure Compensation to properly light my subjects in the available window light. When I took a break, I turned my camera off. Fortunately, before I did, I checked my settings and turned off Exposure Compensation.
When I entered this building, I was struck by how the window light was softly wrapping around the head of the blacksmith. I quickly turned on my camera and took a shot as he was standing still. Immediately afterward, he moved away from the window. If I had not checked my settings, this photo would be overexposed, and the atmosphere would be gone.
Setting Tip #3: Shooting Mode
I like to shoot in all four professional modes that my camera offers, since they each serve a purpose. However, I do have a favorite mode and that is Aperture. As a result, I try to set my camera back to Aperture mode before I turn it off. That way, I know what to expect when I quickly turn on the camera to shoot.
Problems if you forget to check your camera settings and the shooting mode is wrong:

We were on the beach in Maui when my friend Louis started to ham it up with a bodyboard. I quickly turned on my camera and was able to capture him in the air. Luckily, I had switched my camera back to Aperture mode before I had turned it off. I was able to get the shallow depth of field I wanted plus the fast shutter speed I needed.
Before that, I had been shooting in Manual. I wouldn’t have had time to set the proper exposure and would have missed this marvelous example of enthusiasm! He even has goggles on his head!
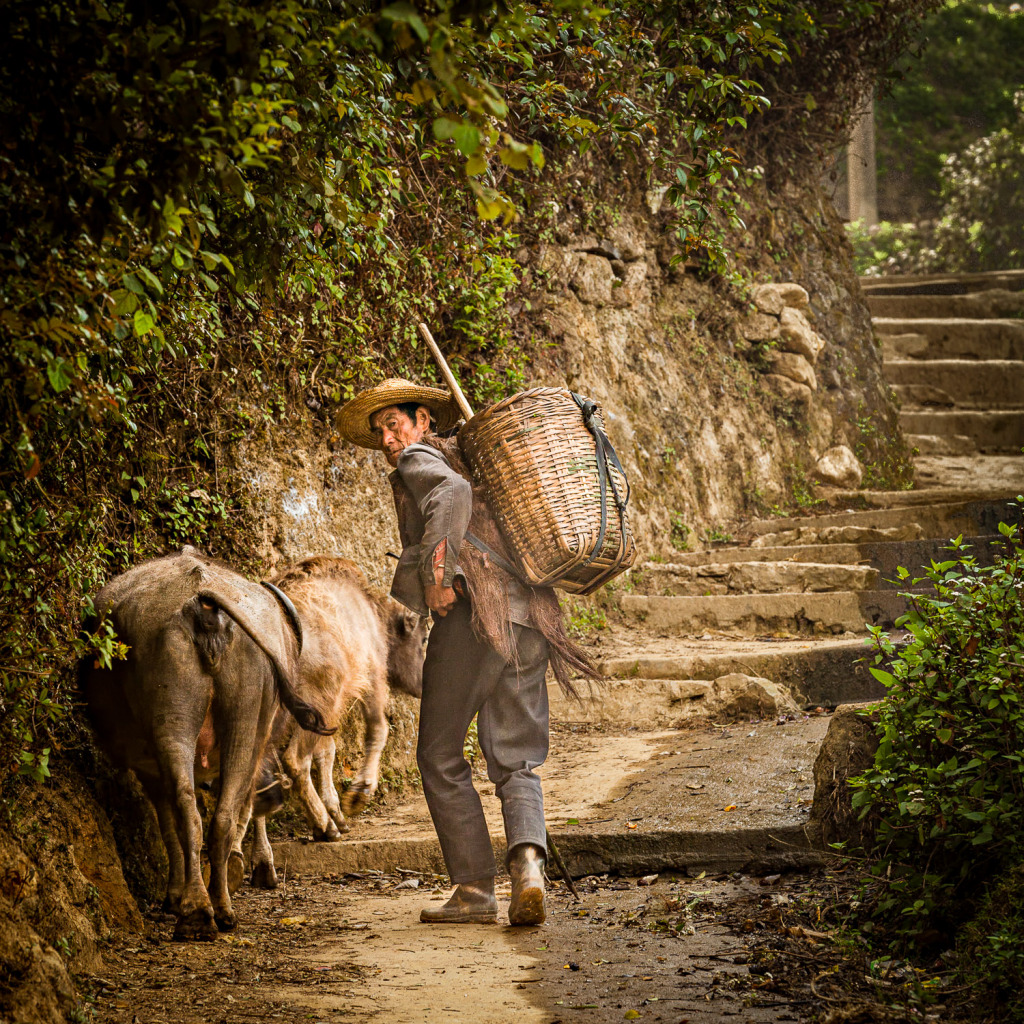
This is another example of the value of checking your camera settings before you turn off your camera. We were walking down a trail between the rice terraces in Yuanyang, China. Suddenly I spotted this man ahead of us, walking his two water buffalos. I quickly turned on my camera, just in time to capture him glancing back at us. Because I had set my camera to Aperture mode before I’d turned it off, I was ready to shoot.
Do you need to check your camera settings on an iPhone?
First of all, I rarely turn off my iPhone and when my iPhone is on, the camera is on. However, I do have settings I check. I just do it after I stop shooting. The two settings are the timer and Exposure Compensation.
My iPhone’s Timer will remain set to On until I turn it off, so this is a setting I have to remind myself to turn off.
What about Exposure Compensation? I have my iPhone set to preserve the exposure settings. (Settings/ Camera/ Preserve Settings/ Exposure Adjustment) This means that when I set Exposure Compensation, it stays at that setting until I change it.
This is incredibly useful since I rarely take only one photo of a scene. With this turned on, once I’ve set the exposure adjustment, all the photos will have this adjustment until I turn it off. It’s another setting that I have to remind myself to turn off!
Now it’s your turn.
If you’re not familiar with Exposure Compensation, I’ve written a blog post about it. (Louis and his antics are featured in the post! 😉) I use it all the time! Depending on your camera make and model, you may even be able to use it in Manual Mode if you have ISO set to Auto. I often use that setting for shooting sports.
If you’d like to read more about the camera’s self-timer, here’s a good article.
Take some time this week to think about your favorite settings. Then, make a plan to return your camera to those settings each time you turn it off.


Leave a reply