Keeping your camera safe? It’s National Safety Month here in the USA. What better time to share seven quick tips for keeping your camera safe? If you’d like to see larger versions of the photos, just click on them.
- 1. Use a UV or Protector Lens Filter on all of your lenses:
- 2. Use a LensPen:
- 3. Add a Lens Hood to Keep Your Camera Safe:
- 4. Avoid changing lenses, batteries, or memory cards in dusty or sandy places:
- 5. To Keep Your Camera Safe, Avoid condensation:
- 6. Use a Black Rapid Strap:
- 7. Always pack your camera in your carry-on bag:
- Bonus tip:
1. Use a UV or Protector Lens Filter on all of your lenses:
Cameras today are computers, and, like your laptop, they will become obsolete sooner or later.
Your lenses, on the other hand, should last for many years!
A UV or Protector filter is a good place to start protecting your lens. (Be sure to buy the correct size for your lens’s diameter.) Either type of filter will work. You screw it onto your lens and leave it there.
Its purpose is simply to protect the glass from scratches, dirt, and nose prints… If it does get scratched, it’s a lot cheaper to replace than the lens would be!
The one time you will want to remove it is when you will be adding additional filters, like Neutral Density Filters. Leaving on too many filters can lead to vignetting.
2. Use a LensPen:
On the subject of nose prints, there’s a right way and a wrong way to clean the glass on your lens.
Never spray liquid lens cleaner onto your lens! If it leaks into the lens, there’s no way to repair it.
Instead, invest in a LensPen and carry it with you. To use it, you start with the brush end. After you’ve brushed off as much as possible, you use the cleaning tip on the other end to clean the lens. When you’re done, just replace the cap on that end and twist it to recharge it.
If your lens is really dirty (nose print, peanut butter fingerprints, mud???), I also use the glasses cleaner I get from my eye doctor. You can also pick it up in pharmacies. Spray it onto a lens cloth and then wipe the dirt off.

3. Add a Lens Hood to Keep Your Camera Safe:
Did your lens come with a lens hood? Some do, and some don’t. If yours didn’t, you could still buy one. You need one that is the correct shape and dimension for your lens. To find the right one, go to B&H.com and search for your lens. Click on it. You’ll find a list of accessories at the bottom of the lens description. Depending on the lens, you may have to click on View All to see the lens hoods.
There are two reasons to add a hood to your lens. It’s designed to keep stray light from entering the lens when you shoot. This will keep your photos clearer and sharper. But, the second reason is safety. It helps protect your lens!
When you’re out shooting, it’s easy to bang the lens into things as you move or swing around. The lens hood acts as a barrier. Mine has saved my lens and my camera on more than one occasion…
When Skip and I traveled by train in Switzerland, I foolishly put my camera on the table between us. When the train started, my camera flew and landed on the floor. The lens hood took the beating, not the lens or the camera. And, because it was made of sturdy plastic, it didn’t even crack!
4. Avoid changing lenses, batteries, or memory cards in dusty or sandy places:
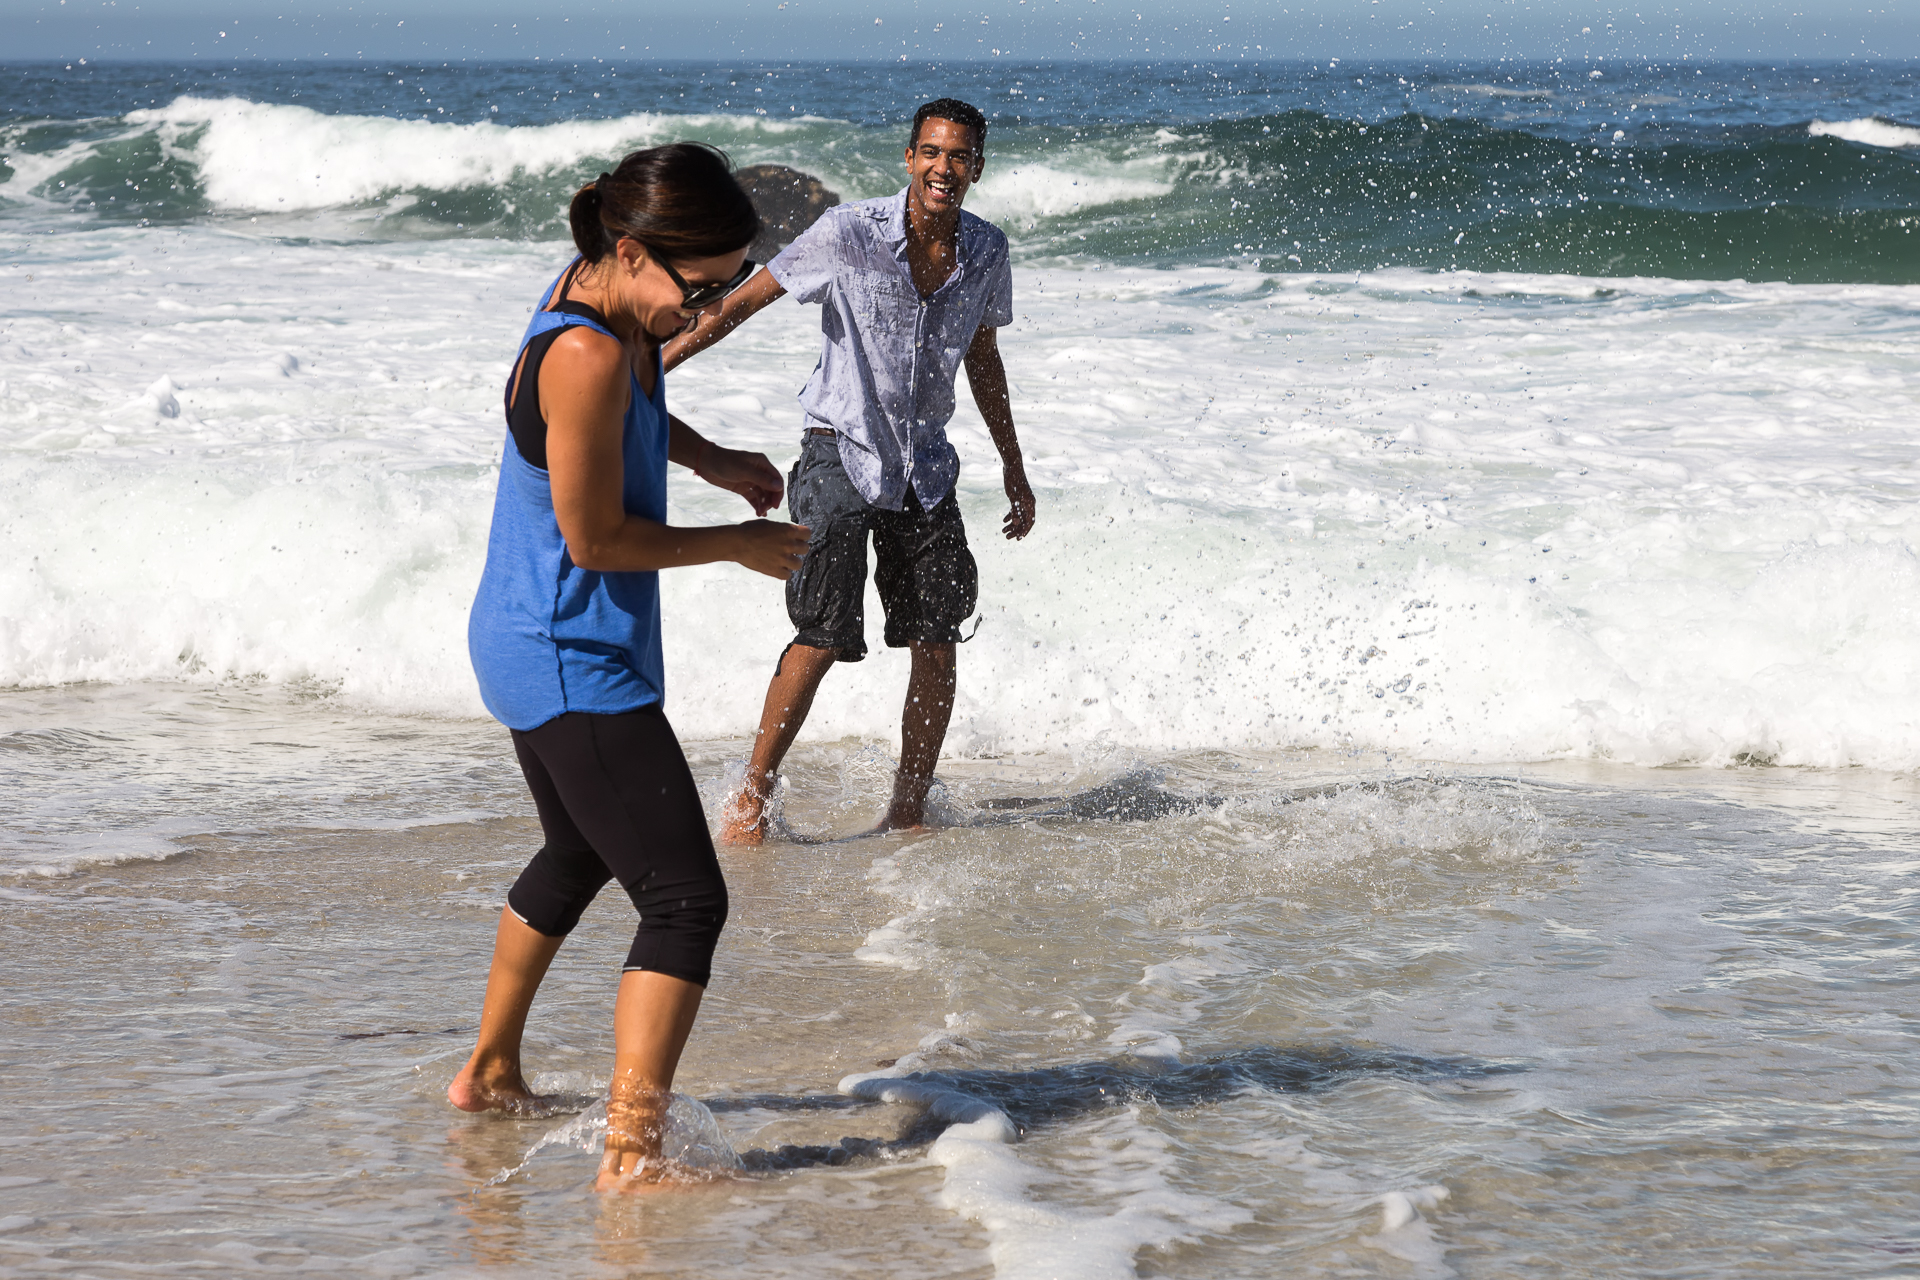
It’s summer. Photos at the beach are part of the fun, so do take your camera. Just plan ahead. Before you go, decide on one lens to use. Be sure your battery is fully charged. Slip in an empty memory card. You don’t want to risk getting sand or dust into your camera or lens in any way.

If you do, at the least, you’ll get dirt on your sensor, which is annoying. In the worst case, it can destroy your camera or lens! And, don’t forget to bring something safe to place your camera in.

5. To Keep Your Camera Safe, Avoid condensation:
This can be a hard one to achieve, especially in the summer. Taking a camera out of an air-conditioned space into a hot environment can result in condensation on the lens. The only solution, when this happens, is to wait for the lens to warm up. Try storing your camera in a warmer place in your house or hotel room to avoid it. I find that closets are often warmer than the rest of the house. In hotels, I’ll put my camera into a bag of clothes in the closet. If we have a balcony, I’ll put it out there for a while to warm up before we go out to shoot. Condensation is a problem in two ways. It can ruin your photos and result in moisture getting into your camera or lens, so try to avoid it.

6. Use a Black Rapid Strap:
This relates to hint number three. The straps that come with cameras are torturous devices that make your neck ache.
They’re also bad at controlling the movement of your camera when you move around.
If you’re wearing it around your neck and lean down, the camera swings forward, away from you.
If you wear it on your shoulder and turn around, it can swing away from your body. Of course, it will likely fall off your shoulder at some point.
And, what if you are “in the moment” and trip, walking upstairs?
All of these movements can result in damage to your camera! Buy a strap that you wear like a sling across your body.
I use the Black Rapid strap and love it. It’s available in several different models and for both right and left-handed people. Other companies make similar types of straps if you want to shop around.
The best part is that it also saves your neck! I can walk for hours with my camera since the weight is distributed across my back.
7. Always pack your camera in your carry-on bag:
Cameras have a way of disappearing from checked luggage. That’s a horrible way to start a vacation!
The easiest solution is to carry your camera and lenses with you.
I love my ThinkTank Airport Airstream rollaboard. It’s not made anymore, but there’s a new version: the ThinkTank Airport International V3.0. It isn’t a large one, so I can take it on international flights and even on regional carriers in the US.
When it’s fully loaded, I can still lift it into the overhead bin on the plane. (OK, it’s not a pretty sight, but I do eventually get it up there…) It also fits under the seat.
While it is a camera bag, it doesn’t look like one, so it’s less likely to attract thieves. It has a built-in TSA-approved lock, plus two wire cables with locks to attach to furniture and protect a laptop in the outside pocket.
If I need more space, I carry my backpack, too. It’s not a camera backpack. I’ve tried them, and they are just too heavy. Instead, I use an Osprey Tempest 20. It weighs 1.5 pounds, which is so much less than a traditional camera backpack!
I fit a camera bag insert into the bottom of it to hold my camera or lenses. There’s still plenty of room on top for a sweater or jacket and my iPad. It has a waist belt, so the weight is carried on my hips instead of my back. It also has a chest strap, so I don’t have to hunch my shoulders to keep the shoulder straps on.

Bonus tip:
Finally, here’s an extra bonus tip. Take a shower cap: I always carry a shower cap with my camera. You can find them in hotel rooms or buy them in beauty supply stores. They weigh almost nothing, take up almost no room, and are great little rain covers in the event of a sudden shower when you are out shooting. My current one also doubles as a souvenir of the Sopa Lodge on the rim of the Ngorongoro Crater in Tanzania.
Hopefully, these hints will help keep your camera safe as you go out and shoot this summer!
By the way, many of the links above are affiliate links. I may earn a small commission if you click on the link and buy.
You can read more about keeping safe while you travel here: https://www.carolinemaryan.com/travel-tips-during-your-trip/
Happy shooting!
Caroline


Leave a reply